Tiger Box 4U24 Assembly Guide
Site Installation: Cabling Tiger Box
9
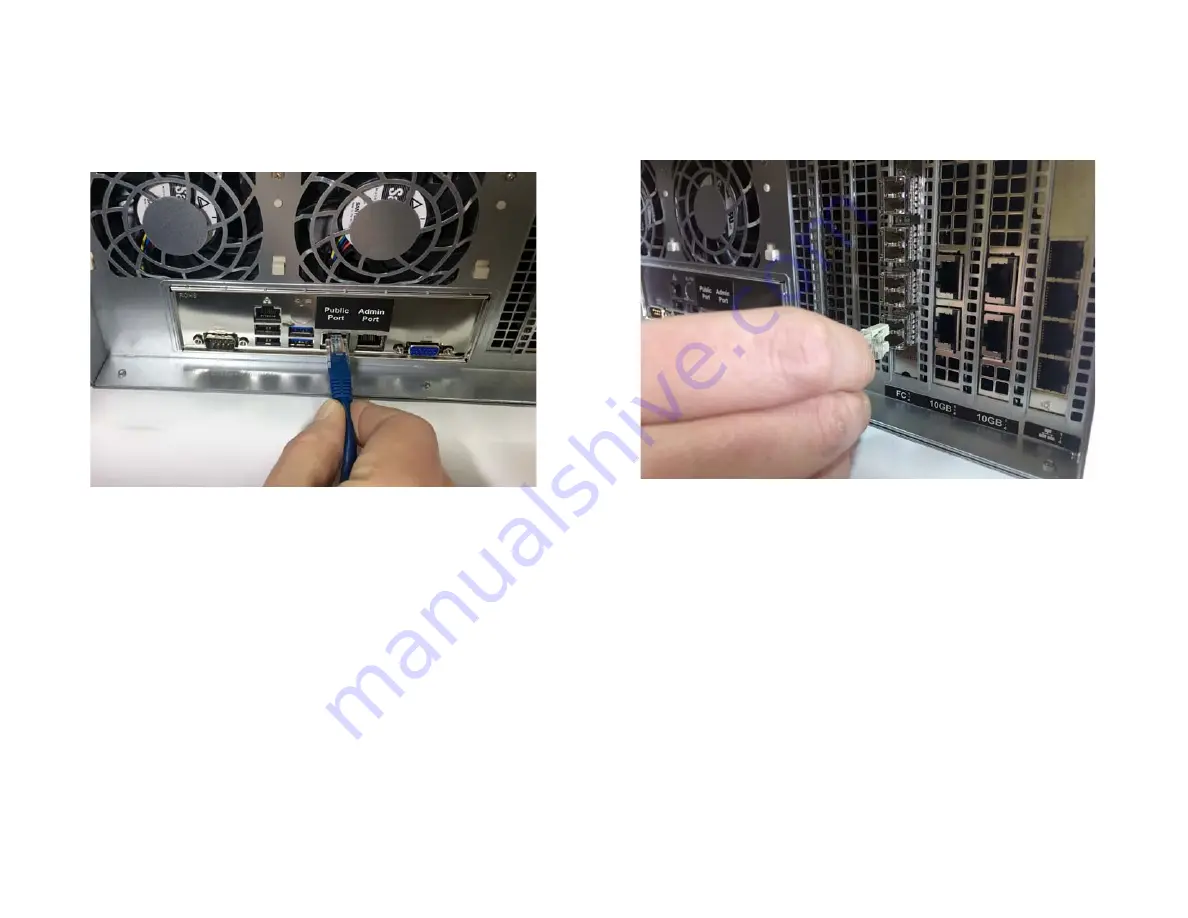
To connect a computer to the Public port:
1.
Plug one end of the network cable provided in the shipment in the port with label
Public port.
2.
Plug other end of the network cable in the LAN port of the computer, from which
you want to perform the initial setup.
Note:
If you intend to provide SAN computers with network communication to the
appliance through the Public port, once you perform the initial setup, you can
disconnect the computer, from which you have performed the setup, and connect
the Public port to an Ethernet switch, to which to connect all SAN computers.
To connect a SAN computer:
Note:
Your Tiger Box shipment does not include fiber optic and copper Fibre Channel
cables. The FC ports are with optical SFPs.
1.
If your fiber-optic cable has protective caps, remove them.
2.
Plug one end of the fiber-optic cable into the SFP socket of the appliance port.
3.
Do one of the following:
•
Plug other end of the fiber-optic cable in the port of the Fibre Channel card of the
client computer.
•
Plug other end of the fiber-optic cable in the port of the Fibre Channel switch and
then connect the switch to the client computer's FC port.
Note:
If you opt for interconnection via switch, refer to your switch documentation
for further setup instructions.
4.
Plug one end of the network cable into one of the available network ports of the
appliance.
Note:
As metadata overhead is kept to an absolute minimum, there's no need to
connect each SAN client to a separate network port, but rather connect them to
the Public port through an Ethernet switch and spare the remaining network ports
for connecting LAN clients.
5.
Do one of the following:


