6
ASSEMBLY / TAILS
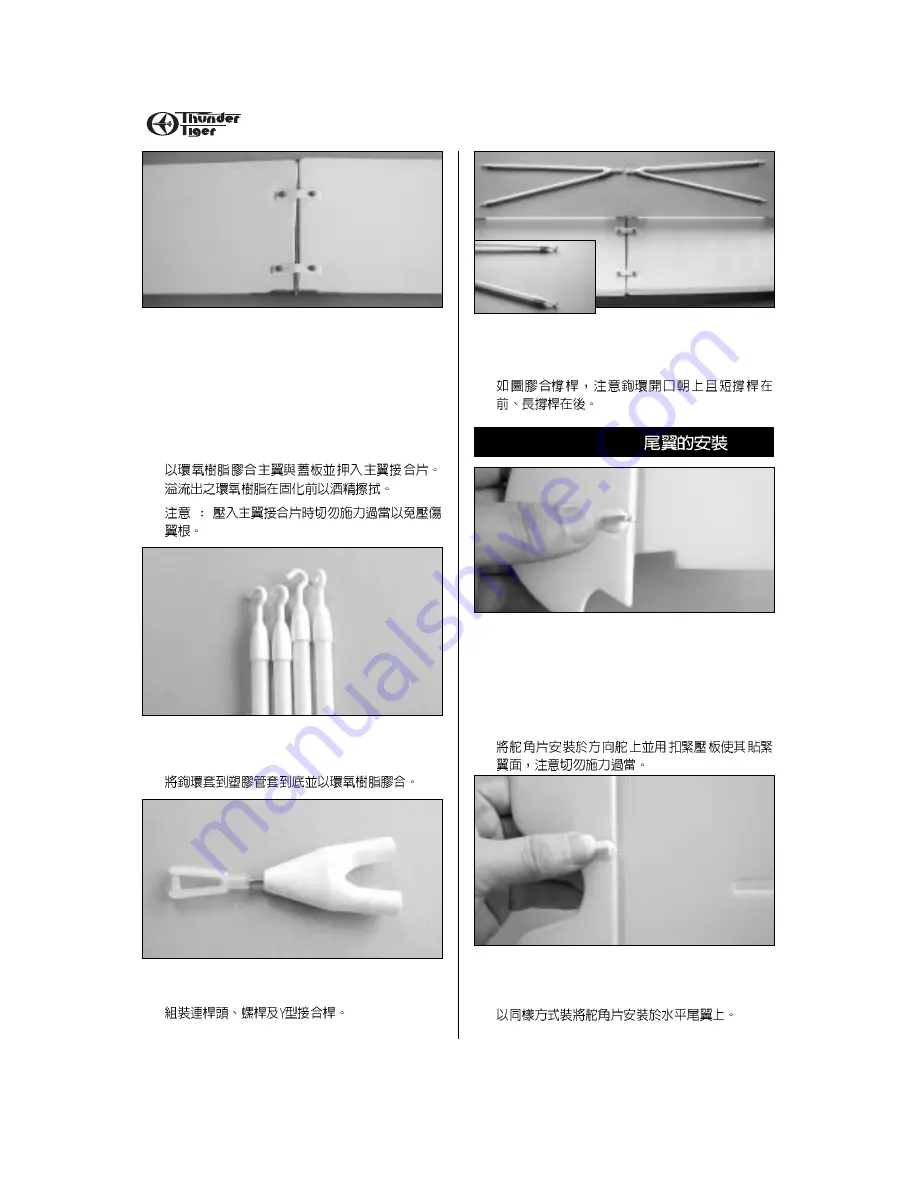
7. Apply 5-Min epoxy at the contact area then place
the two wing halves and snap on the wing joiners
to secure both wing halves.
Note: Never push too hard to snap on the joiners
or you may damage the wing.
Hint: Wipe off any excess epoxy with rubbing
alcohol before it has cured.
8. Locate the hooks and plastic tubs then glue the
hooks onto one end of the tubs all the way in.
9. Locate the clevises, threaded wires and Y strut
joiners. Assemble them as shown.
10.Glue the struts to the Y joiner( one long, one
short). Note the orientation of hook opening and
the upper tube is shorter as photo shown.
11.Locate the control horn and locking plate then
“Push-N-Lock” the control horn in place as
shown. Note: Do not push too hard but gently all
the way in so the control horn contacts the
surface of rudder at both sides and secured in
place firmly.
12.Do the same way on the elevator. Make sure you
are in correct orientation before installing the
locking plate.
Tails Installation


