


6
- Then click on
You will receive a new password in your email inbox from noreply@thomsonbox.
eu (you may need to check your spam folder).
Please note: If you forget your username (email address), your Thombox will
need to be returned.
I. PIN CODE
For security reasons, we recommend that you change your alarm's PIN code
with a 4-digit PIN code that only you know. This PIN code is strictly personal,
under no circumstances should you communicate it to others.
To change the PIN code in your interface:
- Go into the "General" tab
- Click on "User details"
In the CHANGING THE PIN CODE section
- Enter your current PIN code in the appropriate field.
- Enter your new PIN code in the 2 next fields.
- Click on "CHANGE".
Please note: If you forget your PIN code, please contact Thomson technical
assistance and provide the username (email address) on the account and the
serial number of your equipment.
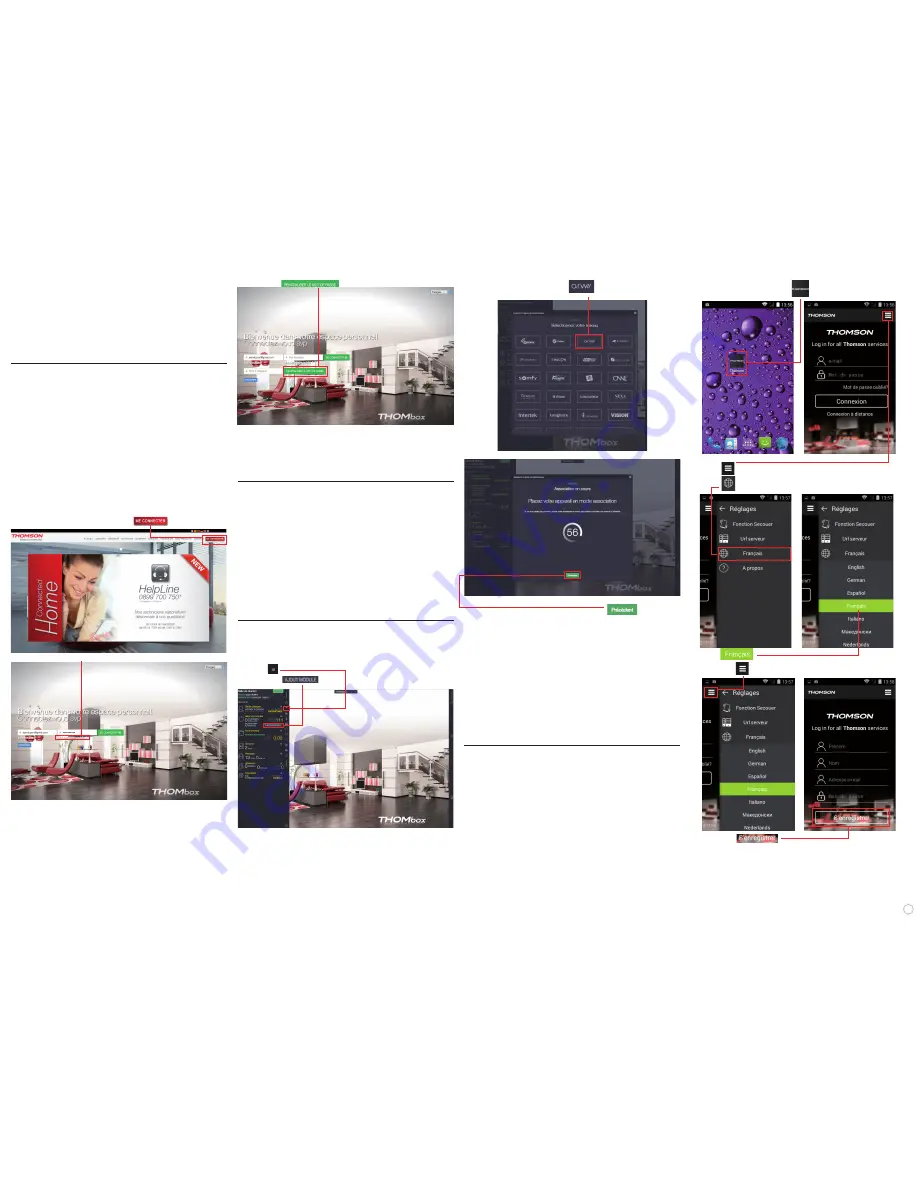
J. PAIRING ADDITIONAL ACCESSORIES WITH THE
THOMBOX
Each ARW accessory must be paired with the box individually. We recommend
that you wait until after pairing is complete to position your accessories in their
final locations.
To pair an ARW accessory:
- Click on
- Then click on
- Select the communication protocol
A 60-second countdown will start.
During this countdown you must activate your product's "pairing mode". You
can cancel this operation at any time by clicking on
- To find the activation procedure for your product's "pairing mode", see
paragraph D – ACTIVATING ACCESSORIES (page 2).
Each time a pairing is successful, your Thombox will indicate that the accessory
has been detected with a success message; if pairing fails, retry by clicking
"Try again".
- Click "Next" to add another accessory or click "Close" to exit accessory
pairing mode.
Once all the ARW accessories have been added, refresh the page (by pressing
the F5 button on your keyboard), then go to "General", then "Manage your
modules" in the "Avidsen" network. Clicking on "Avidsen" will make your
modules appear.
III - START-UP ON A SMARTPHONE/TABLET
A. CREATING AN ACCOUNT
Once the Thombox application has been downloaded from your smartphone's
app store and installed:
- Open the app by clicking the icon
- Click on
- Then on
to select your language.
- Choose
- Then click on
to finish.
- Next, click on
You must choose the user who will receive the alert.
- Select the contact to alert by clicking on the arrow.
- Click on "Save" then on "Synchronise rules".
- From your smartphone/tablet, connect to the Thombox application
using the login credentials/password chosen previously.
You will now be notified every time your system is triggered when the system
is armed.
H. PASSWORD
For security reasons, we recommend that you change the access password on
your interface with a secure password (combination of numbers and letters; to
be effective, it must be sufficiently complex), and you must be the only one who
knows it. This password is strictly personal, under no circumstances should
you communicate it to others.
1). CHANGING THE PASSWORD
To change the password for connecting to your interface:
- Go into the "General" tab
- Click on "User details"
In the CHANGE PASSWORD section
- Enter your current password in the appropriate field.
- Enter your new password in the 2 next fields.
- Click on "CHANGE".
2). FORGOTTEN PASSWORD
If you forget your password:
Go to
http://www.thomsonbox.eu heading
- Click on "Forgotten password?"
- Enter your username in the corresponding field.


