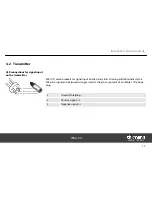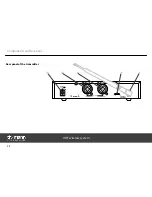
Attach the included antenna to the back of the transmitter. To improve the transmission
quality and for adaptation to the specific spatial conditions the antenna can be rotated and
swivelled.
If there is not enough space for the direct mounting of the antenna on the unit, e.g. due to
limited space in the rack, you can use the supplied coaxial cable to mount the antenna apart
from the unit. Therefore use the BNC adapter.
Connect the audio inputs of the transmitter to suitable line outputs of your mixing console or
amplifier. Slide the level adjustment switch (11) to the ‘–12 dB’ position. Set the input sensi‐
tivity control (2) to a middle position first.
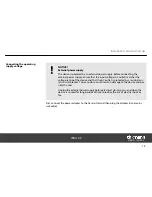
To achieve best sound quality, a fine adjustment of this control may be required. If the input
level is too low slide the level adjustment switch (11) to the ‘0 dB’ position.
4.3
Receiver
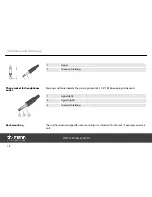
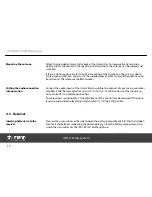
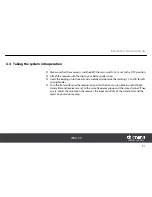
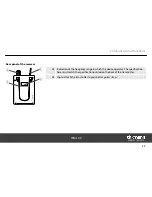
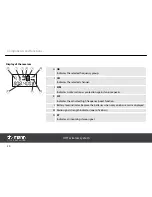
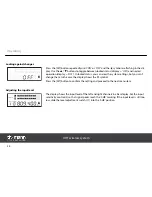
Press on the snap-in locks at the side to open the battery compartment (18). Flip the lid open
and insert the batteries respecting the correct polarity. Close the battery compartment and
switch the transmitter on. The ‘RF’ LED (22) briefly lights up.
Mounting the antenna
Putting the audio connection
into operation
Inserting batteries into the
receiver
Installation and starting up
UHF wireless system
20
Summary of Contents for IEM 100
Page 1: ...IEM 100 UHF wireless system user manual...
Page 56: ...Notes UHF wireless system 56...
Page 57: ...Notes IEM 100 57...
Page 58: ...Notes UHF wireless system 58...
Page 59: ......
Page 60: ...Musikhaus Thomann e K Treppendorf 30 96138 Burgebrach Germany www thomann de...

