24
E-Gel
™
Power Snap Electrophoresis System User Guide
Automatic image capture
The E-Gel
™
Power Snap Camera can automatically capture images as the gel runs. The camera can
capture and save 2–5 images of the gel at evenly spaced intervals.
1.
Press Settings /
.
2.
Select
Auto capture
.
3.
Select one of following capture methods:
a.
Smart exposure: captures each image at the optimal exposure level.
b.
Multiple exposures: captures each image at three different exposure levels.
4.
Select the number of images to be captured.
5.
Select the time at which image capture will start (5, 10, 15, or 20 minutes prior to the end of the
protocol).
6.
Press
Start
to begin the automatic capture session.
Cancel auto
capture
1.
Press
Home
.
2.
Select
Yes
.
Export image
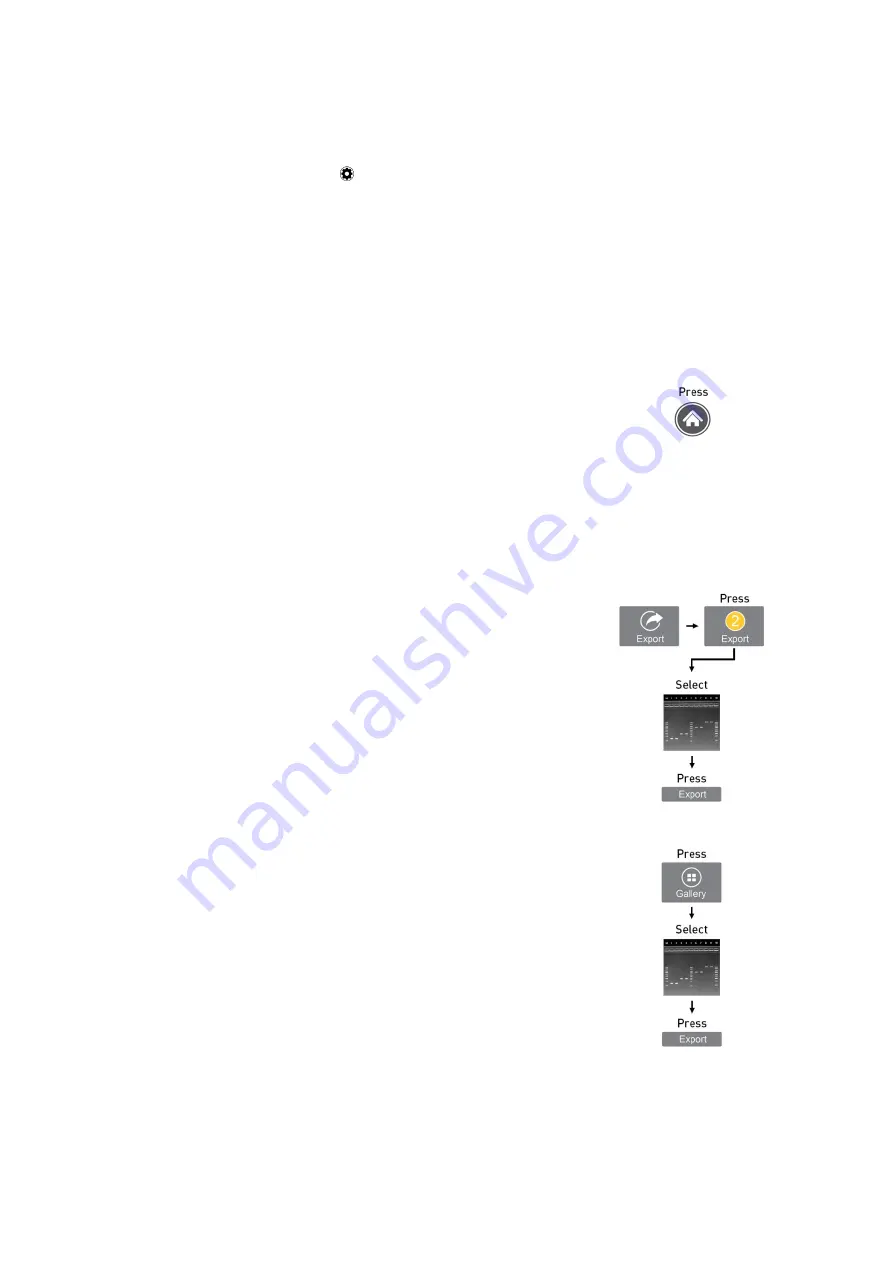
Images can be exported from the capture screen or the image gallery. The number of images
captured in an active capture session will appear on the Export button on the capture screen.
Images previously stored on internal memory are accessed from the image gallery.
Export from
capture
screen
1.
Insert a USB storage device into the USB port at the
front of the E-Gel
™
Power Snap Camera.
2.
Press
Export
from the capture screen.
3.
Review the images in the active session gallery, and
select files for export.
4.
(
Optional
) Select
Edit info
to change the file name, file
type (Jpeg, TIFF, or VIT format), or add comments.
5.
Press
Export
to export active session images to the
USB storage device.
Export from
image
gallery
1.
Insert a USB storage device into the USB port at the
front of the E-Gel
™
Power Snap Camera.
2.
Press
Gallery
from the home screen.
3.
Select
Thumbnails
or
List
view
for navigation.
4.
(
Optional
) Select
Sort
to organize files by date, or file
type.
5.
Press an image(s) to select the file, or press again to
de-select the file.
6.
Select
Actions
from the gallery screen.
7.
(
Optional
) Select
Delete
to delete selected image(s)
from the camera.
8.
(
Optional
) Select
Edit info
to change the file name, or
add comments.
9.
Select
Export
to export selected image(s) to the USB
storage device.


