quest
quest
1-877-420-1330
Quest DRY 180 Installation, Operation and Maintenance Instructions
14
www.QuestHydro.com
Quest Dry 180 Duct Kit Assembly
CAUTION!
Do not drill any pilot holes into the plastic housing. You may damage the
internal components. When installing screws, be careful not to strip. Lightly tighten screws.
Tools Required: Cordless Drill with Phillips Head
Duct Kit
Part No. 4026055
OVER
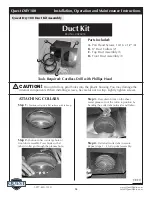
Parts Included:
A. Pan Head Screws, 10-16 x 1/2" (8)
B. 8" Duct Collars (2)
C. Top Duct Assembly (1)
D. Front Duct Assembly (1)
B
C
D
A
ATTACHING COLLARS
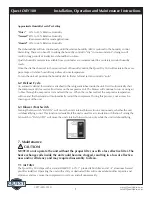
Step 1.
Position collar on a flat surface with tabs up.
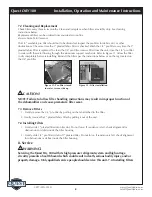
Step 2.
Position collar into large hole of
front duct assembly. Press firmly so that
tabs of collar go through the plenum hole.
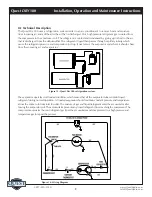
Step 3.
Press down firmly on the sheet
metal plenum. Lock the collar in position by
bending the collar tabs outwards and flatten.
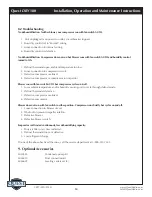
Step 4.
Flatten all collar tabs to secure.
Repeat steps 1 – 4 for top duct assembly.


