


Chapter 7: Tips and Tricks
USB and eSATA Storage Expansion
The N5200 supports external USB hard disks through its three USB ports. Once a
USB hard disk has successfully mounted, the entire volume will be copied
automatically to the default USB HDD folder. The N5200 supports up to 6 USB
external storage devices. All file names on the USB disk volume are case sensitive.
The N5200 also supports eSATA hard disks with its eSATA port.
Before attaching an eSATA or USB disk drive to N5200, you have to partition and
format it on a desktop computer or a notebook first. The attached device will be
located at
\\192.168.1.100\usbhdd\sdf1
where
192.168.1.100
means the IP
address of N5200 and
sdf1
stands for the first partition on disk #6, the eSATA or
USB disk drive. If it is an NTFS partition, NAS users can open or copy files from
\\192.168.1.100\usbhdd\sdf1
but cannot add new files or modify existing files.
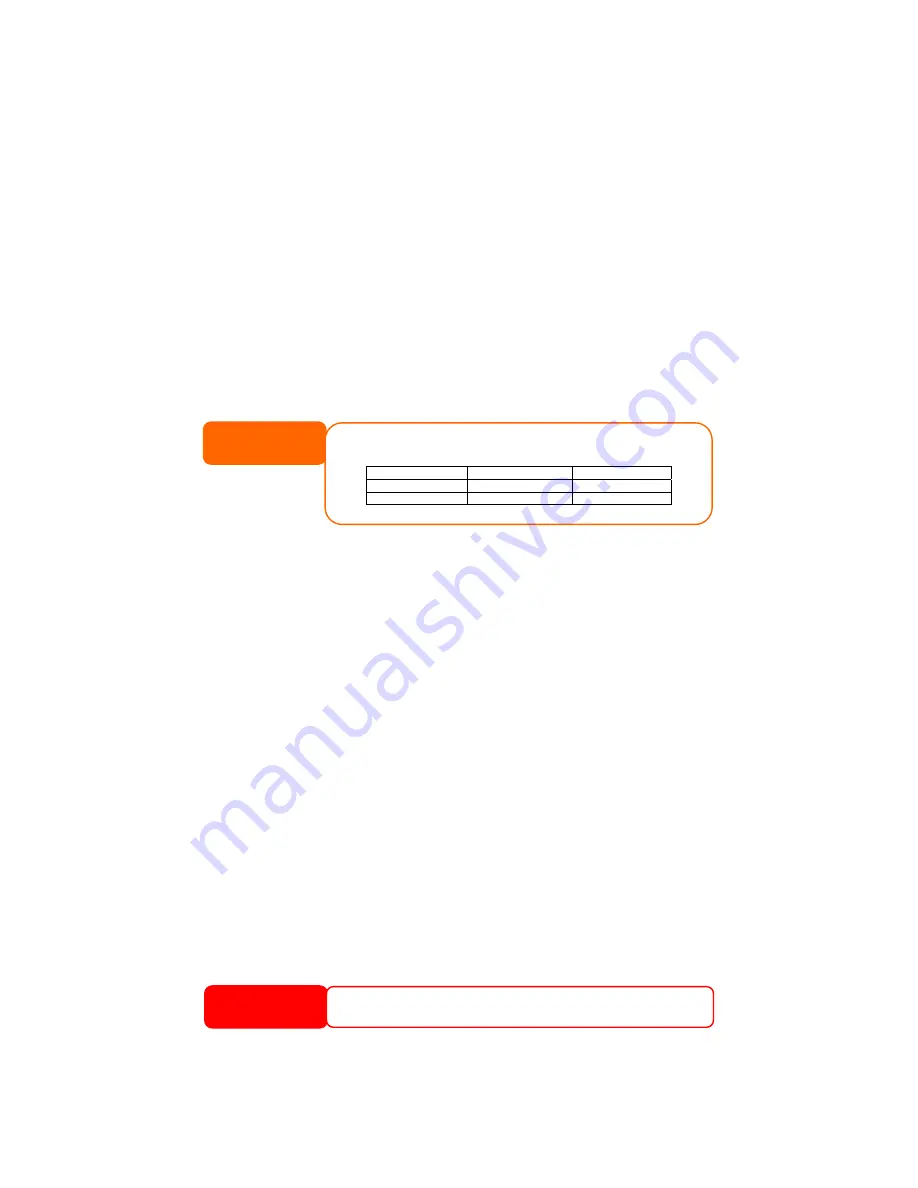
If you want to write to an USB storage device, the file system must be
FAT32.
USB Storage
FAT32 Partition
NOTE
70
NTFS Partition
Read OK
OK
Write OK
-
Adding a Spare Disk
With a RAID 1, RAID 5, RAID 6, or RAID 10 volume, you can add a spare disk
after the initial RAID is setup. To add a spare disk, follow the steps below:
1.
On the RAID Configuration Screen, tick the checkbox of the hard disk
you wish to designate as a spare disk.
2.
Click Add Spare. The disk will be configured as a spare disk. The system
automatically rebuilds the spare disk when one of the disks in the RAID set
fails.
Target USB
N5200 can operate in dual mode. When connecting to a regular USB disk or
thumb drive, N5200 is acting as USB host. When connecting to a PC thru its USB
Type B connector on the back panel, N5200 can act as a USB disk. This feature
allows user to transfer files without using network connection.
When you create RAID, you can assign a portion of space on the RAID to be used
as USB disk. When connecting N5200 to a PC using the supplied USB A to B cable,
the PC will recognize this space as an unformatted disk. At this point, the PC can
format this portion of disk and create file system on it. Since this disk is created
on the RAID, it will be protected by the RAID level you select.
When RAID is removed or damaged, all the data on the Target USB
device will be deleted.
WARNING


