27
26
SPHERE –
Wireless weather station
Note:
The display colour is green if no transmitter is connected.
9.1.2 C2 – Individual colour mode
• You can customize the display colour in this mode. You can change to a variety of colours by pressing the
SELECT
SET/DISP
button several times. “col” appears on the display while pressing the button.
• If no button is pressed within 3 seconds, the display colour is confirmed and the display returns to normal mode.
9.1.3 C3 – Automatic colour mode
• In this mode the display colour changes automatically in gentle transitions through 600 colour hues.
10. Weather forecast
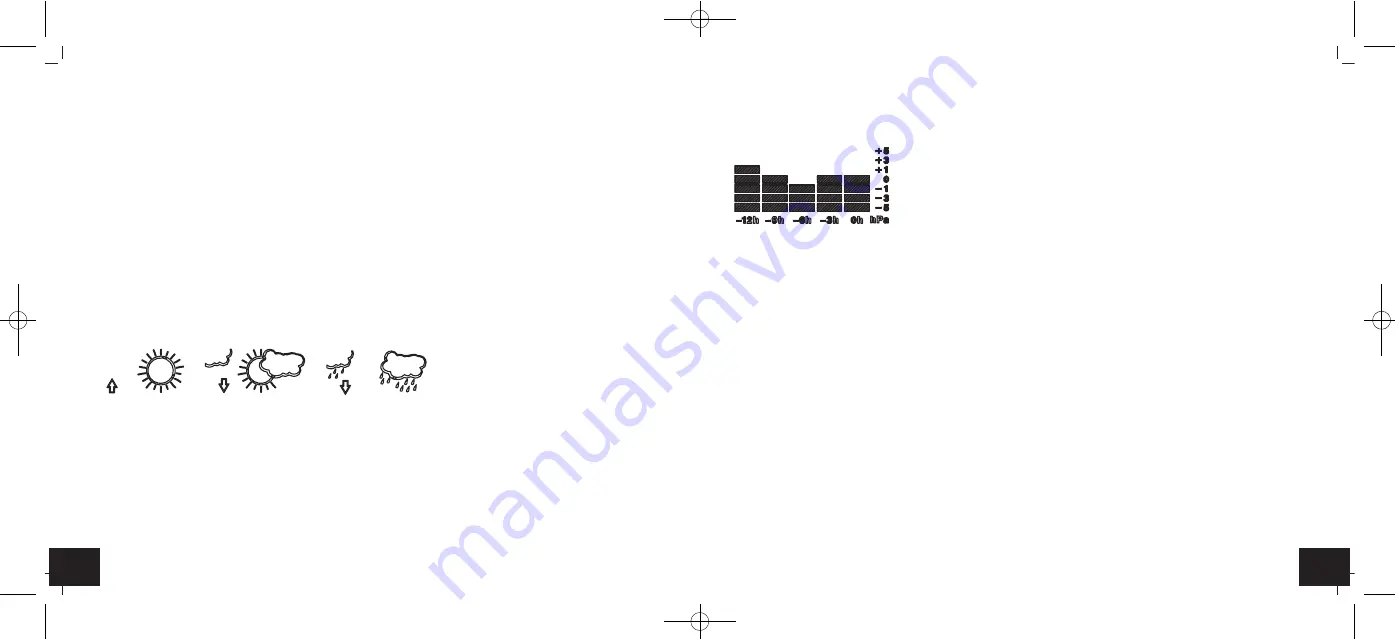
10.1 Weather trend arrows
• The trend arrows on the display will show whether the atmospheric pressure is increasing or decreasing.
10.2 Weather forecast icon
• The weather station has 3 different weather icons:
sunny
partly cloudy
rainy
• The weather forecast covers a range of 12 hours and indicates only a general weather trend. For example, if the current
weather is cloudy and the rain symbol is displayed, it does not mean the product is faulty because it is not raining. It sim-
ply means that the air pressure has dropped and the weather is expected to get worse but not necessarily rain. The accura-
cy is about 75 %.
• The sun symbol also appears on a starry night.
Note:
Please note that the forecast symbol will become more defined in the course of operation. The forecast symbol is active
right from the start, however, the reliability of the forecasts increases with the amount of data collected.
SPHERE –
Wireless weather station
11. Developing of atmospheric pressure
• The bar graph indication of atmospheric pressure shows the last 12 hours.
Attention:
The weather forecast and the developing of atmospheric pressure will not be transferred to the WeatherHub app.
12. Temperature and humidity
12.1 Maximum and minimum values
• Press the
MIN/MAX +
button in normal mode.
• The highest indoor temperature is displayed since the last reset.
• Press the
MIN/MAX +
button again.
• The lowest indoor temperature is displayed since the last reset.
• Press the
MIN/MAX +
button again.
• The highest outdoor temperature with time of recording since the last reset is displayed.
• Press the
MIN/MAX +
button again.
• The highest outdoor temperature with date of recording since the last reset is displayed.
• Press the
MIN/MAX +
button again.
• The lowest outdoor temperature with time of recording since the last reset is displayed.
• Press the
MIN/MAX +
button again.
• The lowest outdoor temperature with date of recording since the last reset is displayed
• Press the
MIN/MAX +
button once more, to go back to the current values display.
• Press and hold the
MIN/MAX +
button for two seconds while the maximum or minimum values are displayed to clear the
recorded readings.
TFA_No. 35.1148_Anleitung 09.10.2017 17:18 Uhr Seite 14


