Premier Elite Series
Quick Start Guide
INS222-10
3
10: Confirm Devices
The "Confirm Devices" menu will appear check and make sure all
installed Keypads and Expanders are showing, press
/
and
/
again to confirm.
11: Learn & Place Ricochet Devices
Once the panel is powered up you will be prompted to learn any
Ricochet devices to the system. Devices should be learnt local to
the receiver, and placed in their selected locations starting with the
one closest to the receiver.
12: Programming the Control Panel
Please refer to section 5 for instruction on programming the control
panel.
13: Testing the System
Test the system thoroughly to ensure that all features and functions
operate as required (see page 19 for details).
Wiring & Addressing Network Devices
Connecting Devices to the Network
Before connecting keypads, zone expanders and output modules,
isolate ALL power from the control panel (AC Mains & Battery). Do
not continue if there is still power present on the control panel.
Connecting devices with power still present on the control panel may
damage the device or control panel and invalidate any warranty.
Keypads, expanders and output modules are all connected to the
network terminals located at the bottom left hand corner of the control
panel PCB, and may be connected serially (daisy chain), in parallel
(star) or any combination of the two
No more than 8 zone expanders, 8 keypads and 4 output modules can be
connected to each network. The maximum number of devices that can be
connected in total will depend on the control panel fitted.
Wiring the Network
The networks are made up of four terminals incorporating power
and data. To ensure correct operation, all four terminals on the
device must be connected to the corresponding terminals on the
control panel, or previous device
Terminal
Description
+
+12V Supply
-
0V Supply
T
Transmit Data
R
Receive Data
Devices can be connected using 4-core cable. However, it is recommended
that 6 or 8-
core cable is used as the spare cores can be used to ‘Double Up’
on the power connections if needed.
Stranded tinned annealed copper BS4737 7/0.2 alarm cable can
be used for most installations. However, under certain
conditions it may be necessary to use screened cable of the
same specification.
PLEASE NOTE. The conductor resistance should be no greater
than 8
Ω
per 100metres.
The usage of Low grade TCCA (tinned copper clad cable) can
have a detrimental effect on the operation of the system and the
cable distances specified in this manual.
Cable Distances
The maximum recommended distance for devices when using
standard 7/0.2 alarm cable is:
•
250m for each branch when using the star (parallel)
configuration
•
When using a daisy chain (series) configuration the maximum
distance will depend on the number of devices connected on
the chain. Whichever method of wiring configuration is used,
ensure that the voltage between the ‘+’ and ‘–’ term
inals at
each device is no lower than 10.0V when the system is running
on the standby battery.
•
Wireless expanders/panels should be mounted at least 50cm
away from metallic surfaces.
Configuration
Max. Cable Run
1.
Keypad + 2 PIR’s @15mA
250m
2.
Ex 2 PIR’s @15mA
250m
3.
Ex 8 PIR’s @15mA
100m
4.
As No. 3 + 16
Speaker
30m
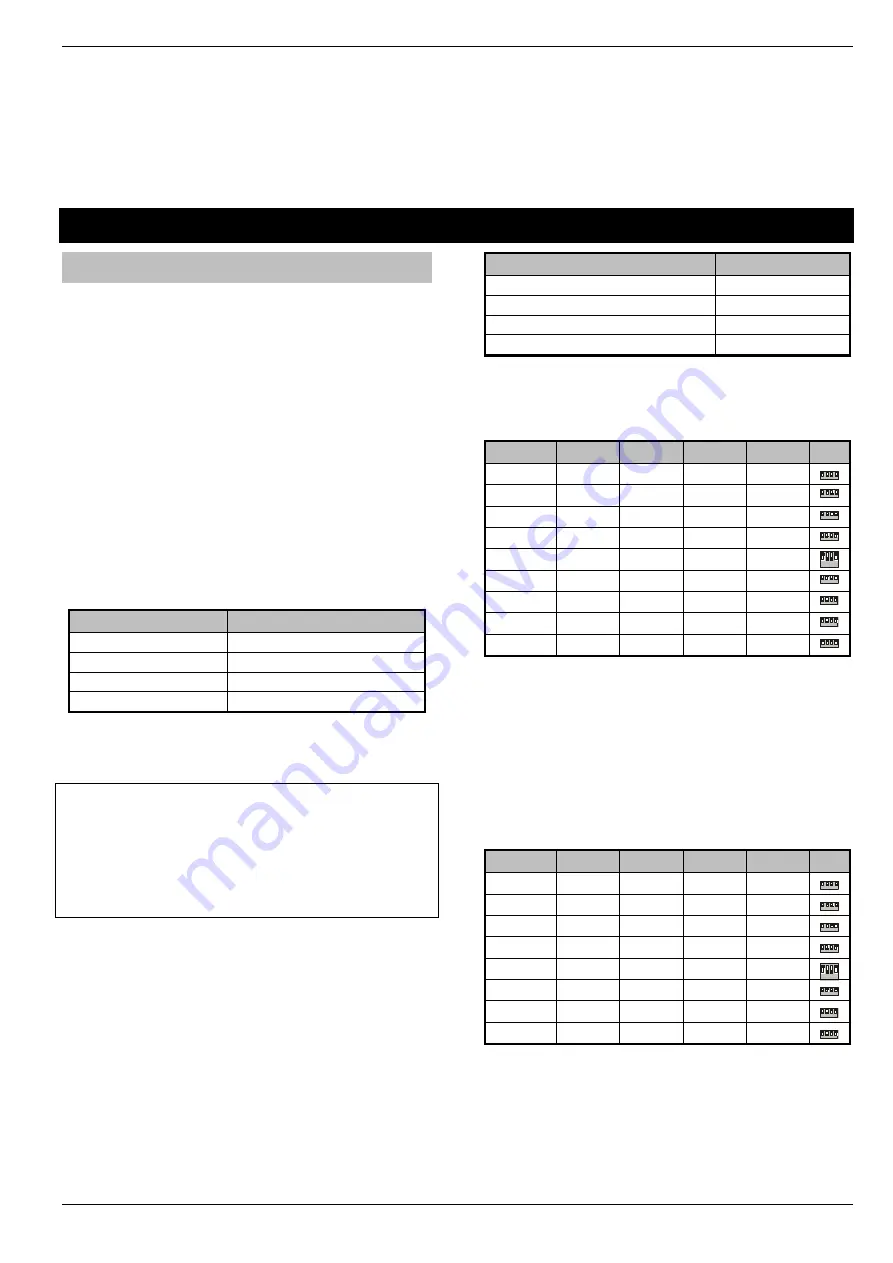
Keypad Addressing
Each keypad must be assigned a different address using the DIL
switches located on the left hand side of the PCB.
Address
DIL 1
DIL 2
DIL 3
DIL 4
1
On
or off
Off
Off
Off
2
4
3
1
2
Off
On
Off
Off
2
4
3
1
3
Off
Off
On
Off
2
4
3
1
4
Off
Off
Off
On
2
4
3
1
5 *
On
Off
Off
On
2
4
3
1
6 *
Off
On
Off
On
2
4
3
1
7 *
Off
Off
On
On
2
4
3
1
8 *
On
Off
On
On
2
4
3
1
Engineers
On
On
On
On
2
4
3
1
Never set two keypads on the same network to the same
address.
When
using a keypad as an Engineer’s keypad, the DIL
switches must all be ‘On’.
* 88 168 & 640 only
Expander Addressing
Each Expander must be assigned a different address using the DIL
switches located in the centre of the PCB. The table below shows
the expander addressing:
Address
DIL 1
DIL 2
DIL 3
DIL 4
1*
On
or off
Off
Off
Off
2
4
3
1
2*
Off
On
Off
Off
2
4
3
1
3**
Off
Off
On
Off
2
4
3
1
4**
Off
Off
Off
On
2
4
3
1
5***
On
Off
Off
On
2
4
3
1
6***
Off
On
Off
On
2
4
3
1
7***
Off
Off
On
On
2
4
3
1
8***
On
Off
On
On
2
4
3
1
Never set two expanders on the same network to the same
address.
* 24/48/64/88/168/640
** 48/64/88/168/640 only
*** 88 168 & 640 only


