2.5 Interfacing with the DCA1000EVM
The high-speed LVDS data from the radar device can be captured using the DCA1000 EVM. For more
information about the DCA1000 EVM and ordering details, see the
Real Time Data Capture Adapter
and the
DCA1000EVM Data Capture Card User's Guide
. mmWave Studio is required for configuration. For the
installation of the tool, see the
2.5.1 mmWave Studio Interface
To control the radar device from mmWave Studio, both the starter kit and the MMWAVEICBOOST must be
powered and connected to the PC using the micro USB cable. The UART used to download the firmware is
accessed from the XDS110 device on the MMWAVEICBOOST. The SPI interface used to control the radar
device, SOP controls, and nRST control is performed from the FTDI chip on the MMWAVEICBOOST. For details
on the usage of mmWave Studio, see the
Radar Studio User's Guide
that is part of the DFP package.
2.5.2 MMWAVEICBOOST and Antenna Module Configuration
The configuration of the MMWAVEICBOOST and starter kit are the same as mentioned in
the analog mux settings and the mux controls are received from the 60-pin connector (J10) instead of FTDI. To
mux all the digital controls to the 60-pin connector, the mux control switch positions should be set to ON/OFF, as
shown in
,
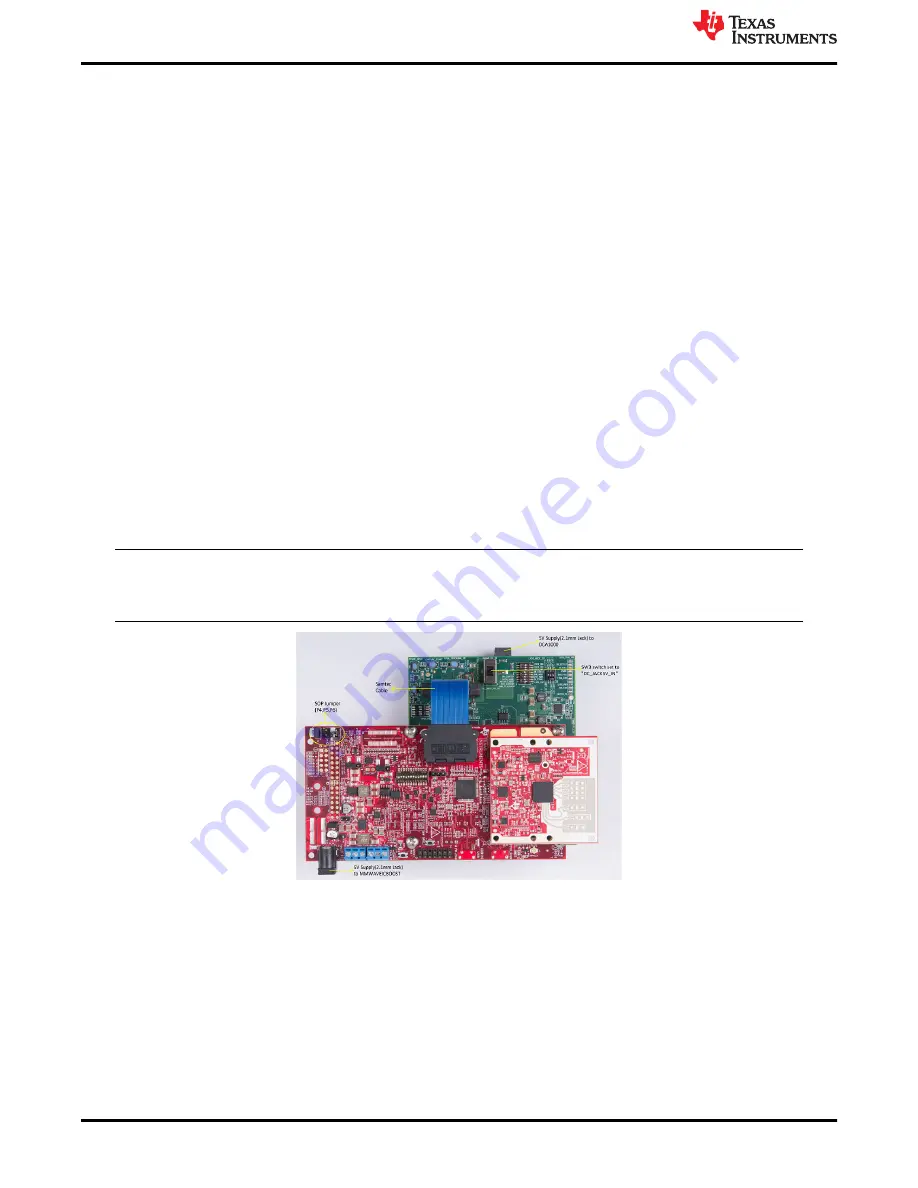
2.5.3 DCA1000 EVM Connection
The DCA1000 EVM must be powered up with a 5-V supply and the micro-USB Ethernet cable connected to the
same PC as the MMWAVEICBOOST and antenna module. A 60-pin Samtec cable (HQCD-030-02.00-SEU-
TBR-1) is used to connect the 60-pin connector (J10) on the MMWAVEICBOOST to the J3 input connector on
the DCA1000 EVM. Mount the four stand offs, four washers, and pan head screws to mate with the
DCA1000EVM. For more information, see the setup shown in
Note
The Samtec cable included in the kit is the HQCD-030-02.00-SEU-TBR-1. "02.00" indicates the length
of the cable in inches; cables with longer length can be ordered by the user if needed.
Figure 2-12. IWR6843ISK-MMWAVEICBOOST-DCA1000EVM Test Setup
MMWAVEICBOOST
18
mmWaveICBoost and Antenna Module
SWRU546D – OCTOBER 2018 – REVISED NOVEMBER 2020
Copyright © 2020 Texas Instruments Incorporated


