30
ENG
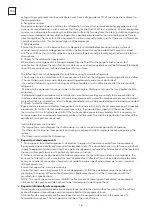
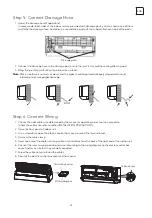
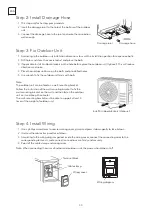
Step 2: Install Drainage Hose
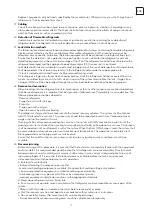
Step 3: Fix Outdoor Unit
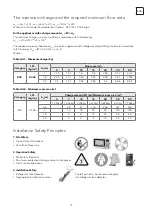
Step 4: Install Wiring
1. This step only for heating pump models.
2. Insert the drainage joint to the hole at the bottom of the outdoor
unit.
3. Connect the drainage hose to the joint and make the connection
well enough.
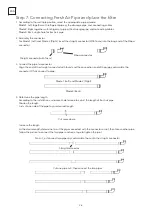
1. According to the outdoor unit installation dimensions to mark the installation position for expansion bolts .
2. Drill holes and clean the concrete dust and place the bolts .
3. If applicable install 4 rubber blankets on the hole before place the outdoor unit (Optional). This will reduce
vibrations and noise.
4. Place the outdoor unit base on the bolts and pre-drilled holes.
5. Use wrench to fix the outdoor unit firmly with bolts
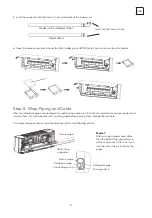
1. Use a phillips screwdriver to unscrew wiring cover, grasp and press it down gently to take it down.
2. Unscrew the cable clamp and take it down.
3. According to the wiring diagram pasted inside the wiring cover, connect the connecting wires to the
corresponding terminals, and ensure all connections are firmly and securely.
4. Reinstall the cable clamp and wiring cover.
Note: When connecting the wires of indoor and outdoor units, the power should be cut off.
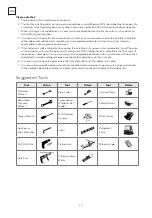
Note:
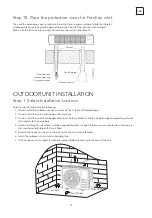
The outdoor unit can be fixed on a wall-mounting bracket.
Follow the instruction of the wall-mounting bracket to fix the
wall-mounting bracket on the wall, and then fasten the outdoor
unit on it and keep it horizontal.
The wall-mounting bracket must be able to support at least 4
times of the weight of outdoor unit.
Drainage hose
Drainage joint
Install 4 rubber blankets (Optional)
Terminal block
Cable clamp
Wiring cover
Wiring diagram
Summary of Contents for TT37AF-1232IAW
Page 353: ......
Page 354: ...www tesla info ...

