12
Operation
Before Operation
1.
Make sure the lid is latched, the access door is
closed tightly and the hose is firmly connected and lid
extension is free to rotate outward.
2.
Ensure that the tractor’s PTO Selection Lever on the
side console is in the position to allow the mid PTO
(mower deck) and the rear PTO (TKV 20) to operate.
3.
Slowly lower the 3-point arms to a position where the
PTO shaft is horizontal for mowing.
4.
For longer belt life on the mower deck and the TKV 20,
engage the PTO with the tractor at idle and throttle up
to full PTO RPMs. Lower the RPMs back to idle before
disengaging the PTO.
How to Determine If the Hopper is Full
NOTE:
The rate at which the hopper fills is dependent upon
many factors including the type of material being collected
as well as its depth, moisture content and the tractor's speed.
NOTE:
It is normal to have fine, dry grass escape from the
side panels during operation.
1.
The lid fabric cover will begin to deflate.
2.
There will be a slight change upward in the pitch of
the blower.
Emptying the Hopper
1.
To empty, disengage the PTO, lift the 3-point arms
all the way up and hold the rocker switch in the open
position until the tailgate is fully opened. Drive forward
away from the pile before closing. To close, hold the
rocker switch in the close position until fully closed.
NOTE:
It is normal to hear the electric actuator make a
ratcheting sound when the PTO shaft is fully extended or
retracted while operating the rocker switch.
2.
To prevent damage to the TKV 20, do not back up the
tractor while emptying material. Do not use the TKV
20’s tailgate to push material as damage may occur.
3.
Lower the 3-point arms to position the PTO shaft
horizontally, engage PTO, and resume mowing.
WARNING
: The TKV 20 will become unbalanced
when material is inside the hopper. Do not
disconnect the TKV 20 from the 3-point arms
or rest it on the storage stands while there is
material in the hopper.
Removal and Storage
1. Empty the hopper.
2. Lift the 3-point arms to their highest position.
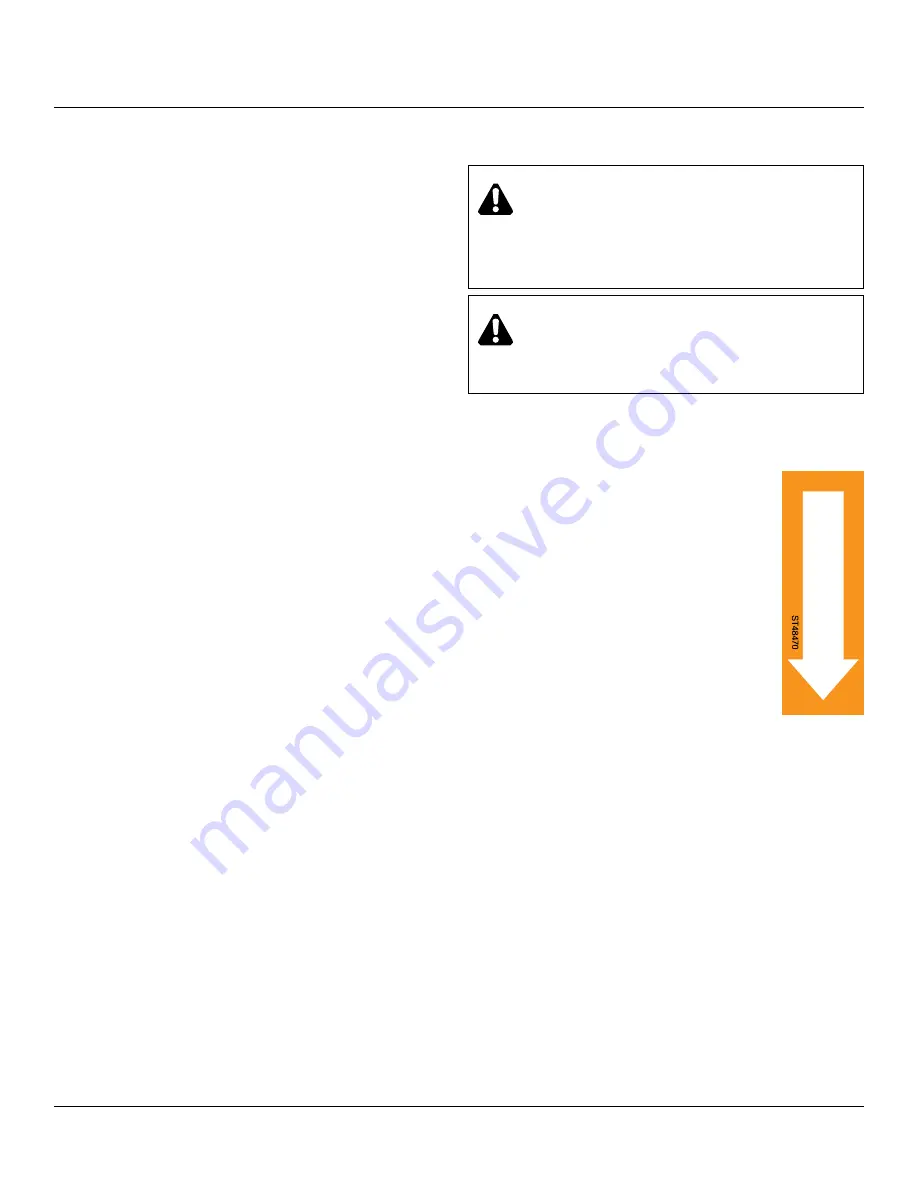
3. Ensure that the storage stands are
installed at the lowest position and
that the tractor position labels (shown
at right) on both storage stands are
pointing towards the tractor.
4. If chains or a Stay Chain Kit were used
to prevent the TKV 20 from lowering
below the PTO horizontal position,
unhook the chains from
the tractor.
5. Disconnect and remove the wire to
the actuator switch.
6. Unlatch the hose clamps and remove the hose.
7. Lower the TKV 20 onto the storage stands.
8. Disconnect the tractor’s 3-point arms or quick hitch
from the TKV 20. This may require loosening the
tractor’s sway chains/links on the 3-point arms.
9. Disconnect the PTO shaft from the tractor.
Transportation
1.
Ensure that the SMV sign on the back of the TKV 20
is in front of the hopper lid extension and visible from
the rear.
2.
Transport the TKV20 as low as possible.
3.
Ensure that the hopper lid extension is secured in
its lowered position if transporting on a trailer at
highway speeds.
T
R
A
C
T
O
R
IMPORTANT
: Do not leave material inside the
hopper between uses and during storage.
Moisture can damage the hopper and damp
material is a fire hazard.


