Page 9 of 21
Step 3
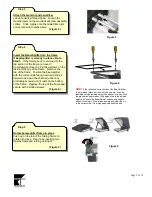
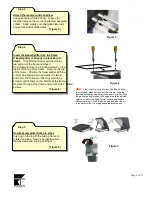
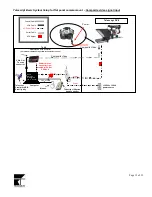
Attach the monitor and LensView
Leave LensView folded down. Loosen the
thumbscrews on the monitor/LensView assembly
collars. Slide collars onto the GlidePlate rods
and secure with thumbscrews.
(Figure 3)
Step 4
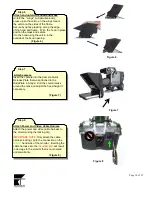
Insert the BeamSplitter into the frame
If beamsplitter is already in place skip to
Step 5
. If the folding hood is velcroed to the
top portion of the frame, remove it.
Completely remove the 2 slotted screws on the
inside of the top of the frame. Remove the top
of the frame. Position the beamsplitter with the
correct side facing down and slide it forward
and down the channel (under any protruding
screws) until it rests on the bottom of the frame.
Replace the top of the frame and secure with 2 slotted
screws.
(Figure 4)
Step 5
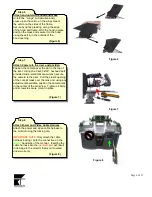
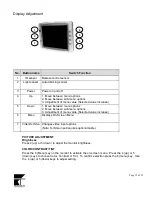
Rotate beamsplitter frame in place
Push up on the top of the folding frame to
rotate into place. Secure by inserting two
thumbscrews and turning until tight.
(Figure 5)
Figure 3
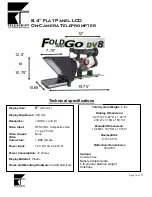
HINT:
If the reflective (correct) side of the BeamSplitter
is not marked (black dot in one of the corners) it can be
identified using a pointed object like a pencil or a key. With
the glass at an angle (about 45 degrees), hold the pointed
object as close to the BeamSplitter surface as possible
without touching it. If the image is sharp and clear then it
is the correct side. If the image appears doubled and
unclear then it is the wrong side.
Figure 4
Figure 5


