


Page 24
www.telematrix.net
Setting VLANs Manually via the Web UI
1. VoIP -> SIP Config
- Configure phone number, server IP address, etc
2. Advance -> QoS
- Setup VLAN under - see QoS Config screenshot (Do not enable VLAN at
this time) diffserv, VLAN ID, (data untaged - this defines workstation traffic)
3. LAN Config
- Bridge Enable - ON/Checked
4.
Set your connected PC to an address and subnet mask that will allow the pc to connect to the
phone's new WAN IP address (example: phone at 10.1.204.119 / subnet mask 255.255.192.0 -
PC should be at 10.1.204.199 / subnet mask 255.255.192.0 or similar)
5.
Log back into phone
6. LAN Config
- you will find Bridge Enable checked, DHCP Server on and NAT ON. Only Bridge
Enable should be on, uncheck DHCP Server and uncheck NAT.
7. Advance -> QoS
- Set/Check VLAN Enable - make sure Data Untaged is set in differentiation
field
8.
Save config, reboot…the phone should now navigate the VLAN and receive a WAN IP address
from the correct DHCP server.
9.
If you are installing multiple phones, you will want to create multiple configuration files based
upon the template you just created and saved. You can load them onto the additional phones
by saving them as extx.3300ip.txt and loading them on individual phones via
Config Manage
(extx.3300ip.txt = 1234.3300ip.txt, 77701.3300ip.txt, or whatever extension numbering scheme you
are creating)
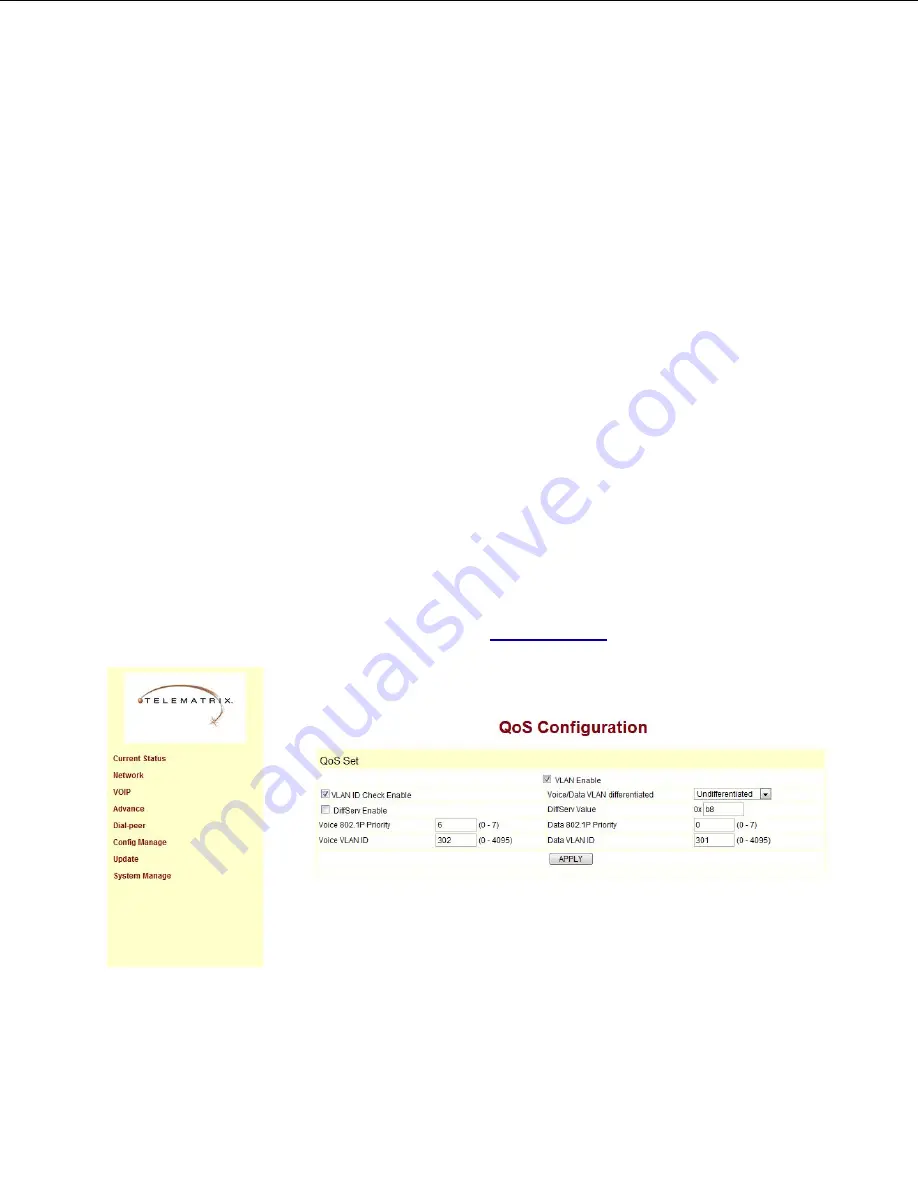
Quality of Service and VLAN Tagging are found under
Advance -> QOS
Below is a valid example of setting a Voice VLAN of 302 and a data VLAN of 301