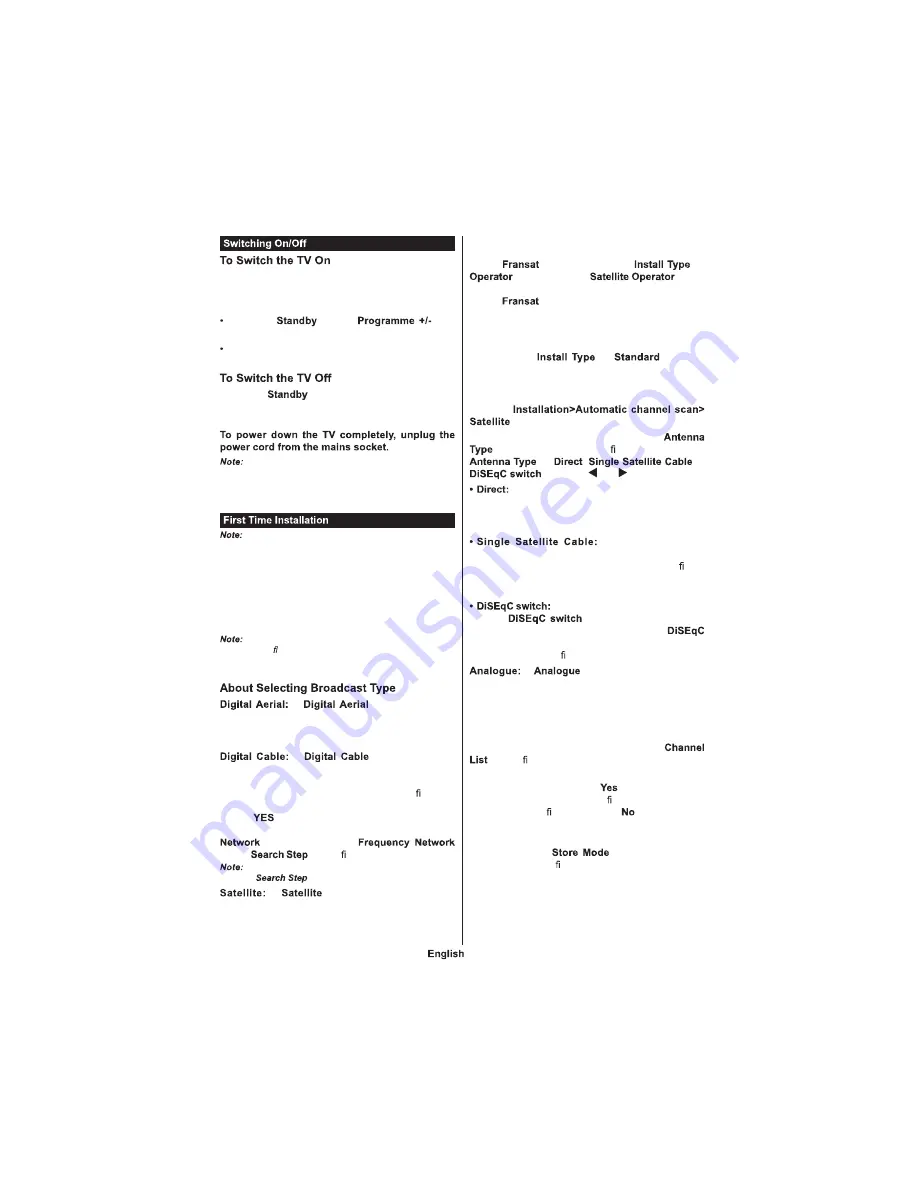
Teleco TSV20D Operating Instruction Download Page 9

   - 8  -

Connect the power cord to a power source such as a 
wall socket (11 -2 V AC, 

/

 H ). 

To switch on the TV from standby mode either

 Press  the 

  button, 

  or  a 

numeric button on the remote control.

 Press the side function switch on the TV until the TV 

comes on from standby.

Press the 

button on the remote control or 

press the side function switch on the TV until the TV 
switches into standby mode.

  When  the  TV  is  switched  into  standby  mode,  the 

standby  LED  can  blink  to  indicate  that  features  such  as 
Standby Search, Over Air Download or Timer is active. The 
LED can also blink when you switch on the TV from standby 
mode.

 If you are going to perform FRANSAT installation, insert 

the  FRANSAT  card  (optional)  into  the  Conditional  Access 
terminal of your TV before switching on your TV.

hen  turned  on  for  the  first  time,  the  language 

selection  screen  is  displayed.  Select  the  desired 
language and press 

OK

.

On the next screen, set your preferences using the 
directional buttons.

 Depending on the 

Country

 selection you may be asked 

to set and con rm a PIN at this point. The selected PIN cannot 
be 0000. You have to enter it if you are asked to enter a PIN 
for any menu operation later.

  f 

  broadcast  search 

option  is  turned  on,  the  TV  will  search  for  digital 
terrestrial  broadcasts  after  other  initial  settings  are 
completed.

  f 

  broadcast  search 

option is turned on, the TV will search for digital cable 
broadcasts after other initial settings are completed. 
According to your other preferences  a  con rmation 
message may be displayed before starting to search. 
Select 

  and  press 

OK

  to  proceed.  To  cancel 

operation, select 

NO

 and press 

OK

. You can select 

 or set values such as 

ID

 and 

.  hen  nished, press 

OK

 button. 

  Searching  duration  will  change  depending  on  the 

selected 

.

  f 

  broadcast  search  option  is 

turned  on,  the  TV  will  search  for  digital  satellite 
broadcasts after other initial settings are completed. 
Before  satellite  search  is  performed  some  settings 

should  be  made.  Before  the  satellite  search  starts, 
a  menu  will  be  displayed  where  you  can  select  to 
start a 

 installation. Set the 

 as 

 and than set the 

 as the 

related Fransat operator. Then press the 

OK

 button 

to start 

installation. You can select to start an 

automatic or manual installation. 
Press 

OK

  to  proceed.  Fransat  nstallation  will  be 

performed and broadcasts will be stored (if available).

f you  set the 

 as 

, you  can 

continue with regular satellite installation and watch 
satellite channels. 
You can start a Fransat installation at any time later 
from the 

 menu.

There are three types of antenna selection. 

  menu  will  be  displayed  rst.  You  can  select 

 as 

 or 

 by using 

 or 

 buttons.

f you  have a  single  receiver  and a  direct 

satellite dish, select this antenna type. Press 

OK

 to 

continue. Select an available  satellite on the next 
screen and press 

OK

 to scan for services. 

  f  you  have  multiple 

receivers and a single satellite cable system, select 
this antenna type. Press 

OK

 to continue. Con gure 

settings by following instructions on the next screen. 
Press 

OK

 to scan for services.

  f you have multiple satellite dishes 

and  a 

,  select  this  antenna  type. 

Press 

OK

  to  continue.  You  can  set  four 

options (if available) on the next screen. Press 

OK

button to scan the  rst satellite in the list.

 broadcast search option is 

turned on, the TV will search for analogue broadcasts 
after other initial settings are completed.
Additionally  you  can  set  a  broadcast  type  as  your 
favourite  one.  Priority  will  be  given  to  the  selected 
broadcast  type  during  the  search  process  and  the 
channels of it will be listed on the top of the 

.  hen  nished, press 

OK

 to continue.

A dialogue screen asking to activate parental control 
will be displayed.  f you select 

, parental restriction 

options will be displayed. Con gure as desired and 
press 

OK

  when  nished.  Select 

  and  press 

OK

to  advance,  if  you  don t  want  to  activate  parental 
restrictions.
You  can  activate 

  option  at  this  point. 

This option will con gure your TV s settings for store 
environment and depending on the TV model being 
used, the supported features of it may be displayed 
on the top of the screen as an info banner. This option 
is intended only for store use.  t is recommended to 
select 

Home Mode

 for home use. This option will be 

Summary of Contents for TSV20D

Page 1: ......

Page 2: ...holiday disconnect the TV set from the mains The mains plug is used to disconnect TV set from the mains and therefore it must remain readily operable If the TV set is not disconnected electrically fro...

Page 3: ...calisolationbelow acertain frequency range galvanic isolator see EN 60728 11 Do not ingest the battery Chemical Burn Ha ard This product or the accessories supplied with the product may contain a coin...

Page 4: ...for external devices such as DVD Players PVR video games etc Stereo sound system Teletext Headphone connection Automatic programming system Manual tuning Automatic power down after up to eight hours S...

Page 5: ...e on For this an adaptor is used which gives voltage Connect this adaptor to a system that supplies Connect the ground terminal of the AC adaptor with the ground terminal provided at the power outlet...

Page 6: ...2 x 2 5 40 3 30 134 x 473 x 328 34 x 473 x 294 19 6 0 C up to 40 C 85 humidity max 2400 2483 5 MHz CH1 CH13 100 mW 5150 5250 MHz CH36 CH48 200 mW 5250 5350 MHz CH52 CH64 200 mW 5470 5725 MHz CH100 CH1...

Page 7: ...formation about on screen content shows hidden information reveal in TXT mode Displays the electronic programme guide Opens the media browsing screen Follow the on screen instructions for coloured but...

Page 8: ...e wall mounting kit available from third party in the market if not supplied we recommend that you plug all your cables into the back of the TV before mounting on the wall Insert or remove the CI modu...

Page 9: ...ll be displayed where you can select to start a installation Set the as and than set the as the related Fransat operator Then press the OK button to start installation You can select to start an autom...

Page 10: ...power supply external hard disk drives or USB memory stick to your TV by using the USB inputs of the TV Back upthe les onyourstoragedevices before connecting them to the TV Manufacturer will not be r...

Page 11: ...turn to the If you press button while watching recorded programmes the slow forward feature will be available You can use button to slow forward Pressing button consecutively will change slow forwardi...

Page 12: ...tically So you need to decrease TV volume to zero manually if you want to hear audio from connected audio device only same as other optical or co axial digital audio outputs If you want to change conn...

Page 13: ...orded at a different number of frames per second to normal television programmes Turn this feature on when you are watching lms to see the fast motion scenes clearly Skin tone can be changed between 5...

Page 14: ...pending on the broadcaster and the country Enter correct password to change parental settings You can easily adjust or in this menu You can also set a new or change the using the related options Some...

Page 15: ...le CEC functionality completely Press Left or Right button to enable or disable the feature Thisfunction allowsthe connectedHDMI CEC compatible device to turn on theTV and switch to its input source a...

Page 16: ...eferences Using this option you can set one of your four favourite lists to be displayed everytime the is opened The ltering function in the menu will only lter the currently displayed in order to nd...

Page 17: ...B disk to your TV while the TV is switched off You should then switch on the TV to enable the recording feature Switching to a different broadcast or source is not available during a recording Use the...

Page 18: ...manual tuning The picture quality may degrade when two devices are connected to the TV at the same time In such a case disconnect one of the devices This means yourTV is not receivingany transmission...

Page 19: ...80x96075Hz 1280x96085Hz 1280x102460Hz 1280x102475Hz 1280x102485Hz 1400x105060Hz 1400x105075Hz 1400x105085Hz 1440x90060Hz 1440x90075Hz 1600x120060Hz 1680x105060Hz 1920x108060Hz 1920x120060Hz PALO SECAM...

Page 20: ...G1 2 MPEG4 Sorenson H 263 H 263 H 264 WMV3 Motion JPEG mkv MPEG1 2 MPEG4 H 263 H 264 WMV3 Motion JPEG asf Sorenson H 263 H 264 WMV3 Motion JPEG v WMV31080P 30fps 40 Mbps swf RV30 RV40 1080P 30fps 40 M...

Page 21: ...A 128bps 320Kbps 8KHz 48KHz WMA 10 Pro M0 192kbps 48KHz WMA 10 Pro M1 384kbps 48KHz WMA 10 Pro M2 768kbps 96KHz mkv mka MPEG1 2 Layer1 32Kbps 448Kbps 16KHz 48KHz MPEG1 2 Layer2 8Kbps 384Kbps MPEG1 2 L...

Page 22: ...20Kbps 16KHz 48KHz AAC HEAAC 8KHz 48KHz ac3 AC3 32Kbps 640Kbps 32KHz 44 1KHz 48KHz AAC HEAAC 8KHz 48KHz swf MPEG1 2 Layer3 8Kbps 320Kbps 16KHz 48KHz ec3 EAC3 32Kbps 6Mbps 32KHz 44 1KHz 48KHz rm rmvb r...

Page 23: ...converter cable DVI to HDMI cable not supplied you can refer to the following resolution information 56Hz 60Hz 66Hz 70Hz 640x400 640x480 800x600 832x624 1024x768 1152x864 1152x870 1280x768 1360x768 12...

Page 24: ...op down menu and enter the new values using the numeric buttons of the remote Press the OK button to save settings when complete Veezy 200 USB dongle is re uired to use wireless network features The T...

Page 25: ...ngs when complete The status of the connection will be displayed as Connected or Connected and the current IP address if a connection is established If yourmobiledevicehas WiFi feature youcan connect...

Page 26: ...n You can press to exit If you select the media type as and choose a device from the selection menu Then select the folder with video les in it on the next screen and all the available video les will...

Page 27: ...ash content These are not supported by the browser Your TV does not support any download processes from the internet via the browser All sites on the internet might not be supportted According to the...

Page 28: ...ready toconnect toyour mobile device now Install the application onto your mobile device Start the smart center application If all connections are con gured properly you willsee yourTV s nameon your...

Page 29: ...d Multilanguage audio support and subtitle on off features are not functional The streaming performance may change depending on the quality of your connection To access the widget tap onthe on the bot...

Page 30: ...center out Do not use solvents such as benzine thinner commercially available cleaners or anti static spray intended for vinyl LPs This product incorporates copyright protection technology that is pro...

Page 31: ...uage is not recorded on the disc only the available language on the disc will be heard Some DVDs may not contain root and or title menus Reverse stepping is not available For your convenience If you a...

Page 32: ...as a Digital Signal with better audio quality less distortion and less deterioration of audio quality over time Video still picture 12 cm It depends on JPEG quality JPEG is recorded as a Digital Signa...

Page 33: ...k Navigation buttons OK Select Info Angel Zoom Repeat Language selection Rapid reverse Play Stop Pause Rapid advance Subtitle Root Title Display DVD Menu Search mode Source TV Menu Buttons not indicat...

Page 34: ...e selection during playback Press repeatedly to switch between modes Auto language X X Displays TV menu Enter View Play GREEN BUTTON Displays repeat options Returns back to the previous menu if availa...

Page 35: ...uttons or a numeric button on the remote control or press the middle of the control switch on the TV in The TV will then switch on Adjust the antenna position for better reception or reinstall TV chan...

Page 36: ...111 A B Sizes mm W H 75 75 C es D th X min mm 5 max mm 8 E M4...

Page 37: ...TELECO TSV20D A DIAGONALE VISIBLE ECRAN 49 8 CM 19 6 POUCES 14 Watt 20 kWh an 0 5 Watt 1366x768...

Page 38: ......

Page 39: ......

Page 40: ......

Reviews: