RUN 600 XTPRO: Service & Maintenance Manual - rev. 1.3
Page 8.1
8. ADJUSTMENTS
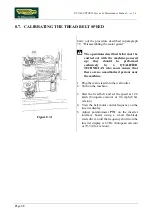
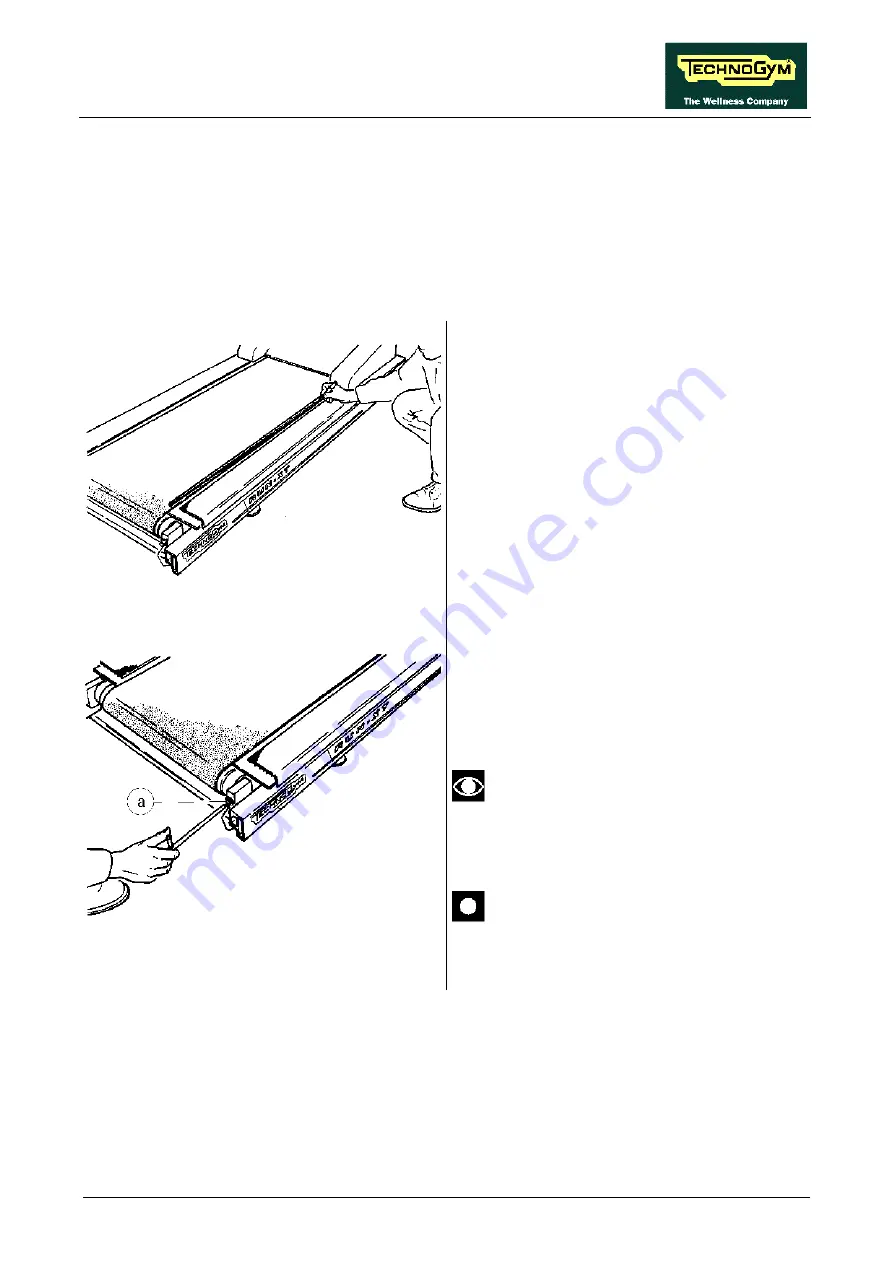
8.1. TENSIONING A NEW TREAD BELT
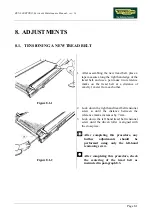
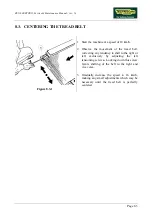
Figure 8.1-1
1. After assembling the new tread belt, place a
tape measure along the right hand edge of the
tread belt, and use a pen make two reference
marks on the tread belt at a distance of
exactly 1 meter from each other.
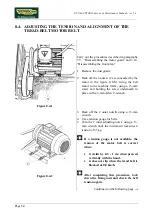
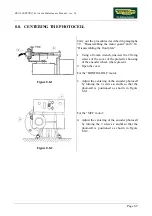
Figure 8.1-2
2. Lock down the right hand tread belt tensioner
screw
a
until the distance between the
reference marks increases by 7 mm.
3. Lock down the left hand tread belt tensioner
screw until the driven roller is aligned with
the crosspiece.
After completing this procedure, any
further adjustments should be
performed using only the left-hand
tensioning screw.
After completing this procedure, check
the centering of the tread belt as
instructed in paragraph 8.3.
Summary of Contents for RUN 600 XTPRO
Page 1: ...SERVICE MAINTENANCE MANUAL REV 1 3...
Page 2: ......
Page 4: ......
Page 24: ...RUN 600 XTPRO Service Maintenance Manual rev 1 3 Page 2 14 Page intentionally left blank...
Page 36: ...RUN 600 XTPRO Service Maintenance Manual rev 1 3 Page 3 12 Page intentionally left blank...
Page 38: ...RUN 600 XTPRO Service Maintenance Manual rev 1 3 Page 4 2 Page intentionally left blank...
Page 82: ...RUN 600 XTPRO Service Maintenance Manual rev 1 3 Page 6 42 Page intentionally left blank...
Page 126: ...RUN 600 XTPRO Service Maintenance Manual rev 1 3 Page 8 10 Page intentionally left blank...
Page 156: ...RUN 600 XTPRO Service Maintenance Manual rev 1 3 Page 11 14 Page intentionally left blank...
Page 157: ......


