5.2.3 REMOTE CONTROL MENU
Remote control is not available
5.2.4. CHRONO MENU
Press the
P3 button to enter the menu. The display shows the chrono management
menu. Enter the modality menu by touching the
P3 button. The
screen on the right-up will appear. In the chrono menu, the daily /
weekly / weekend time settings are usually switched on / off. When
turned on, the display will show the time in the left corner and nothing
will be visible in the closed position. When the P2 button is pressed in
the modality menu, the timer can be set to ON or OFF. To select daily, weekly or weekend
programming and to set the clock, the timer menu must be entered with the P3 button.
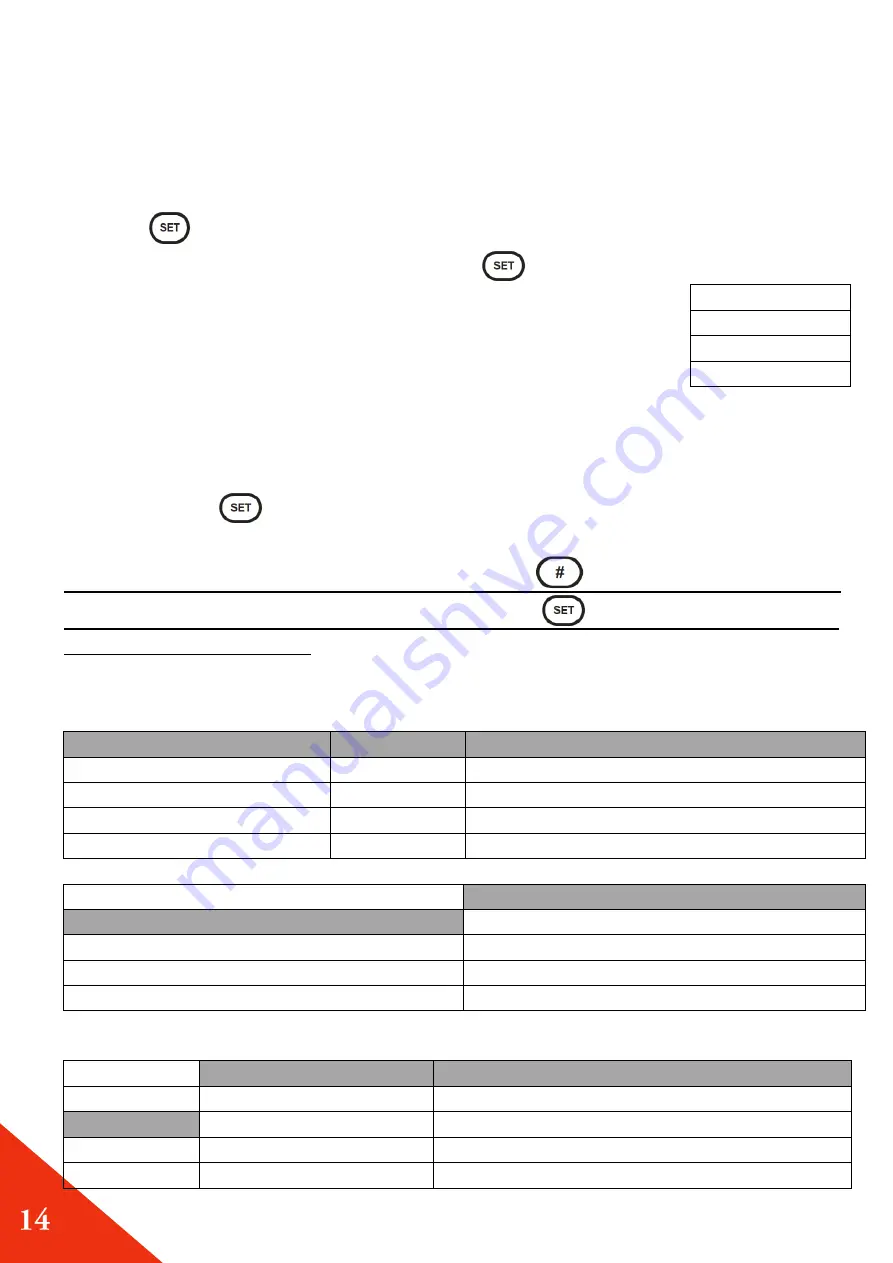
When programming needs to be done, the steps in the table below should be followed. 3
time slot opening and 3 time slot shutdowns can be programmed for each day. To set each
time slot, use the
P3 menu button to flash the time slot on the display and the P4 and
P6 buttons to increase or decrease the time.
After choosing the time slot selection, activate it with
P5 button (when it becomes
actived, there will
be a “√” sign on the right side. Use
P3 menu button to save and
use P1 ESC to exit each step.
Example: DAILY PROGRAMMING
Daily
Monday
Monday
Weekly
Tuesday
OPEN CLOSE
Weekend
Wednesday
09.30 11.15
√
Thursday
00.00 00.00
Friday
00.00 00.00
Example: WEEKLY PROGRAMMING
Daily
Monday- Sunday
Weekly
OPEN CLOSE
Weekend
09.30 11.15
√
00.00 00.00
00.00 00.00
Example: WEEKEND PROGRAMMING (MONDAY-FRIDAY OR SATURDAY- SUNDAY
Daily
Monday- Friday
Monday - Friday
Weekly
Saturday- Sunday
OPEN CLOSE
weekend
10.00 12.15
√
14.00 16.00
√
00.00 00.00
OFF
Daily
Weekly
Weekend
Summary of Contents for TP-05
Page 7: ...ROOM THERMOSTAT CONNECTION POINT TP 05 TP 06 TP 07...
Page 8: ...TP 08 TP 09...
Page 9: ...TP 10 TP 11...
Page 16: ...6 CLEANING AND MAINTENANCE TP 05 TP 06 TP 07 TP 08...
Page 17: ...TP 09 TP 10...


