background image

Configuration controls

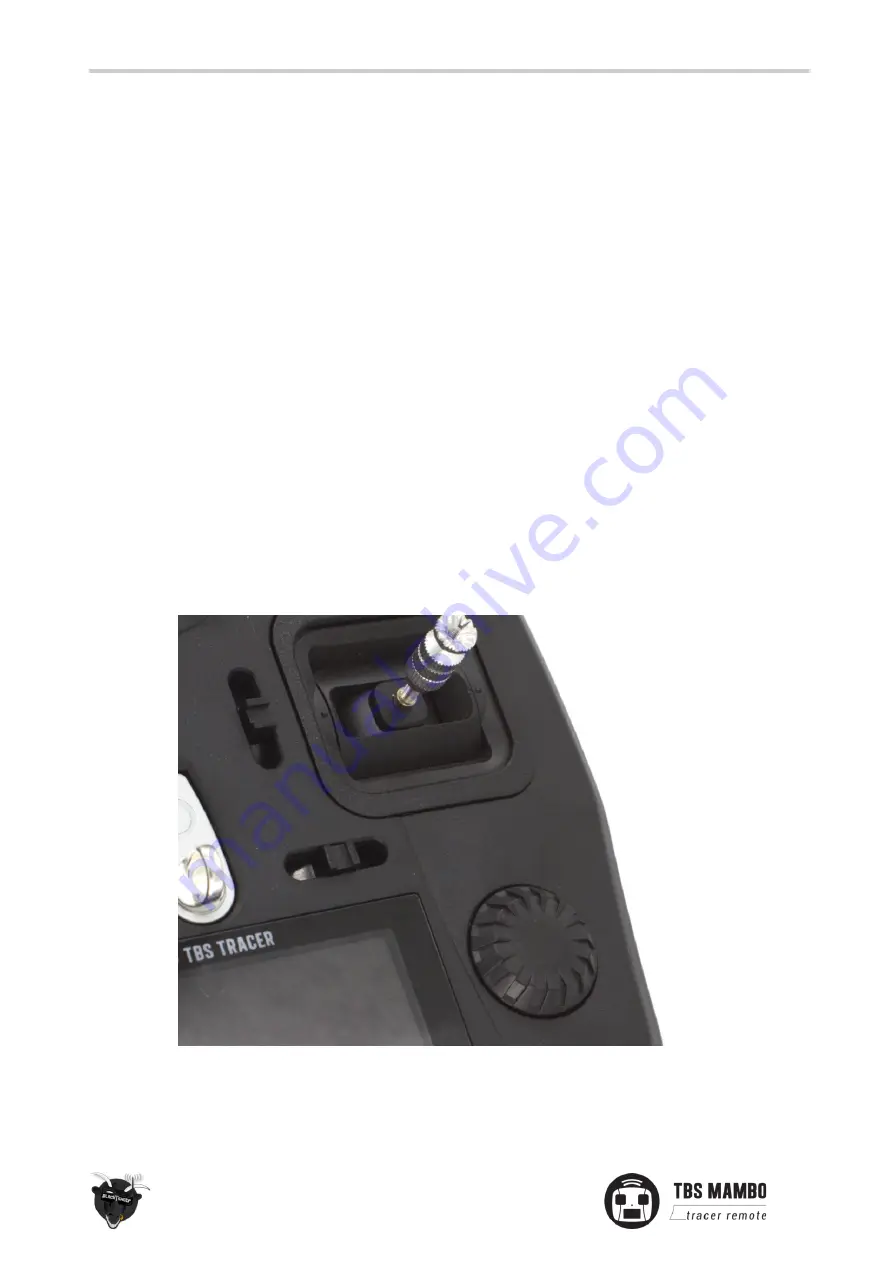
To navigate and configure the radio, the left-side buttons and right-side selector wheel are used. These are

the control inputs for the configuration menu system:

Menu

Quick-press enters the model setup. First page is the TBS Agent Lite (LUA)

Long-press enters the radio configuration

Page

Quick-press skips through the different configuration views

Long-press enters the telemetry view or navigate to the previous page (in the menu)

Exit

Go backwards or exit the configuration menus

Enter

Single-press engages a configuration menu item

Double-press enters stick trim menu

Long-press enters the model select menu

Rocker

Scroll through the available menu items or setting options

10

Summary of Contents for TBS MAMBO Radio

Page 1: ...emain on the bleeding edge of capabilities paired with the ease of use and overall robustness that TBS products are known for Key features Ergonomic All in one AIO radio Integrated TBS Tracer Micro Tx...

Page 2: ...USB Joystick SD card content FAQ How To videos Configuration controls Changing stick mode Changing channel mixing and end points Flying Wings Radio configuration menu Tools Memory card Radio setup Gl...

Page 3: ...play Usage External module Neck strap Bind Model ID Set failsafe Set up switch warning Installing the battery TRACER functions Stick trim Battery protection Alert prompts Inside the radio Changing the...

Page 4: ...enu Initiate the WiFi module Connection to a WiFi hotspot Firmware upgrade Backing up the SD card content Update FreedomTX Update the build in Tracer Update the SD card content Programming examples LQ...

Page 5: ...output power and radio environment Gimbals Full size Digital Hall Gimbals Tango 2 Gimbals upgradeable to PRO folding Controls 2x Quad full size hall gimbals 2x Two position switches 2x Three position...

Page 6: ...simple task In most cases plug play when using TBS equipment FAQ If you got any question after reading this manual you should visit the TBS FAQ section Note This manual is written based on FreedomTx...

Page 7: ...Overview The following diagrams indicate the essential input controls green and features red of the radio 7...

Page 8: ...Detailed overview Power button Left gimbal Display and speaker Right gimbal rocker switch JR bay with installed TBS Crossfire module Grip pads on the back Audio jack USB port 8...

Page 9: ...ound files and scripts can be found on the TBS website How to update the sd card video Tango 2 video series Please make sure you download the correct content for your FreedomTX or OpenTX version The m...

Page 10: ...t Lite LUA Long press enters the radio configuration Page Quick press skips through the different configuration views Long press enters the telemetry view or navigate to the previous page in the menu...

Page 11: ...to how the remote is configured to control the airplane i e which sticks operate which controls on the aircraft You can swap the stick gimbals by opening up the remote covered later on in the manual B...

Page 12: ...he mixing end point and reverse settings can be configured in channel settings after you have set up a new flying wing model 1 Quick press the Menu button to enter the Model Setup 2 Change to the Mixe...

Page 13: ...ed using the Rocker switch Enter button Long press the Menu button to enter the radio configuration menu Tools Browse your LUA tools Here you can quickly access your LUA tools scripts like BetaFlight...

Page 14: ...setup Configures the major features of the radio Date Current date Time Current time no timezone or daylight Battery range Span of the graphical radio battery meter on the main views must be 3 4 to 4...

Page 15: ...ted Backlight When the Display should turn on Continuation of radio setup Splash screen How long to display the start up screen PWR off delay How long you need to hold the power button to start the ra...

Page 16: ...inserted on channels 1 4 when creating a new model Mode Determines which sticks move which controls on the airplane Invert Rotary inverter the way the rotary works when selecting stuff not the general...

Page 17: ...ches Sets the type of switches Battery calibration Use a multimeter to measure and input the voltage RTC battery shows the actual RTC battery voltage Check RTC checks the voltage of the RTC battery Ve...

Page 18: ...page 6 CALIBRATION If the initial calibration was incorrect re do it by pressing the Enter button and follow the instructions IMPORTANT on the final step do NOT move the sticks to their combined extr...

Page 19: ...ar flight timers and telemetry Statistics Metrics on the model and radio Model select Manage your models and categories Left column Lists categories navigate through them with PAGE Right column Lists...

Page 20: ...is can be aborted any time by pressing EXIT Press the Page button to go to the next screen Select model type Pick the base for the new model the type of aircraft Answer each step to generate the final...

Page 21: ...TX features Model name Specify profile name Timer1 Timer2 Timer3 Countdown timers Name Specify timer name Persistent When the timer will be set to 0 Minute Notification every minute passed Countdown n...

Page 22: ...al RF Settings when an external module is connected Off when internal Tracer is used Global functions Use global functions Model Match allows you to bind a receiver to just this model Flight modes Cre...

Page 23: ...Global variables Commonly shared values G1 G9 Specific configuration screens Inputs Allows setting one or more input formatting rules to each stick axis Rud Ele Thr Ail Specific input configuration s...

Page 24: ...control channel specific configuration screens Curves Custom curves can be used either in input formatting or mixers CV1 CV16 Curves specific configuration screens Logical switches These are logic swi...

Page 25: ...ts these can be used to perform complex mixes LUA1 LUA7 LUA script specific configuration screens Telemetry This groups all the basic telemetry related settings RSSI Receiver Received Signal Strength...

Page 26: ...r the Mambo Vario Generates the tone sound of a glider variometer Source Specify data source Range Usable signal range Center Equilibrium value Display The display screen is where the telemetry view s...

Page 27: ...lide in your module Now enable the external module in the model settings and select the correct protocol type for your module For the TBS Crossfire you need to use it to CRSF If you use a Crossfire st...

Page 28: ...p hooks into the center of the radio It is made of metal so it will last a life time There you can use a neck strap of your choice We recommend the ETHIX neck strap which is available from TBS or your...

Page 29: ...issues during the binding check the Tracer manual as well as the FAQ section for other problems Model ID When you bind a receiver you can set up if it should only bind to a specific receiver This feat...

Page 30: ...e 3 Select the Set failsafe menu item and wait for the failsafe to be stored on the receiver Set up switch warning 1 Press the Menu button and navigate with the PAGE button to the SETUP page 2 Scroll...

Page 31: ...he right direction to avoid shorts or reverse polarity TRACER functions For the detailed information on the functions of the in build TRACER model please check out the TRACER manual In there you can f...

Page 32: ...34V Shutdown voltage 20 seconds countdown prompt recharge as soon as possible The MAMBO can be charged during the flight In case your battery becomes empty while you are in the air simply connect a p...

Page 33: ...l range throttle ratchet or gimbals you will need to open up the remote control Warranty will still remain intact of course Then remove the four 4 screws as indicated in the following photo with a M2...

Page 34: ...flight modes will have the throttle on either the left or right side requiring it to be non sprung Modifying it is a matter of screwing in the throttle lock screw and loosening the other The rest is c...

Page 35: ...ease the tension and clockwise to increase the tension If you rather prefer a ratchet clicking stick loosen the left screw entirely and increase the tension of the right screw Adjusting stick tension...

Page 36: ...purchased separately The default is no limit Adjust the screws shown in the following photo Clockwise to increase the limit There are 2x M1 4x6 machine thread screws included with every Mambo Recalib...

Page 37: ...Then remove the sixteen 16 screws holding the mainboard to the housing and gimbals Do not remove the trim switch screws Disconnect the speaker cable 37...

Page 38: ...the mainboard holes and easily pulled out Insert the new gimbal s and re assemble the radio Flap the pcb over the front shell slide the switches into their holes place the trim switches with a tweeze...

Page 39: ...w the spring tension holder as shown in the following photo Unhook the stock springs and re attach the new ones This can be a bit tedious and only recommended for experienced users A special trick is...

Page 40: ...rill or dremel Do not cut the complete notch as it is designed to hold the nut of the SMA connector The easiest way to do this the right way is to pre notch the center of the cutout and then use a dri...

Page 41: ...41...

Page 42: ...onnect is required Forget WiFi erases all saved networks and their passwords Upgrade starts the self update for the WiFI firmware Disabled at the moment UDP MAVLink enables disables the sending of MAV...

Page 43: ...P_xxxxxx Connect your pc with this network On Windows machines this can take up to one minute Open your browser and enter IP in the address bar 192 168 4 1 Click on Select file and search for the unpa...

Page 44: ...assigned by the WiFi network for TRACER TX Note if WIFi hotspot network has no internet connection cloud based features will not work Agent X M L menu work as well Connect the TRACER TX to your radio...

Page 45: ...SD 3 Wait for your pc to mount the drive 4 Copy the following folders to your pc Models Radio Crossfire Logs Update FreedomTX 1 Power up your Mambo and connect it by USB C 2 open the Agent X 3 In the...

Page 46: ...sh downgrade 7 Hit Update and wait for the Agent to finish it Update the SD card content You can download the content manually from the Mambo shop page when you scroll down make sure to select the cor...

Page 47: ...LQ warning audio FreedomTX will warn you based on the LQ sensor There is no extra setup required The warning level can be set up in the Model settings Telemetry Self holding switch Switch F If you wa...

Page 48: ...in the mixer instead of the button Instant trim How does it work Hold the sticks in the position where your plane is flying leveled and hit the button where you assigned the function to Now the stick...

Page 49: ...he switches in the Mixer page of your model to a channel you d like it to be For detailed informations on the mixer page have a look at Painless360 s opentx video series In the Agent X Lite M the Trac...

Reviews: