ENGLISH
● Select the SMR you like to connect to.
● Next, you have the possibility to rename the SMR according to its place in the
system, e.g. “Livingroom”.
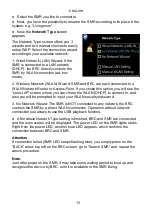
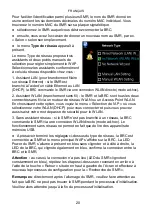
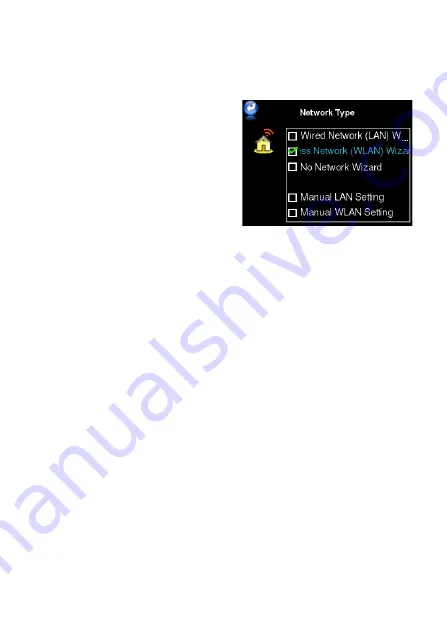
● Now, the
Network Type
screen
appears.
The Network Type screen offers you 3
wizards and two manual choices to easily
setup WAP. Select the connection wizard
according to your available network:
1. Wired Network (LAN) Wizard: If the
SMR is connected to a LAN network
(DHCP), the BRC directly controls the
SMR by WLAN connection (ad-hoc
mode).
2. Wireless Network (WLAN) Wizard: SMR and BRC are each connected to a
WLAN Network Router or Access-Point. If you chose this option, you will see the
“select AP” screen where you can chose the WLAN (DHCP) to connect to, and
also you will be prompted to input your WLAN security password.
3. No Network Wizard: The SMR is NOT connected to any network, the BRC
controls the SMR by a direct WLAN connection. Operation without network
connection just allows to use the USB playback function.
● After above Network Type setting is finished, BRC and SMR are connected
and the main screen will be displayed. The power LED on the SMR lights static.
Right from the power LED, another blue LED appears, which confirms the
connection between BRC and SMR.
Attention
:
If connection failed (SMR LED keeps flashing blue), you simply press on the
“BACK” arrow top left on the BRC screen, go to “Search SMR” and repeat the
above procedure.
Note
:
Just after power on the SMR, it may take some waiting period to boot up and
recognize the device by BRC, until it is available in the SMR listing.
13


