ENGLISH
Assembly
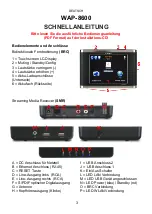
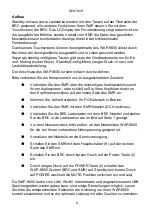
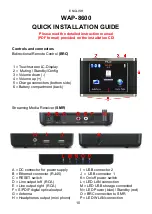
Switching standby on/off as well as volume can be done by the buttons on top of
the BRC. All other functions will be controlled by the touchscreen of the BRC.
The LC display in the BRC does not only display the received commands but it
can also receive contents from SMR such as music track playback data, cover
pictures etc, all displayed in the remote control right in your hand!
Thanks to the touchscreen, display contents of WAP-8600 can be selected or
you can scroll in the lists by a simple touch of your fingertips.
There are few separate keys at the top of the control just for On and Muting
(short push) / Standby/Config menu (long push >2 sec) and volume control.
Basic assembly of this system is very easy to do.
Please connect all components only when they are switched off.
●
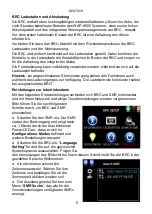
Connect the SMR from backside audio outputs to your audio system
by the supplied audio cable - or connect your headphone to the
appropriate outputs at the left side of the SMR.
●
Setup and connect your computer network, if required.
●
Connect the SMR to the SMR power supply (DC connector).
●
Connect the BRC charger stand to the BRC power supply (DC
connector) and place the BRC on the charge stand as shown on
page 1.
●
Before connections, check your mains power system to be
appropriate to the WAP-8600 power supply.
●
Connect the power adaptors to mains supply.
●
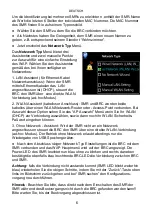
The main power switch (K) you
will find at the right side of the SMR.
●
To switch on the BRC, shortly press the POWER button (2) on top of
it.
●
By a long push on the POWER button (2), the whole WAP-8600
system (BRC and SMR) can be switched into standby (a short push
on POWER toggles the MUTE function between on and off)
Since WAP-8600 can playback audio files from LAN, WLAN, Internet Radio and
connected USB storages, there are various settings possible. Please read the
related chapters to setup your WAP-8600 correctly for best performance with all
sources.
11


