


Select
the
Movie
option
and
press
the
OK
button.
Locate
your
music
files
by
navigating
with
the
arrow
keys.
Press
OK
to
enter
a
folder,
and
RECALL
to
return
to
the
previous
folder.
When
a
movie
file
is
highlighted,
press
PLAY
to
start
music
playback.
All
music
files
listed
in
the
folder
will
be
played
in
sequence.
During
music
playback,
the
following
actions
are
available.
Pause:
Press
the
PAUSE
button
to
pause.
Press
again
or
press
PLAY
to
resume
playing.
Stop:
Press
the
STOP
button
to
stop
playback.
Exiting
to
the
main
USB
menu
or
the
TV
mode
will
also
stop
playback.
Forward/Rewind:
Press
the
<</>>
buttons
repeatedly
for
different
speeds.
Press
PLAY
to
resume
playing.
Previous/Next
track:
Press
|<<
for
previous
track,
and
>>|
for
next
track.
GOTO:
Press
the
GOTO
button
and
enter
a
specific
time
to
jump
to
in
the
current
track
in
HH:MM:SS
format.
Repeat:
Press
repeatedly
to
cycle
through
different
repeat
modes
(Repeat
one/Repeat
all/Repeat
all
random/Repeat
off)
Subtitle:
Press
SUBTITLE
to
choose
subtitles
(subject
to
availability
from
the
movie
file)
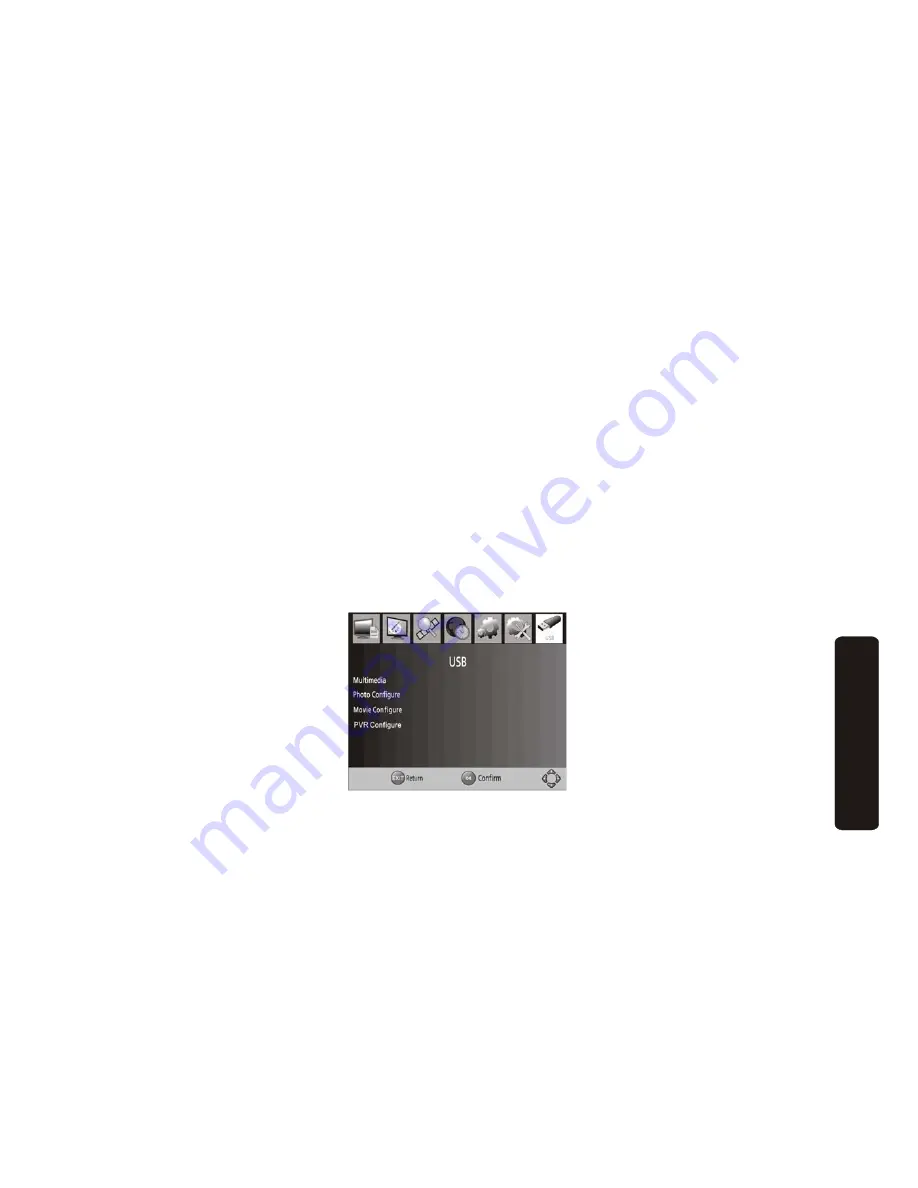
5.2
USB
and
Multimedia
Settings
A.
Multimedia
When
a
USB
device
is
attached,
you
can
select
from
the
Music,
Photo,
Movie,
or
PVR
options
in
this
menu
using
the
RIGHT/LEFT
keys,
and
press
OK
to
select
and
RECALL
to
go
to
the
previous
folder.
If
a
USB
device
is
not
connected
to
the
unit,
the
following
prompt
will
appear:
‘No
USB
device
is
Found’
will
appear.
Press
EXIT
to
exit
the
menu.
19
US
B
Mu
lti
me
d
ia
Playbac
k


