


10
Menu
Operation
4.
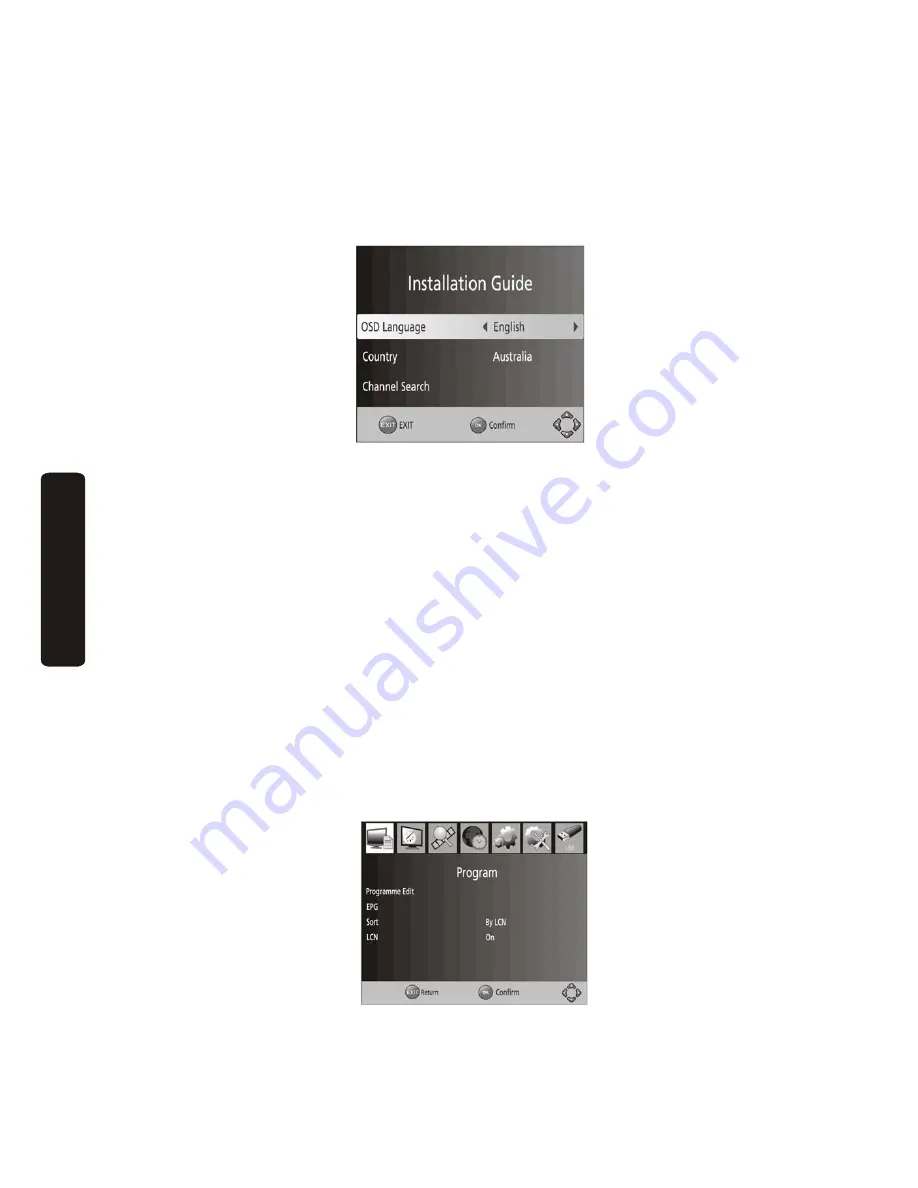
Installation
Guide
4.1
Initial
Setup
and
Channel
Tuning
After
all
connections
have
been
made,
switch
on
your
TV
unit.
Press
the
POWER
button
to
switch
on
the
Set
Top
Box.
If
you
are
using
the
unit
for
the
first
time
or
have
restored
the
unit
to
Factory
Default
settings,
the
Installation
Guide
menu
will
appear
on
‐
screen.
OSD
Language:
Press
the
LEFT/RIGHT
key
to
make
a
language
selection.
Country:
Press
the
LEFT/RIGHT
key
to
select
your
country
of
residence.
Channel
Search:
Press
RIGHT
or
OK
key
to
begin
an
automated
channel
search.
Once
the
channel
tuning
is
complete,
you
can
start
viewing
broadcasted
television
programs.
If
the
channel
search
has
failed,
please
check
that
your
Antenna
has
been
set
up
properly
and
is
functioning.
If
problems
persist,
please
contact
your
dealer
for
assistance.
For
detailed
instructions
on
Auto
and
Manual
Channel
Tuning,
please
see
section
4.4.
4.2
Program
Settings
Menu
To
manage
your
program
systems,
and
local
settings,
press
the
MENU
button
on
the
remote
control
while
in
TV
viewing
mode.
A
prompt
will
appear,
with
the
selections
to
access
changes
to
the
Program
Settings,
Picture
Settings,
Channel
Search,
Time
Settings,
General
Options,
System
Settings,
and
USB
settings.


