


10
The menus for adjusting the picture are used to obtain
the best picture settings according to your preference,
the type of program you are watching and the ambient
lighting.
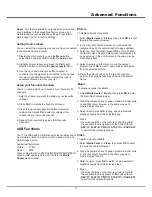
Display the main menu by pressing
Menu
and select
Picture
, then press the
OK
button to confirm. The
Picture
options are as below:
Note: Some options may be not available for certain
signal sources.
Picture preset:
use the left or right direction button to
scroll through the picture preset settings:
Vivid,
Standard, Movie, Power saver
and
Personal
.
Brightness:
adjusts the brightness of the picture.
Contrast:
adjusts the difference between light and dark
areas of the picture.
Saturation:
adjusts the richness of colour.
Sharpness:
adjusts the crispness of the edges in the
picture.
Note: This function is not available in VGA mode.
Back light:
this option can be used to adjust the
brightness of the back light, depending on room lighting.
Dynamic back light:
Auto adjusts the back light,
depending on the detected picture light and shade. Use
the left or right direction button to select
On
or
Off
, if
On
is selected, the
Back light
option is not available.
Natural light:
auto adjusts the back light, depending on
room lighting. Use the left or right direction button to
select
On
or
Off
, if
On
is selected, the
Back light
option
is not available.
Color temperature:
adjusts the color temperature of
the picture. Use the left or right direction button to scroll
through the color settings:
COOL
for a more blue palette
of picture colors;
NORMAL
; and
WARM
for a more red
Note:
Standard
is recommended Home Viewing mode,
which confirms to recommendation of MEPS (
. And the energy rating
label is performed in this mode.
Minimum
energy performance standards)
Note: The
Dynamic back light
option is available only
when the Picture preset is Personal. And in Home mode
(see page 12), When the
Dynamic back light
is On, or
the value of
Back light
exceeds the defaulted value in
Standard
mode, the TV will not satisfy the MEPS
certification. And when turning on the TV next time, a
prompt will appear.
Note: The
Natural light
option is available only when
the Picture preset is Personal.
Adjusting the Picture
palette of picture colors.
Note: For some models, the
Color temperature
option
cannot be available.
Screen mode:
Use the left or right direction button to select
the picture size:
4:3 format, cinerama, 14:9 zoom,16:9
zoom, 16:9 zoom up
and
16:9 format
. (Note: You are
recommended to use the full screen mode. Do not use the
display mode with black bars on both sides
of the picture(such as 4:3) fro long time, otherwise the LED
screen may be damaged permanently.)
Note: In HD mode, 1
6:9 format
,
Stretch zoom
,
Wide
zoom2
,
Zoom2
,
Wide zoom
and
4:3 format
are available.
Auto format:
use the left or right direction button to select
On and Off, when On selected, the picture will display the
picture according to HD Signal's format.
Note: Auto format is available only in TV and AV/S-Video
mode.
Noise reduction:
Sets the level at which noise is measured
and reduced in the picture.
Motion enhance:
This function is used to cancel motion
judder. Select the
Motion enhance
option, then press the
right direction or
OK
button to display the
Motion enhance
menu.
Motion enhance
Effect:
Use the left or right direction button set the Motion
enhance effect:
Low
,
Middle
,
High
and
Off
. (
Note:
When
Off
is selected, the
Demo partition
and
Demo
options are
not selectable.)
Demo partition:
Use the left or right direction button to
toggle among
Left
,
Right
and
All
.
Demo:
This function is used for demo. Press the right
direction or
OK
button to demonstrate the Motion enhance
effect in selected demo partition.
Note: The
Auto format, Noise reduction or Motion
enhance
option may appear in the next page of Picture
menu, you can press the up or down direction button to
switch.
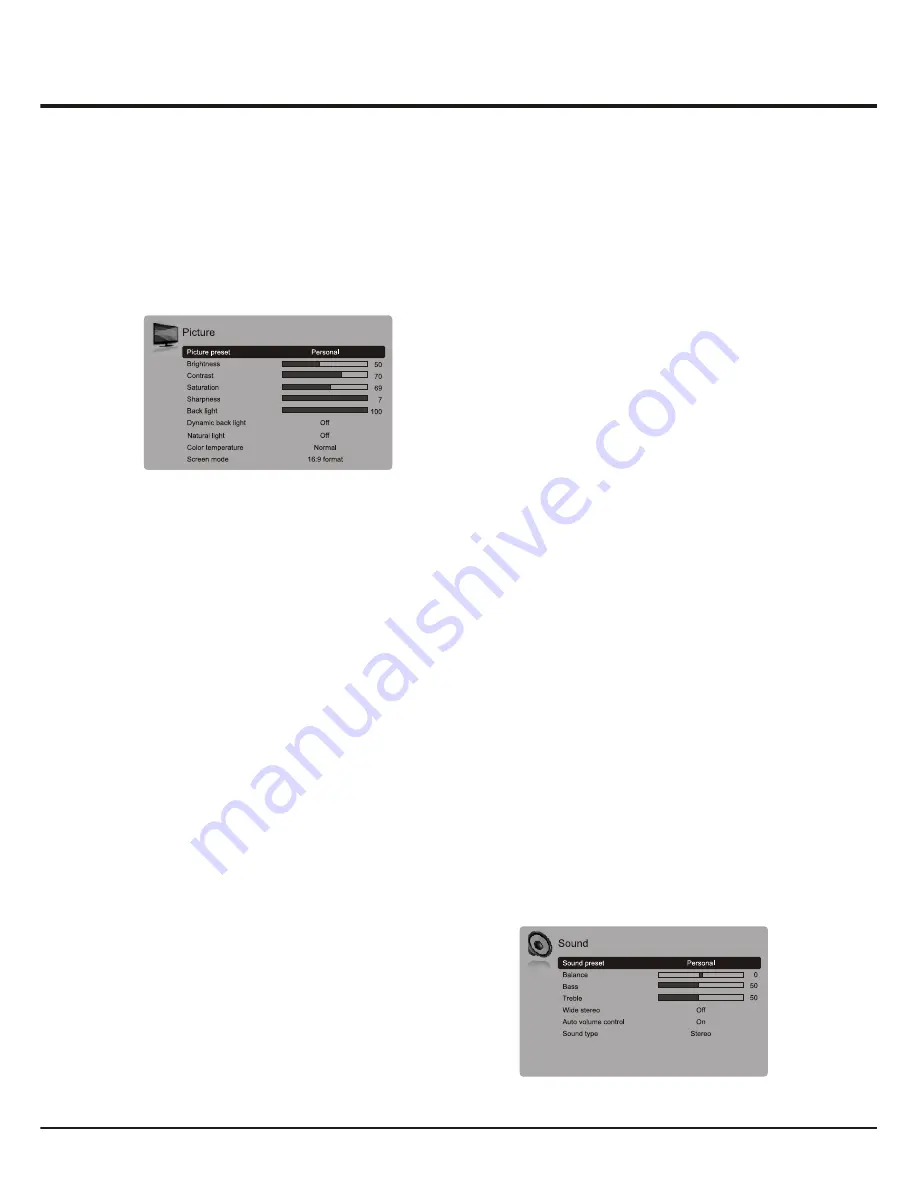
Adjusting the Sound
Display the main menu by press the
Menu
button and select
Sound
, then press the
OK
button to confirm.The Sound
menu appears with the following options:
Sound preset:
select a sound type from the list using the
left or right direction button:
Speech, Music, Movies,
Multimedia
and
Personal
.
The
menu appears with the
following options:
Chapter 3
Advanced Functions


