25 |
P a g e
G e n e r a l D a t a H e a l t h c a r e , I n c .
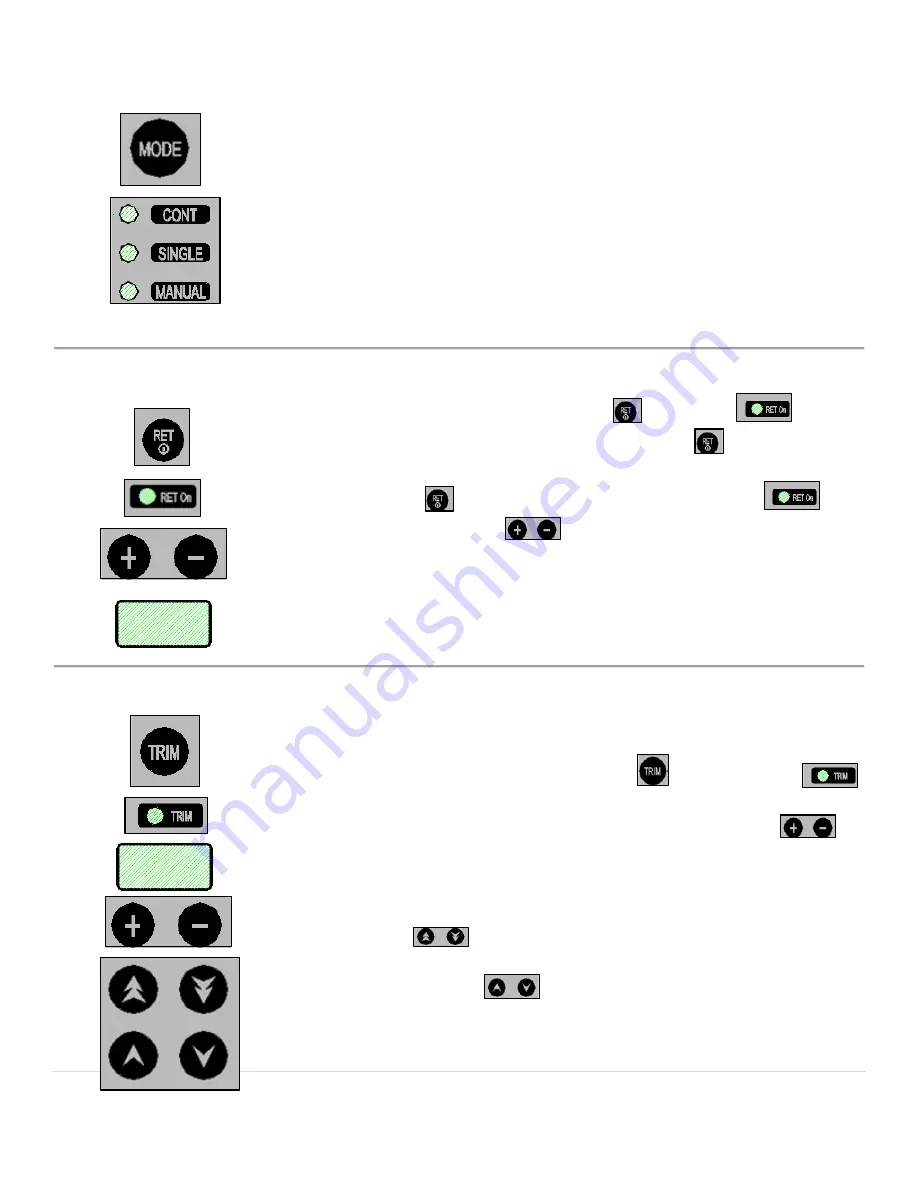
Choosing Operational Mode
•
CONT mode is the continuous sectioning mode. Once the RUN button
is pressed, the unit will continue sectioning until the RUN button is
pressed again.
•
SINGLE mode is the single section mode. Once the RUN button is
pressed, the unit will cut one section and stop.
•
MANUAL mode is the manual operation mode. It allows for the
operator to section using the hand wheel.
Activating Retraction
•
To activate retraction mode, press the
button. The
LED
indicator will illuminate. To deactivate, press the
again.
•
Once activated, the operator can set the retraction value by pressing and
holding the
button for 3 seconds which will cause the
LED
indicator to pulse. The
buttons can now be used to set the
retraction thickness. The range is between 5µm and 100µm in 5µm
increments. The values will be displayed on the hand pad.
•
Once the desired retraction thickness is set, the TRIM or SECT buttons
can be pressed to set the retraction value and be able to start sectioning
or trimming.
Activating Trimming (Manual / Automatic Mode)
•
For manual operation, set the instrument to the corresponding mode as
described in
“Choosing Operation Mode”
•
To activate the trimming mode, press the
button. The LED
indicator will light up.
•
The operator can now set the trim thickness setting using the
buttons. The values range from 0.5µm to 600µm. The set values will be
displayed on the handpad.
•
The instrument is now ready to have the specimen position adjusted to
be in line with the blade to be able to start trimming.
•
Using the
buttons, adjust the coarse feed to get the specimen
close to the cutting edge of the blade.
•
Afterwards, use the
buttons to precisely adjust position of the
specimen with respect to the cutting edge.


