


6
To Set Clock and Date
1.
Press and hold “TIME/DATE” for 2 seconds, then release.
2.
Press “UP” or “DOWN” to change the hours. Press “TIME/DATE”.
3.
Press “UP” or “DOWN” to change the minutes. Press “TIME/DATE”.
4.
Press “UP” or “DOWN” to switch between a 12 or 24 hour clock.
Press “TIME/DATE”.
5.
Press “UP” or “DOWN” to change the year. Press “TIME/DATE”.
6.
Press “UP” or “DOWN” to change the month. Press “TIME/DATE”.
7.
Press “UP” or “DOWN” to change the date. Press “TIME/DATE”.
8.
Weather Forecaster and Clock/Date setup are complete.
9.
Press “TIME/DATE” to toggle between the time and year displays.
Additional Features
5
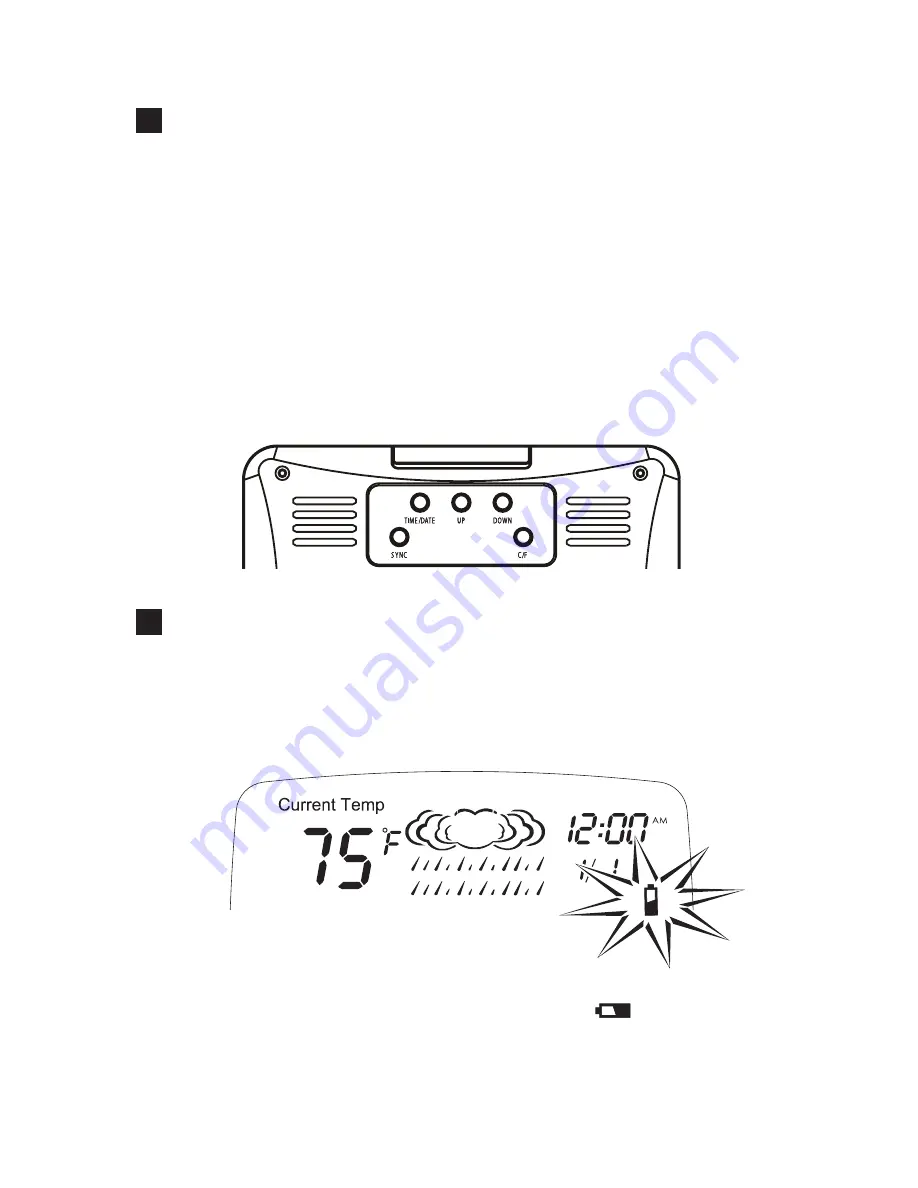
6
Low Battery Warning
Base unit – replace both batteries when the “ ” icon appears
on the right side of the screen.
°C/°F Selection
Press the “C/F” button on the back of the base unit to switch
between Fahrenheit and Celsius temperatures.


