Taurus - USB User Guide
If the system
doesn’t recognise
the drive, turn on
the power first,
before connecting
the interface cable
or connect the
device before
booting your
Operating System.
Alternatively, you
can press and hold
the USB backup
button for three
seconds to remove
the device.
Installation on a PC
Before connecting the device, make sure the JBOD jumper is
configured according to your requirements.
If the drives have been pre-installed and setup already, you do
not need to change anything, unless you prefer a different
setup.
•
Turn on your Computer and start Windows
•
Connect the Taurus and turn it on
•
Let Windows search and install the driver automatically
•
Open “My Computer” to see your external hard drive
For factory new drives and more info about formatting, see
“Partitioning & Formatting”.
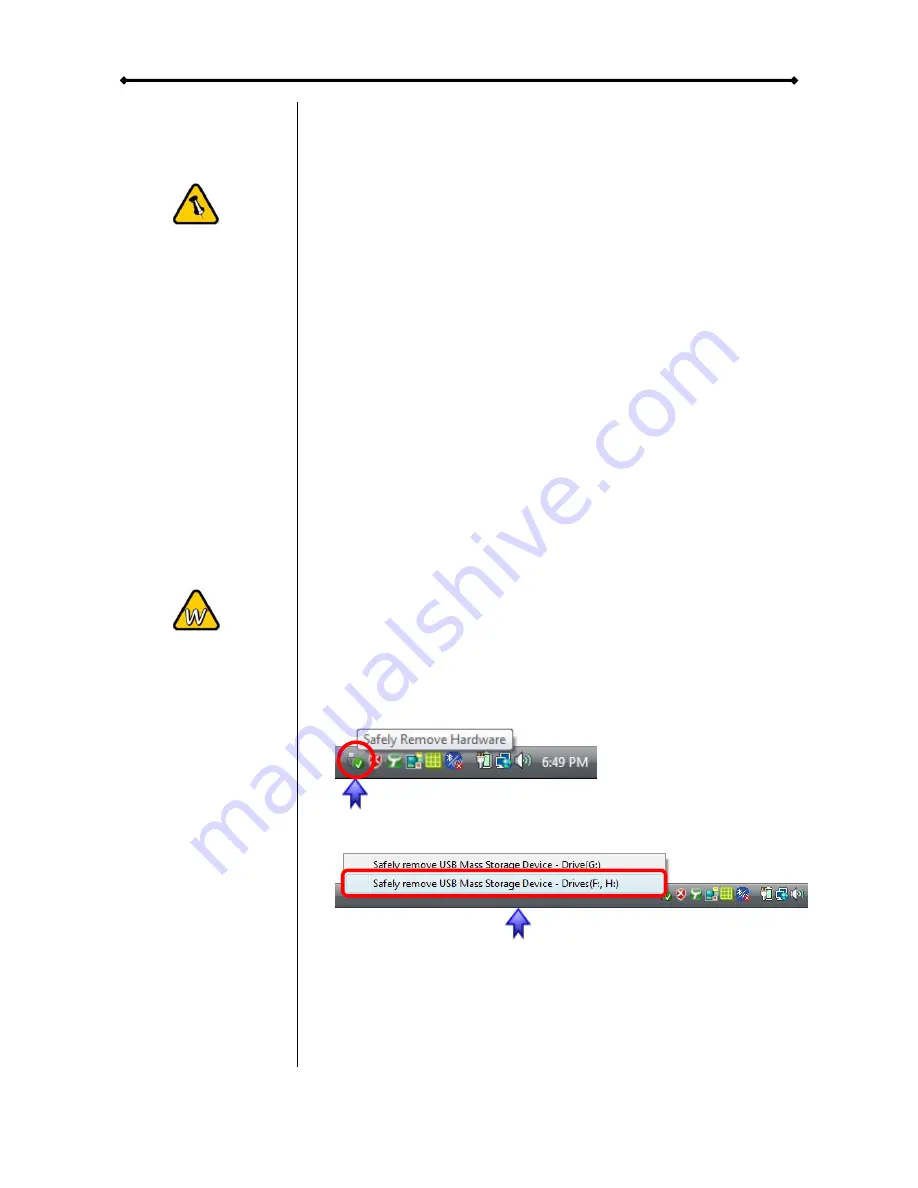
Remove Procedure
For the safe removal of your drive and to assure that no data is
lost, always follow the correct unplug procedure. Otherwise, an
error message will appear.
•
Click on the taskbar icon for external hardware
•
Choose your external hard drive and confirm to remove it
When there is another USB device connected to the front port
of the Taurus, pressing the USB backup button for 3 seconds
will eject it. Pressing the button a second time (3 seconds
again) will remove the Taurus from your computer.
Page 8 / Chapter 3 - System Set Up


