


20
TASCAM SD-20M
4 – Recording
Adjusting the input level
Before starting recording, input levels should be adjusted to
prevent recorded sounds or signals from being distorted due to
excessive input levels and to prevent them from being so low
that they are below the noise floor.
In addition to manual adjustment, the unit has two other level
adjustment functions: automatic level control and a limiter. Use
these as needed. (See “Using the Level Control Function” on
TIP
In addition to adjusting input levels, try changing the
distances and angles between the microphones and the
sound sources. The angles and distances of the microphones
can also change the character of the recorded sound.
CAUTION
Manual adjustment cannot be performed when the
automatic level control function is selected (
appears
to the right of the elapsed time on the recording screen). To
enable manual input level adjustment, turn the level control
function off or select a different mode. (See “Using the Level
Control Function” on page 21.)
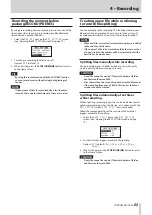
1. Press the INPUT SETTINGS 1-2 or INPUT SETTINGS 3-4
button to open the
INPUT 1-2
or
INPUT 3-4
screen.
(See “Opening the INPUT 1-2 and INPUT 3-4 screens” on page
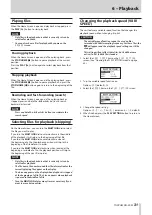
2. Select the
GAIN
item and set the input gain.
INPUT 1-2
screen
INPUT 3-4
screen
Screen
Options
Meaning
INPUT
1-2
screen
HIGH
(default
value)
Use when connecting mics to
this unit’s MIC/LINE INPUT 1
and 2 connectors.
LOW
LINE
Use when connecting the line
output jacks of external devices
to this unit’s MIC/LINE INPUT 1
and 2 connectors.
INPUT
3-4
screen
0dB
(default)
–
16dB
(in
0.5dB incre-
ments)
Use to set the input gain when
connecting the line output jacks
of external devices to this unit’s
ANALOG INPUT 3/L and 4/R
connectors.
NOTE
The
HIGH
and
LOW
settings have different input gains.
Choose the setting according to the input level. If you are
not sure which setting to use, try
LOW
first. If the input level
is too low even after adjustment, return to this screen and
set it to
HIGH
.
CAUTION
Depending on this setting, the input level setting range
changes. For this reason, the input level might change
greatly when this setting is changed. Before changing it,
turn the output level all the way down.
3. When finished, press the STOP/HOME [
8
] button to return
to the Home Screen.
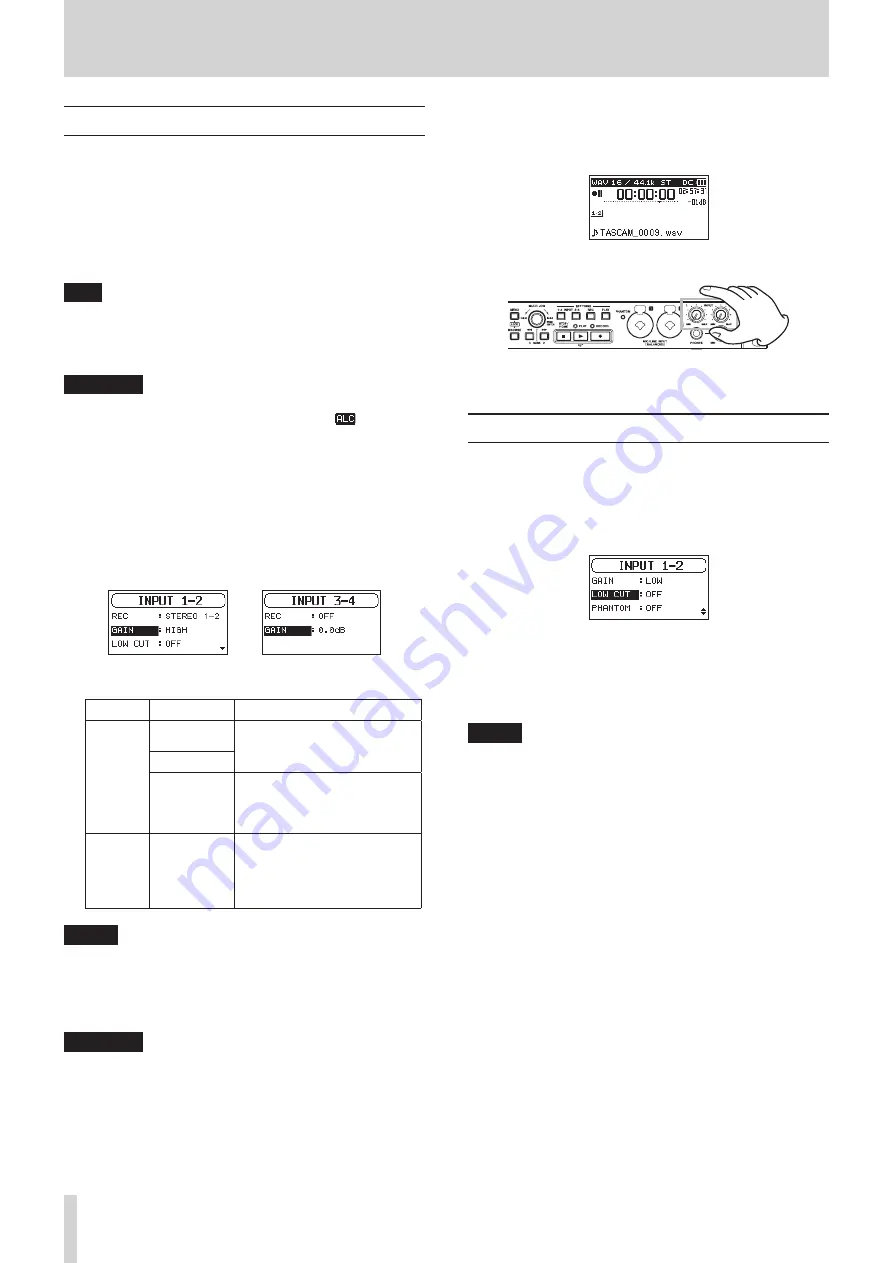
4. Press the RECORD [
0
] button to start recording standby.
The RECORD indicator flashes red and the recording screen
appears.
5. Use the INPUT 1-2 knobs to adjust the input levels.
6. When finished making the setting, press the STOP/HOME
[
8
] button to end recording standby.
Setting the low-cut filter
The low-cut filter can reduce bothersome noise, such as from
wind, air-conditioners and projectors.
1. Select the
LOW CUT
item on the
INPUT 1-2
screen. (See
“Opening the INPUT 1-2 and INPUT 3-4 screens” on page
2. Sets the cutoff frequency of the low-cut filter used during
input.
Options:
OFF
(default value),
40Hz
,
80Hz
,
120Hz
3. When finished, press the STOP/HOME [
8
] button to return
to the Home Screen.
NOTE
LOW CUT
can be set when recording/in recording standby.


