TASCAM DR-60D
61
4 – Recording
Self-timer function
Like a camera, the unit has a self-timer to trigger the start of
recording after a set period of time.
1. Press the MENU button to open the
MENU
screen.
2. Turn the DATA dial to select
REC SETTING
, and press the DATA
dial or
/
button to open the
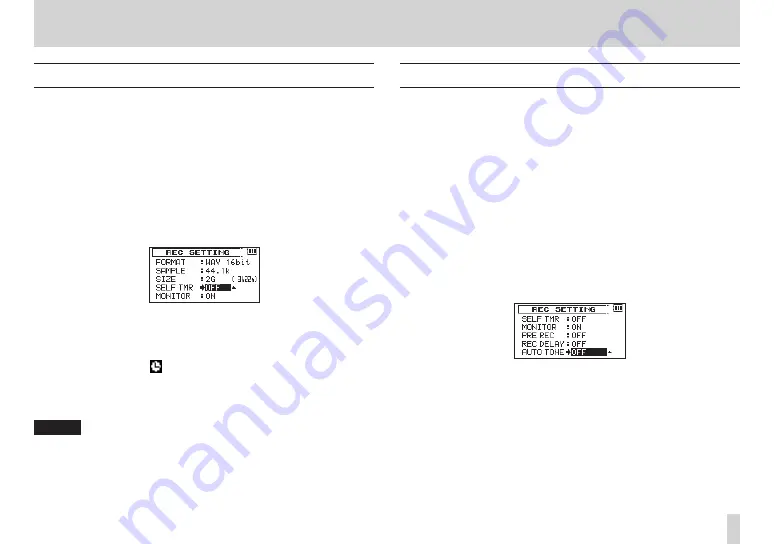
REC SETTING
screen.
3. Turn the DATA dial to select
SELF TIMER
, and press the DATA
dial or
/
button.
4. Turn the DATA dial to set the amount of time until recording
starts.
Options:
OFF
(default value),
2sec
,
10sec
5. When finished making the setting, press the stop (
8
) [HOME]
button to return to the Home Screen.
6. Press the record (
0
) button to enter recording standby.
The self-timer icon appears in the recorder status screen, and
time is shown on the right.
7. Press the record (
0
) or play (
7
) button.
Recording will start after the set time period.
NOTE
•
This function cannot be used when recording is paused in the
middle of recording.
•
Self-timer function is not possible when using the AUTO REC
function.
Using the auto tone function
The auto tone function can be used to automatically add a tone at
the beginning and ending of recording.
By connecting the
CAMERA OUT
jack on the left side of the unit to
the audio input of a camera, you can record the same tone in both
files. These tones can be used to align audio and video recordings in
media editing software.
1. Press the MENU button to open the
MENU
screen.
2. Turn the DATA dial to select
REC SETTING
, and press the DATA
dial or
/
button to open the
REC SETTING
screen.
3. Turn the DATA dial to select
AUTO TONE
, and press the DATA
dial or
/
button.
4. Turn the DATA dial to set when the tone signal is inserted.
Options:
OFF
(default value),
HEAD
(start of recording only),
HEAD+TAIL
(both start and of recording)
5. When finished making the setting, press the stop (
8
) [HOME]
button to return to the Home Screen.


