TASCAM DP-24
55
7 - Recorder Functions
Skipping to location marks
Press the F FWD (
,
) (TO LAST REC) button or the REW
(
m
) (TO ZERO) button to skip to the next or previous
mark.
Deleting a location mark
You can delete marks when the recorder is stopped.
1. Press the F FWD (
,
) (TO LAST REC) button or the
REW (
m
) (TO ZERO) button to move to the mark
that you want to delete.
2. Press the MARK SET button to delete the location
mark.
NOTE
Marks are displayed in time order. They do not appear
•
in the order of their numbers.
This operation cannot be undone. Make sure you want
•
to execute it.
Returning to zero (TO ZERO)
and returning to last recording
position (TO LAST REC)
You can easily move to the beginning of the song
(00:00:00:00 = ZERO point) or to the last recording
position (LAST REC point) through a simple button
operation.
To return to the beginning of the song (00:00:00:00
= ZERO point), press and hold the STOP (
8
) button
and press the REW (
m
) (TO ZERO) button (TO ZERO
function).
To return to the last recording position (LAST REC point),
press and hold the STOP (
8
) button and press the F FWD
(
,
) (TO LAST REC) button (TO LAST REC function).
This function is useful when you want to record again
after finishing recording.
Fast forward/rewind search
During playback or stop, press the REW (
m
) (TO ZERO)
button or the F FWD (
,
) (TO LAST REC) button to
rewind or fast-forward while the button is pressed. The
rewind and fast-forward speed is fixed at 10 times.
Jog positioning
You can use the JOG/DATA dial to position a playback
position precisely. There are two methods of positioning:
viewing the track's waveform and listening to the track
sounds.
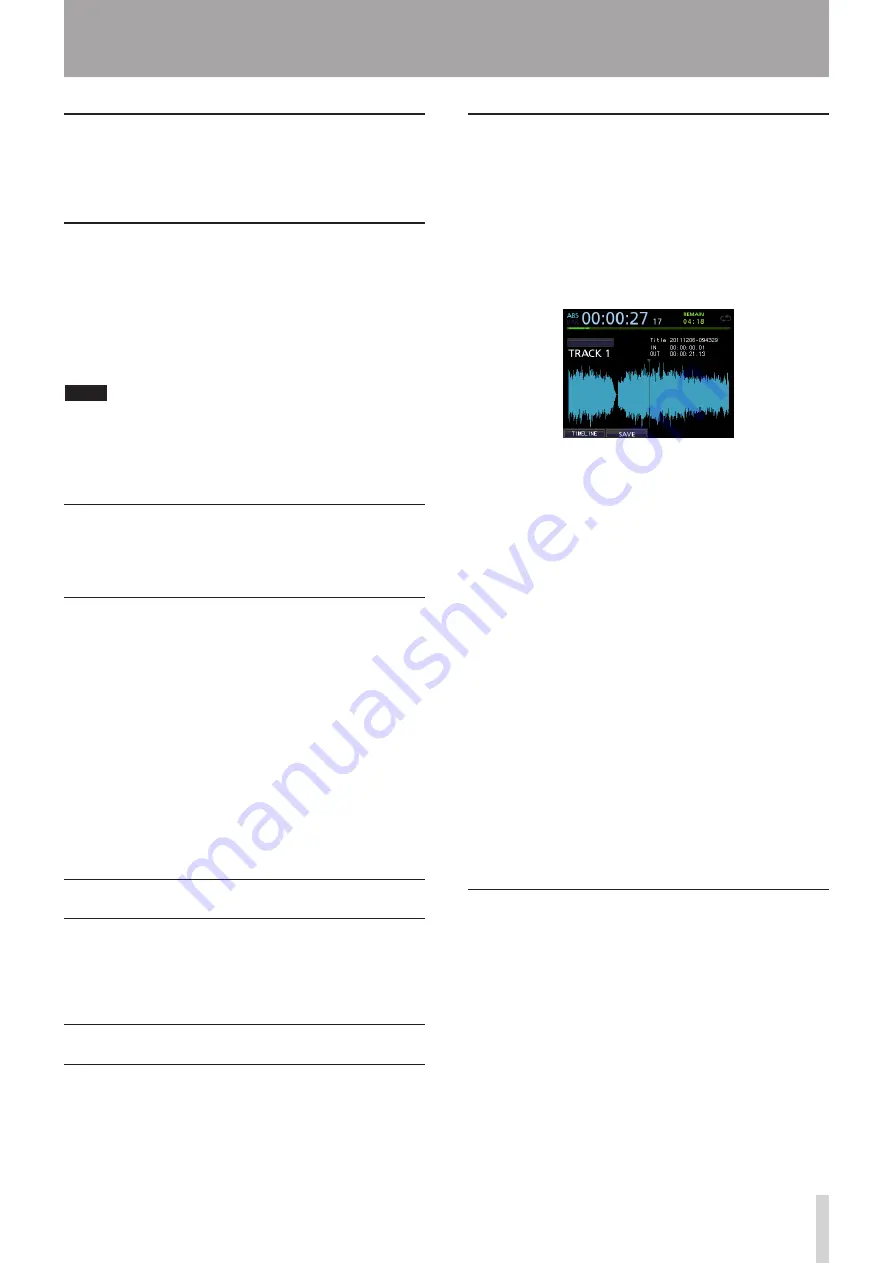
Viewing the track's waveform
1. Use the transport button or location function to
move the playback position near a position where
you want to cue.
2. Press the JOG PLAY button to enter the search
mode.
You can switch between the timeline display and
waveform display by pressing the F1 key. Select the
waveform display screen.
3. Press the SELECT button of a track whose waveform
you want to view.
The waveform of the selected track appears.
If a stereo track is selected, the displayed track (odd
or even) changes each time the SELECT button
is pressed, and only the displayed track can be
monitored.
4. Use the CURSOR (
g
/
t
) buttons to scale up/down
the display horizontally (time) as necessary.
Press the CURSOR (
g
) button to scale down
horizontally (time), or the CURSOR (
t
) button to scale
up.
Also, use the CURSOR (
5
/
b
) buttons to scale up/
down the display vertically (audio level).
Press the CURSOR (
5
) button to scale up vertically
(audio level), or the CURSOR (
b
) button to scale
down.
Scaling up makes it easier to cue the position precisely.
5. Use the JOG/DATA dial to find a cue point.
6. When the cue point is determined, press the JOG
PLAY button to return to the Home screen.
Listening to the track sounds
1. Use the transport button or location function to
move the playback position near a position where
you want to cue.
2. Press the JOG PLAY button to enter the search
mode.
You can switch between the timeline display and
waveform display by pressing the F1 key. Select the
timeline display screen.
3. Use the CURSOR (
g
/
t
) buttons to scale up/down
the display horizontally (time) as necessary.
Press the CURSOR (
g
) button to scale down horizontally
(time), or the CURSOR (
t
) button to scale up.
Scaling up makes it easier to cue the position precisely.
Summary of Contents for Digital Portastudio DP-24
Page 1: ...D01159020D DP 24 Digital Portastudio OWNER S MANUAL...
Page 11: ...TASCAM DP 24 11 1 Introduction...
Page 33: ...TASCAM DP 24 33 3 Names and Functions of Parts...
Page 67: ...TASCAM DP 24 67 9 Using Built In Effects...
Page 99: ...TASCAM DP 24 99 17 Specifications Block diagram...
Page 100: ...100 TASCAM DP 24 17 Specifications Level diagram...
Page 105: ...TASCAM DP 24 105 Note...
Page 106: ...106 TASCAM DP 24 Note...
Page 107: ...TASCAM DP 24 107 Note...


