


Section 5 – Menu operations
06/97 – 1.00 – 5-3
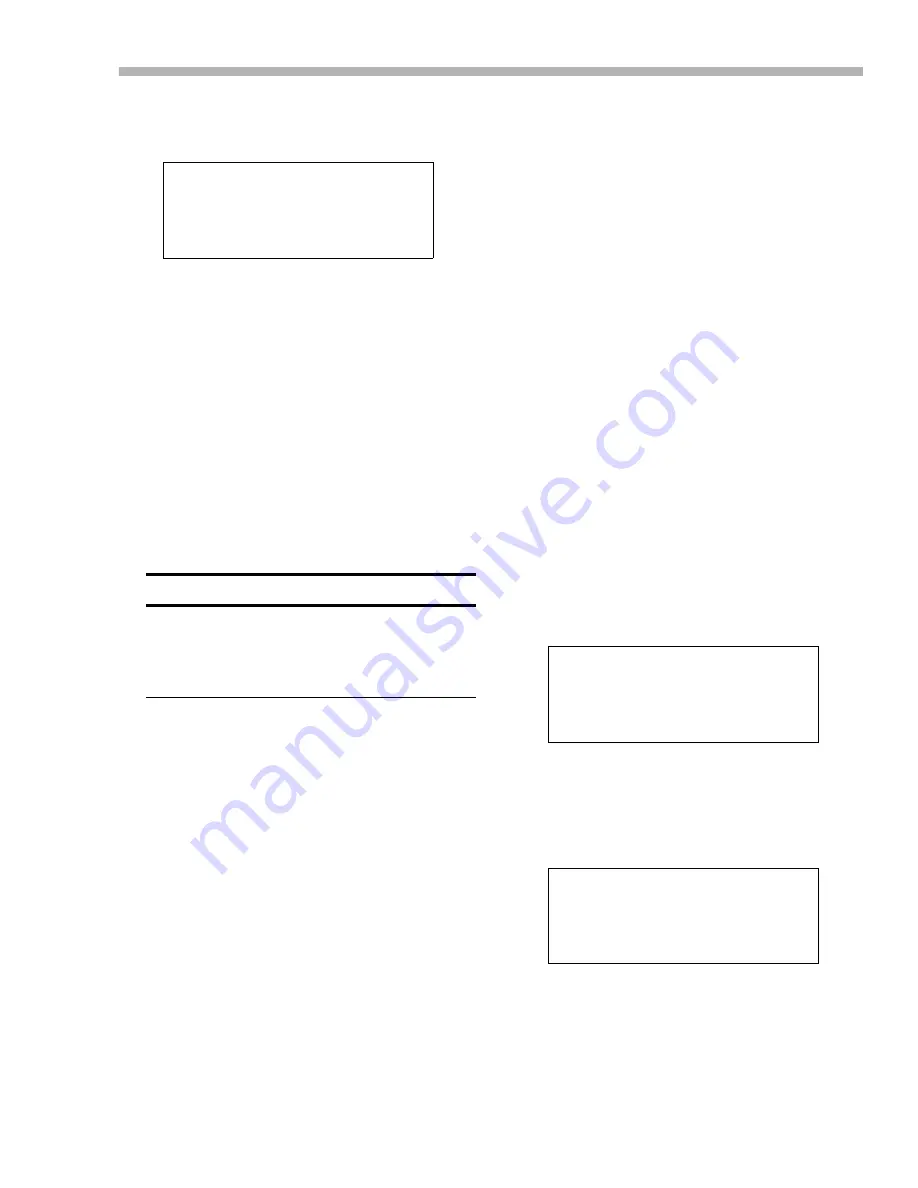
2) This menu gives you three choices,
Menu
,
Locate Position
and
10 Key
:
Menu
uses the function keys as a quick way of
jumping around the menu system (see 5.3,
“Assigning menus to function keys”).
Locate Position
assigns the ten func-
tion keys to location memories (see 8.2.1, “Storing
a function key location memory”)
10 Key
allows you to use the function keys as a
numeric keypad for direct entry of numerical data
(see 5.2.2, “Using the function keys as number
keys”).
3) Select the option with the
UP
and
DOWN
keys.
5.2.1 The SHIFT key and function keys
Usually, the 10 function keys and the
LOC 2
/
PRE-
SET
and
MEMO 2
/
+/–
keys perform the duties as
marked on the top of their labels (e.g. key [19]
usually works as the
AUTO MON
key).
To use the keys as function keys (whether location
keys, preset menu keys or as number keys), press
the
SHIFT
key.
The
SHIFT
indicator will start to flash.
While it is flashing, these keys are used as
described on the bottom row of their labels (e.g.
key [19] now becomes function key 7 (
F 7
)).
Press the
SHIFT
key again to stop the indicator
flashing and return the keys to their original
functions.
5.2.2 Using the function keys as number
keys
When the
Function
Key Mode
parameter
has been set to
10 Key
(see above), you can use
the function keys as number keys for direct entry
of numerical data.
The function key number is used to enter the digit
(
F 1
enters a
1
,
F 2
enters a
2
, etc.) except for
F 10
,
which enters a
0
.
When you have entered the value using the func-
tion keys as number keys, you should press the
PRESET
key ([23] to confirm the value you have
just entered.
The following is a step-by-step guide to entering a
value (1 minute and 5 seconds) into the Locate
Pre-roll parameter (see 8.1.3, “Setting the location
pre-roll time”).
1) Set the function key mode to
10 Key
, as
described above (page 5-2).
2) Go to menu group 0, move the cursor to
Loc
Pre
, and press
ENTER
:
3) Press the
SHIFT
key [24]. The indicator will
start to flash.
4) Press the
F 1
key [9]:
The bottom line of the display will start to blink,
showing that you are entering numerical data.
Notice that the number is entered from the right of
the fields, even though the cursor position is not at
the right of the field.
F u n c t i o n
K e y
M o d e
S e l e c t
M e n u
NOTE
When you change the function of the “soft” keys
between menu and location functions, the values
assigned to the other function are not lost, and will be
restored when you next change the function of the soft
keys.
L o c a t e
P r e - r o l l
0 0 m i n 0 0 s e c
L o c a t e
P r e - r o l l
0 0 m i n 0 1 s e c
Summary of Contents for DA-98
Page 7: ...Table of Contents TOC 4 1 00 06 97...
Page 13: ...Section 1 Introduction to the DA 98 1 6 1 00 06 97...
Page 19: ...Section 3 Rear Panel connectors 3 2 1 00 06 97...
Page 23: ...Section 4 Connections 4 4 1 00 06 97...
Page 35: ...Section 6 Basic operations 6 8 1 00 06 97...
Page 39: ...Section 7 Monitoring modes 7 4 1 00 06 97...
Page 55: ...Section 9 Synchronization with other DTRS units 9 6 1 00 06 97...
Page 75: ...Section 11 External control 11 6 1 00 06 97...


