


MagicView UVC-500 v1.03
User Guide
24
②
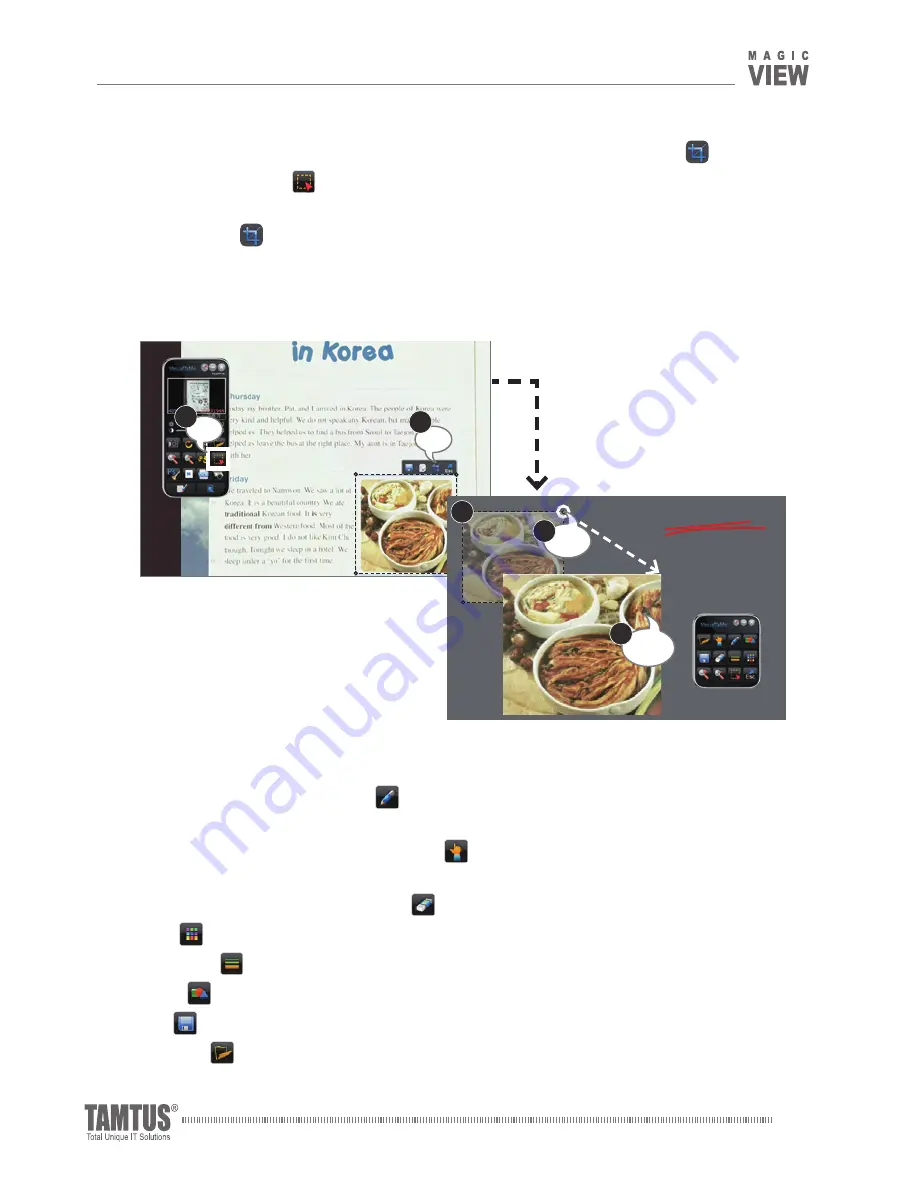
Opening "Teaching Mode" directly from "Area Select" using the "Crop"
button.
ⓐ
Click "Area Select"
in Real-time Mode, and click and drag the mouse over the part
you want to select.
ⓑ
Click "Crop"
in the submenu, then the Teaching Mode opens automatically.
ⓒ
Locate the selected part where you want it to be on the screen.
ⓓ
Adjust the image size using the round handle near the top right corner of the image.
ⓔ
Double click the image.
(2) Annotating in the "Teaching Mode"
To annotate, click "Annotation"
and move the mouse cursor with the right mouse
button held down.
To move the background, click "Move"
and move the mouse cursor with the left
mouse button held down.
To remove annotations. click "Eraser"
click, then 3 different erasers appear.
"Color"
To choose pen colors.
"Line Width"
To Choose line width.
"Shape"
To choose shapes.
"
Save" To save images with annotations.
"File Open"
To call up saved images with annotations.
Click
b
Click
a
Korean food
It is very different from
Western food !!
c
Click
Drag
d
Image
Double click
e
Click
b
III_Using MagicView UVC


