6
6.
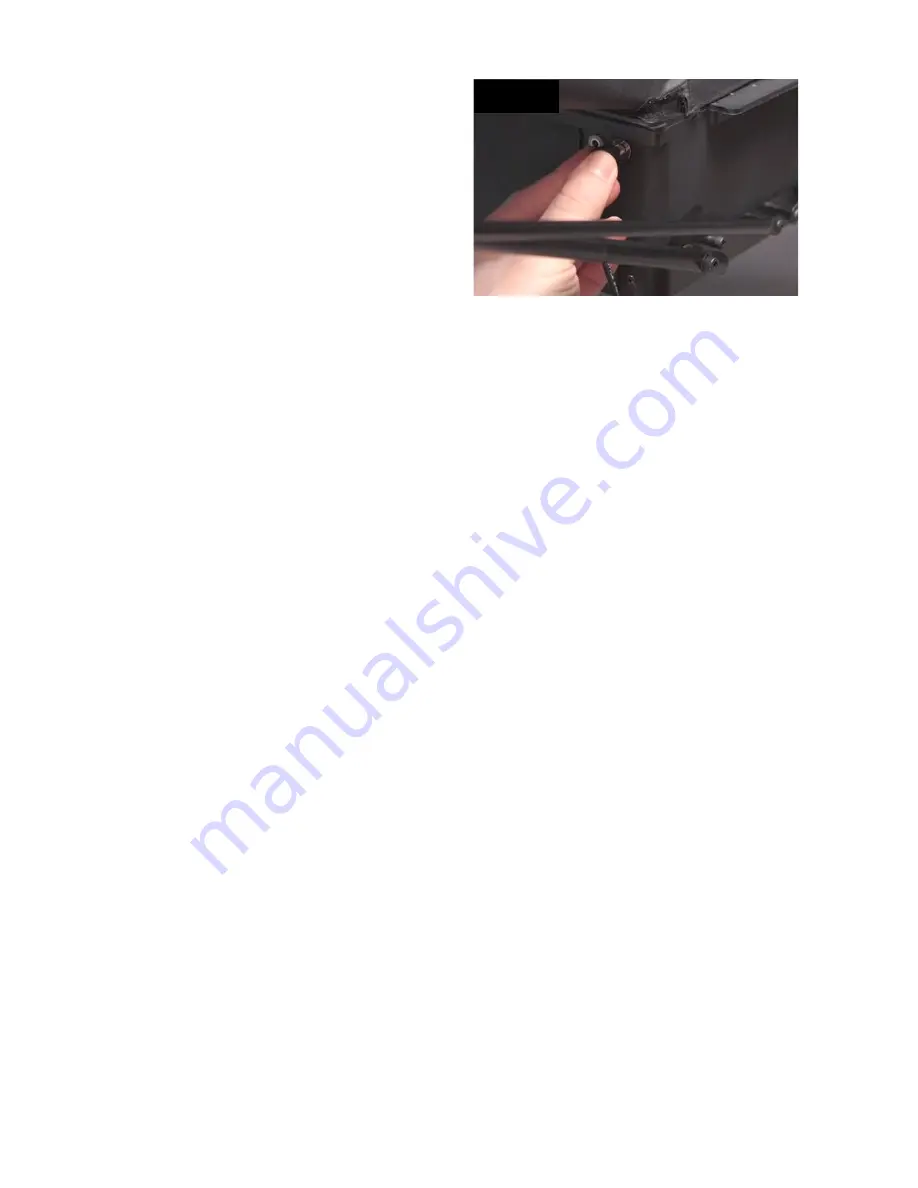
Plug your Power Supply into a power outlet
and then into the power jack on the side of the
Base (See Photo 6).
2. Control Tablet
1.
Power Button
— Used to turn the tablet on and off.
2.
Headphone Jack
— Connect headphones or earphones here. Not used for Amicus operations currently.
3.
Micro USB Port
— Can be used to connect tablet to robot with provided Control Tablet Cable or as
an alternative method to charge the tablet if connected to a USB Charger.
4.
DC Power Port
— Plug in the provided Tablet Power Supply into a power outlet and then into this
port. This keeps the tablet’s battery charged. If unplugged, tablet has approximately 4 hours of
battery time when new. We recommend leaving the tablet plugged in to power to prevent the Power
Saver function from turning off the screen during play.
5.
Volume Button
— Press on the left side of this button to turn volume up and on the right side to turn
volume down.
6.
TF Card Slot
— Insert an optional TF or micro SD Card here to increase storage capacity of tablet
(to store more Exercises or other data).
7.
Reset slot
— Insert paper clip here to reset the tablet.
8.
Rear-Facing Camera
— Currently unused for Amicus operations, but can be used for Android oper-
ations.
9.
Speaker Outlet
— For best sound, do not cover this outlet.
10.
Front-Facing Camera
— Currently unused for Amicus operations, but can be used for Android
operations.
11.
Control Tablet Holder
— Tablet mounts onto holder with 2 Velcro strips, then holder mounts onto
Control Panel Bracket.
Photo 6


