Page 13
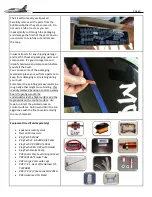
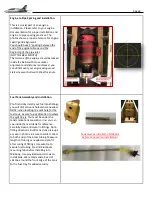
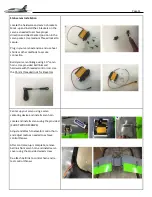
Rudder servo Installation
Locate the hardware and servo L brackets.
Mock-up and install the L brackets on the
servo as needed to archive proper
direction and (Best Center) position in the
servo pocket. Use medium Thread locker to
secure.
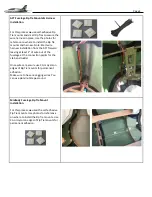
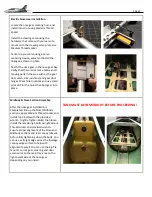
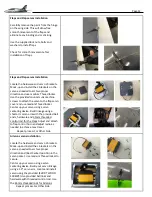
Center up your servo using a servo
centering device. Build your servo linkage
using 1.0” servo horns.
Locate and install
servo using the provided (SHORT WOOD
SCREWS) Use provided ball links and
hardware with threaded control rod. Use
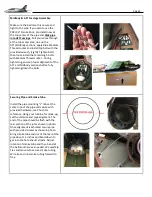
the 85mm threaded rods for Rudder
Adjust and attach to Rudder control horn
and adjust radio as needed to achieve
control throws.
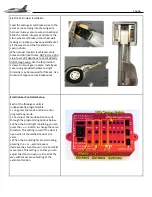
After control setup is complete, remove
ball link from servo horn and install servo
cover using the provided wood screw.
Re-attach ball link to control horn and re-
test control throws.
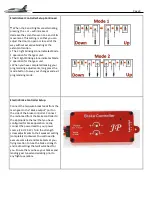
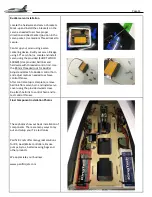
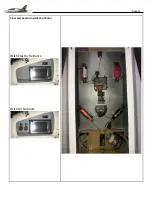
Final Component installation Photos
These photos show our basic installation of
components. There are many ways to lay
out and setup your T-3 electronics.
Pacific RC Jets offer many great solutions
for RX, Gear/Brake controllers, Smoke
pumps, Gyros, batteries, wing bags and
other products.
We appreciate your business.
www.pacificrcjets.com


