


17
7. EtherNet/IP Connection Procedure
This section describes the procedures for connecting the Smart camera and Controller on an
EtherNet/IP network.
The explanations of procedures for setting up the Controller and smart camera given in this
document are based on the use of the factory default settings. For the initialization, refer to
Section 8. Initialization Method.
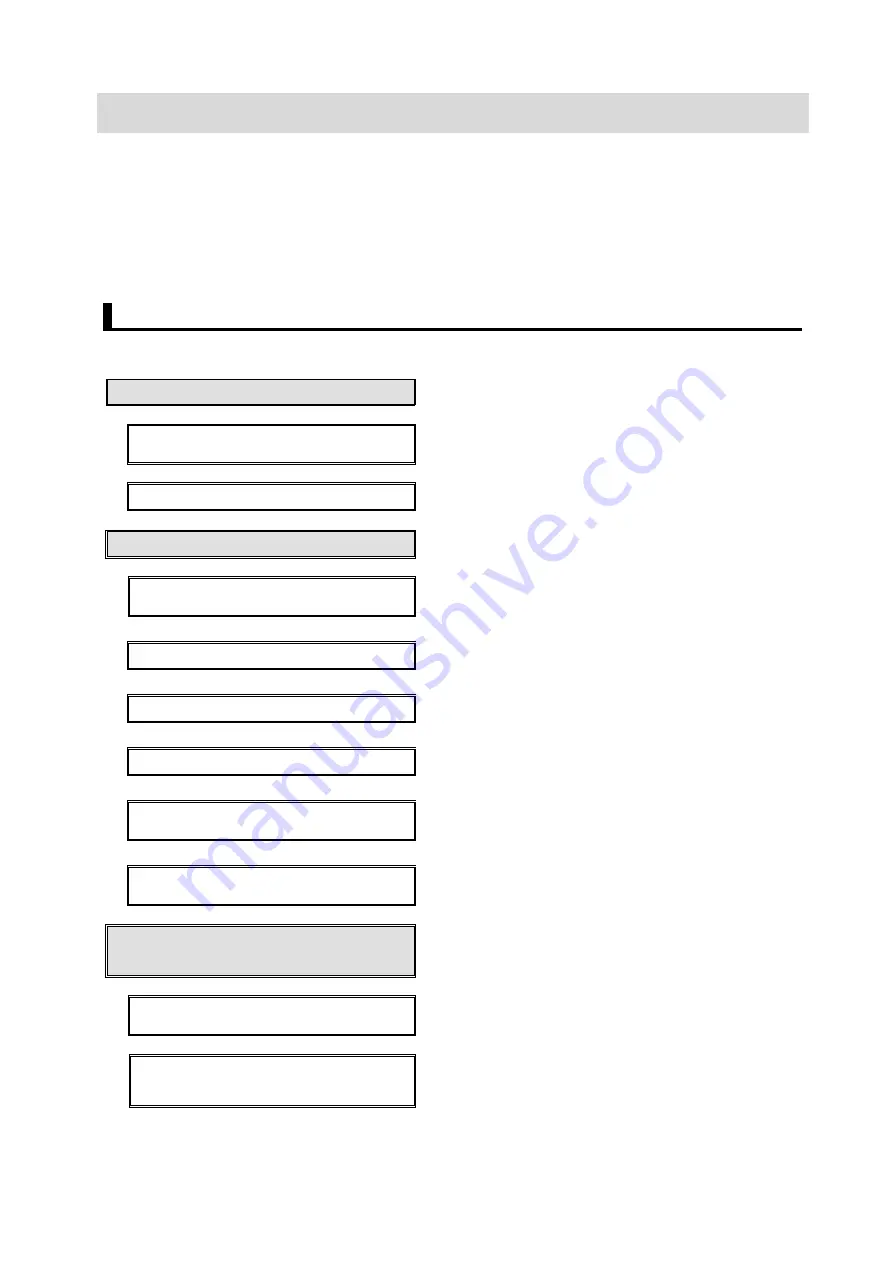
7.1. Operation Flow
The procedures for setting up the EtherNet/IP Tag data links are as follows.
7.2. Smart Camera Setup
Set up the Smart camera.
▼
7.2.1. Install the (AutoVision) software Install the (AutoVision) software application used
for setting up the Smart camera.
▼
7.2.2. Set Parameters
Set the parameters for the Smart camera.
▽
7.3. Controller Setup
Set up the Controller.
▼
7.3.1. Set IP Address
Launch Sysmac Studio and set the IP address of
the controller.
▼
7.3.2. Target Device Registration
Register the target device.
▼
7.3.3. Set the Global Variables
Set the global variables to use for Tag data links.
▼
7.3.4. Tag Registration
Register the Tags and Tag Sets.
▼
7.3.5. Set the connections
Set the target variables and the originator
variables, and then set the connections.
▼
7.3.6. Transfer the Project Data
Connect online and transfer the connection
settings and the project data to the Controller.
▽
7.4. Confirm EtherNet/IP
Communications
Confirm that the EtherNet/IP tag data links
operate normally.
▼
7.4.1. Check the Connection Status
Confirm that the EtherNet/IP Tag data links
operate normally.
▼
7.4.2. Check the Sent and Received
Data
Check that the correct data is sent and received.


