


Autorepeat Recording
29
RECORDING
28
Alarm Recording
6
Set Alarm REC to “Yes” in order to enable Alarm
Recording by pressing the SET- (or+) button.
7
Press the SET- (or+) button to select the desired
recording speed.
2H : 2-hour mode recording, 6H : 6-hour mode recording, 18H :
18-hour mode recording, 30H : 30-hour mode recording
8
Press the SHIFT
button to set the alarm duration.
Press the SET- (or+) button to select the desired
recording duration.
• Auto : Records as long as the alarm signal is being input.
(Minimum 2 minutes is recorded.)
• 3/5/10/15/20/25/30 MIN : Recording for the set duration.
(MIN : minute)
• T.END : Records until the tape end is reached when there is
alarm trigger input.
9
Press the MENU button until the normal screen is
displayed.
Alarm Recording Counter Display
During alarm recording, alarm LED will be lit on the front
panel.
The maximum display number of alarm triggers is “A35”,
at the next alarm recording the counter will be displayed
“A35”.
✔
• Alarm Counter Reset can
be performed by pressing
the CLEAR key in Initial
Menu screen.
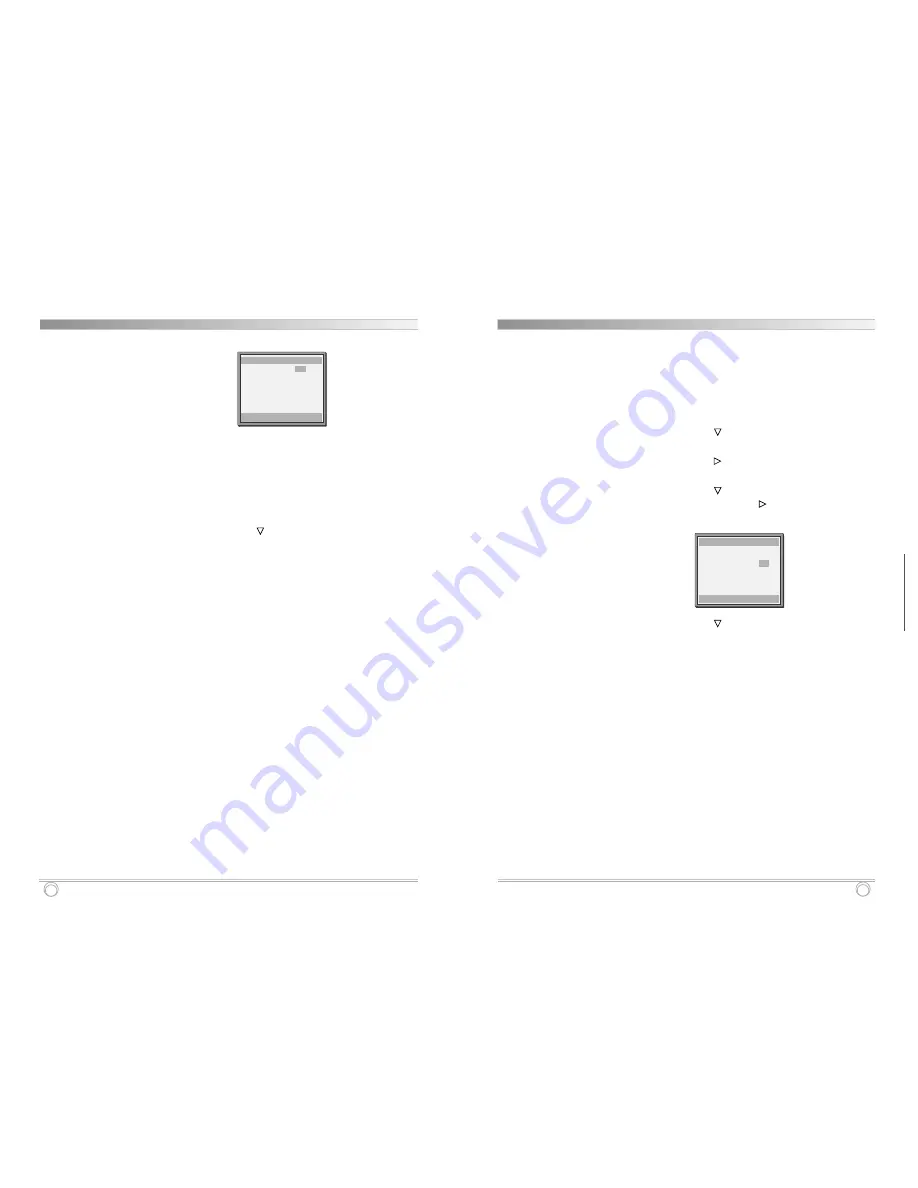
ALARM REC SET
shift:
†
sel:
√
end:MENU
√
Alarm REC
Yes
Speed
02H
Duration Auto
Autorepeat Recording
The same tape can be recorded over many times. Please
note that if you activate this feature you will lose the entire
previous recording.
1
Press the MENU button, the initial MENU is displayed.
Press the SHIFT
button until
√
mark is located in
“VCR Mode Set”.
2
Press the SHIFT
button, the VCR MODE SET menu
is displayed.
3
Press the SHIFT
button until
√
mark is located in
“Rec Set”. Press the SHIFT
button, the REC SET
menu is displayed.
4
Press the SHIFT
button until
√
mark is located in
“Repeat REC Set”.
5
Press the SET- (or+) button to set the desired
autorepeat recording mode.
NO ...... Autorepeat recording doesn’t take place.
YES ..... Autorepeat recording takes place. R.Rec LED will
be lit on.
6
Press the MENU button two times, the normal screen
is displayed.
• The setting procedure is now complete.
7
Press the REC button.
• Recording will start. When the tape’s end is reached, the
VCR will rewind it to the beginning regardless of the
counter memory, and recording will resume.
✔
• If during autorepeat
recording there is an
alarm trigger, R.REC LED
is lit on and alarm
recording will take place.
Autorepeat recording will
continue after alarm
recording has completed
its programmed duration.
REC SET
shift:
†
sel:
√
end:MENU
Timer Program Set
Alarm REC Set
√
Repeat REC Set
No
Summary of Contents for SY20C6144-A
Page 2: ...P N 97P95600N0 79...


