


Monitor Mode Set
15
DISPLAY
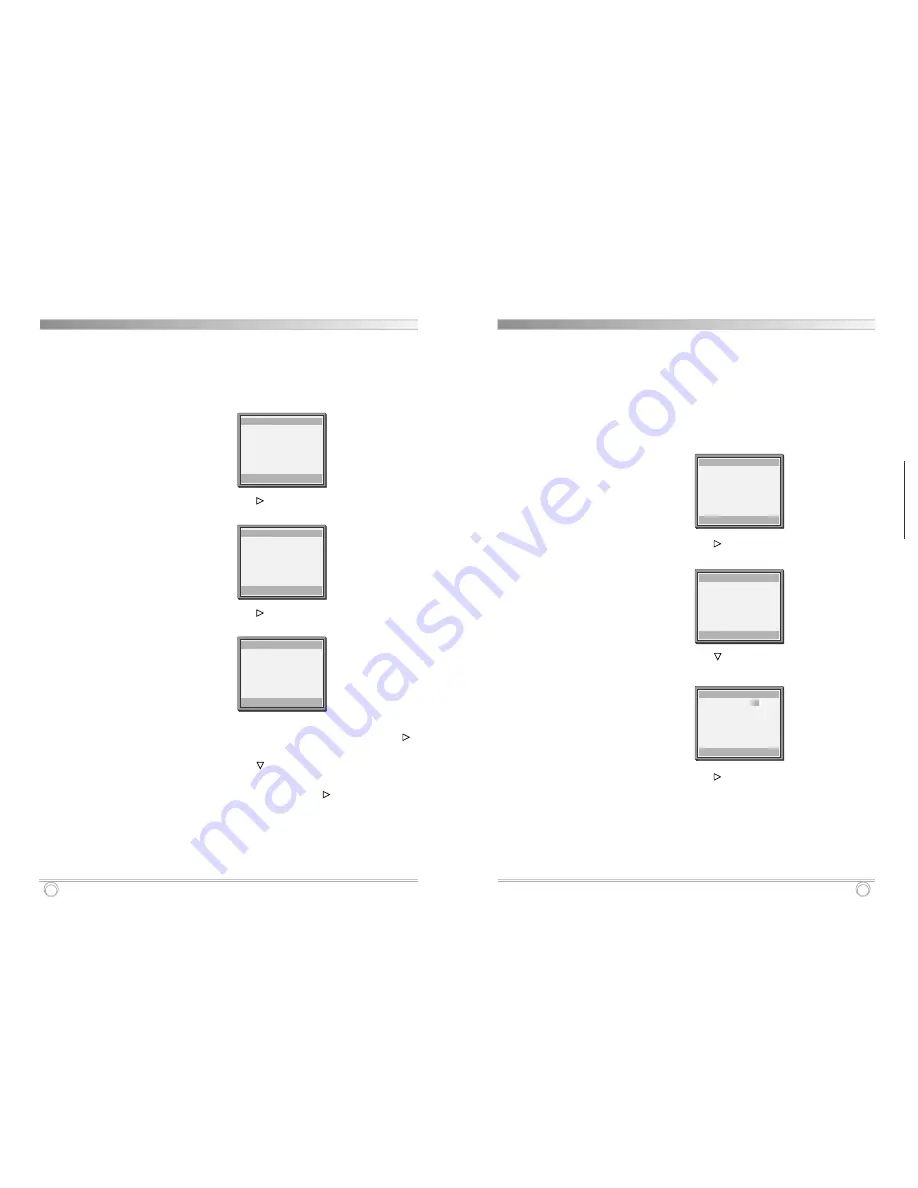
Setting the On-Screen Display
You can select the display of the ALARM TIME, DATE/TIME,
TITLE, TAPE MODE, ALARM COUNTER, TAPE COUNTER,
BLANK COLOR and BOUNDARY LINE.
1
Turn the power on to all devices used.
2
Press the MENU button, the initial MENU is displayed.
√
mark is located in “Monitor Mode Set”.
3
Press the SHIFT
button, the MONITOR MODE SET
menu is displayed.
4
Press the SHIFT
button until
√
mark is located in
“Screen Display Set”.
5
Press the SHIFT
button, the SCREEN DISPLAY SET
menu is displayed
6
Press the SET – (or +) button to set the modes you
want.
- Alarm functions -
Connect the alarm devices such as PIR sensors or
✔
• ALARM TIME is the
duration time that the
audible buzzer sounds.
ALARM TIME can be
adjusted from 1 to 60
seconds in Screen Display
Set mode.
• TITLE : A maximum of 8
characters (letters,
numbers or spaces) can
be used in title mode.
• BOUNDARY LINE: you
can turn ON or OFF of
boundary line for being
visible.
• BLANK COLOR: you can
select BLUE, GRAY or
BLACK using the SET –/+
button will decide the
color of the blank channel.
MENU
shift:
†
sel:
√
end:MENU
√
Monitor Mode Set
VCR Mode Set
Terminal Output Set
Buzzer Set
YES
Alarm Time
Power Loss Time
Default Load
NO
SCREEN DISPLAY SET
shift:
†
sel:
√
end:MENU
√
Alarm Time
: 03Sec
Date/Time
: Yes
Title
: Yes
Tape Mode
: Yes
Alarm Counter : Yes
Tape Counter
: Yes
Boundary Line : Yes
Black Color
: BLUE
MONITOR MODE SET
shift:
†
sel:
√
end:MENU
Clock Set
√
Screen Display Set
Individual Set
Motion Set
Picture Set
14
Monitor Mode Set
Clock Setting
1
Turn the power on to all devices used.
2
Press the MENU button, the initial MENU is displayed.
√
mark is located in “Monitor Mode Set”.
3
Press the SHIFT
button, the MONITOR MODE SET
menu is displayed.
4
Press the SHIFT
button, the CLOCK SET menu is
displayed.
5
Press the SET – (or +) button to set the
hours/minutes and seconds. Then, press the SHIFT
button.
6
Press the SHIFT
button.
7
Press the SET – (or +) button to set the month/day
and year. Then, press the SHIFT
button.
• The day of the week is set automatically.
10 Press the MENU button until the normal screen is
displayed.
• The setting procedure is now complete.
MENU
shift:
†
sel:
√
end:MENU
√
Monitor Mode Set
VCR Mode Set
Terminal Output Set
Buzzer Set
YES
Alarm Time
Power Loss Time
Default Load
NO
MONITOR MODE SET
shift:
†
sel:
√
end:MENU
√
Clock Set
Screen Display Set
Individual Set
Motion Set
Picture Set
CLOCK SET
shift:
†
sel:+– end:MENU
Date Format:
MON/DAY/YR
13:50:00 (HR:MIN:SEC)
Thu03/13/03 (MON/DAY/YR)
Summary of Contents for SY20C6144-A
Page 2: ...P N 97P95600N0 79...


