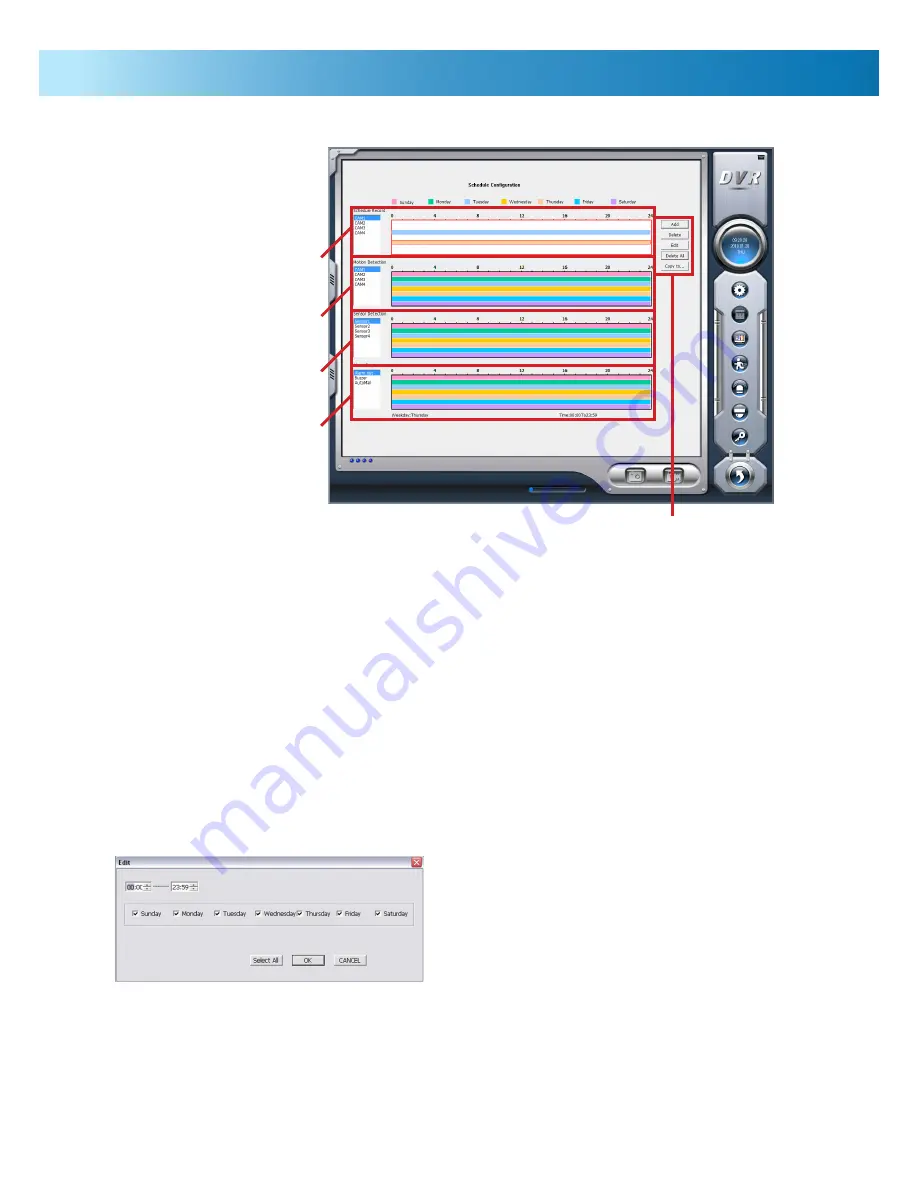
Editing/Creating a Schedule Event
Time:
Enter the start and end times into the spaces available
on the top left hand side of the Edit window. Remember that
the hour count is represented in 24 hour time, with 0:00
being midnight.
Days of the Week:
You can select which day(s) you want
the scheduled event to be active by ticking the boxes next to
the applicable days.
Notes:
If you wish to program a scheduled event to last all
day (that is midnight to midnight twenty-four hours later)
then you need to be sure that the right information is entered
into the beginning/end times.
As midnight is represented as “0:00” it would make sense to
enter “0:00” into both start and end time fields. However,
this would mean that the scheduled event lasts one minute
exactly at midnight.
Rather, enter “0:00” in the first time field, followed by
“23:59” in the next. This will ensure that the scheduled
event does indeed run all through the day.
Also, if you wish to record overnight (say from 6pm Saturday
evening to 6am Sunday morning) you’ll need to enter 18:00
- 23:59 into the schedule for Saturday and 0:00 to 6:00 into
the schedule for Sunday.
You can enter as many intervals per day as you like, in
whatever recording modes you like. They are cumulative and
the DVR will record if any of the selected recording modes
conditions are met.
13
Schedule
To program the PC-DVR to be an autonomous monitoring system, use the Schedule Configuration screen. Here, you can
easily program the behavior you want into the PC-DVR.
Recording Tables:
Each recording mode the PC-DVR
offers has its own table displaying the current programmed
schedule. The numerical values across the top of each table
(labeled 0 ~ 24) represent the twenty-four hours of the day
as represented in 24 hour time (i.e. 0:00 is midnight, 12:00
is midday, 14:00 is 2pm and so on). Underneath the time
display, each day is represented by a colored band. The color
key is displayed at the top of the screen.
Buttons:
These buttons,
Add
,
Delete
,
Edit
and
Delete All
,
are used to program and manage schedule events.
Add:
To create a new schedule event, use the Add button.
An event programming window will be displayed, with the
options to define times and days for the schedule to be
active.
Edit:
Operates in a similar way to the Add button, but rather
than creating a new schedule event,
Delete:
For removing schedule events. If a schedule event
is deleted accidentally, then it can be recreated via the Add
button.
Delete All:
Operates the same way as the Delete button, but
will delete all schedule events, not just those selected. Be
careful not to select this option unless you really want to
clear all programmed scheduling information.
Buttons
Schedule Recording Table
Motion Detection Recording Table
Alarm Output Table
Alarm Output Table


