background image


- 3 -

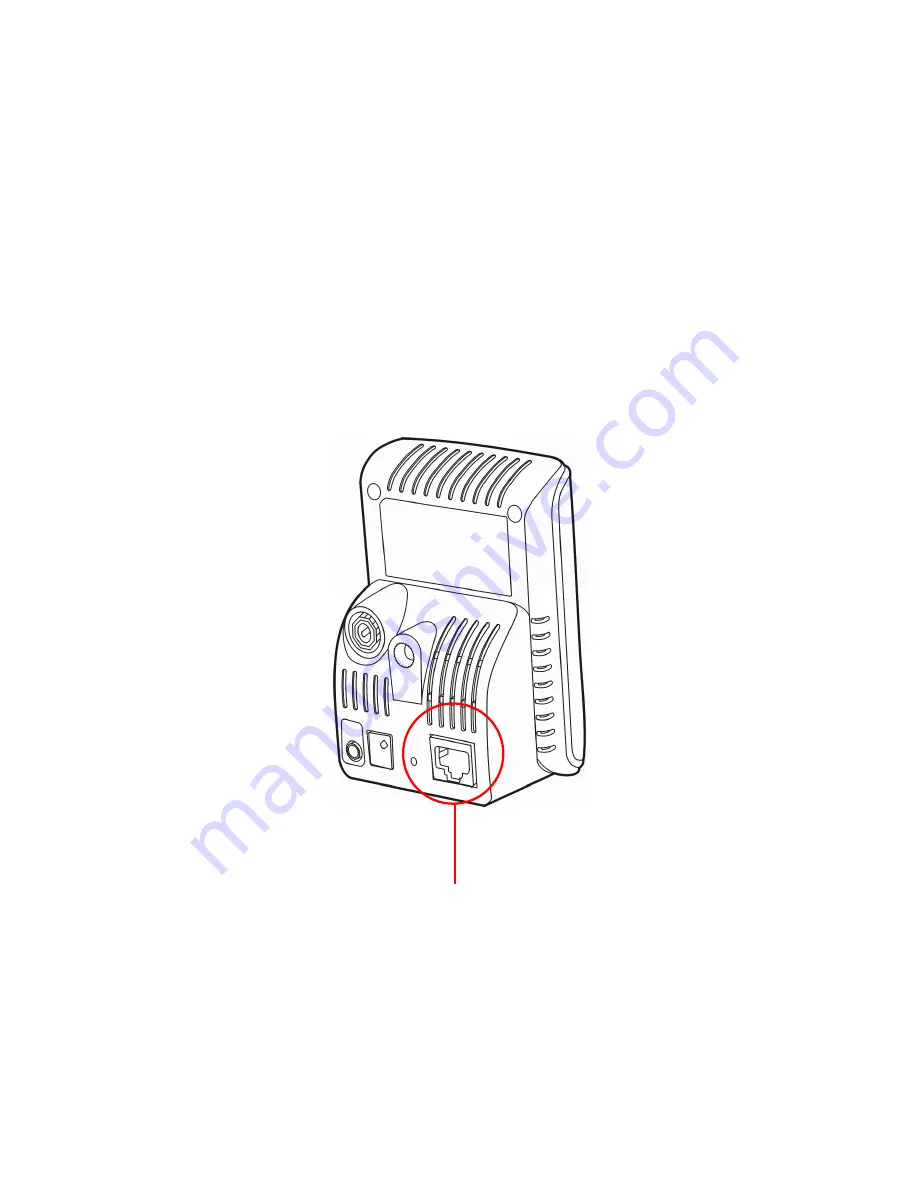
Connecting the Camera to LAN 

Use the provided Ethernet cable to connect the camera to your 
local area network (LAN). 

When you connect the AC power adapter, the camera is powered 
on automatically. You can verify the power status from the Power 
LED on the front panel of the camera. 

Once connected, the Link LED starts flashing green light and the 
camera is on standby and ready for use now. 


Connecting the Ethernet Cable


Summary of Contents for IP3G1000

Page 1: ...MPEG4 MJPEG Network Camera Quick Installation Guide...

Page 2: ...less model 5 One Camera Stand 5 One Ethernet Cable RJ 45 type 5 One Installation CD ROM 5 One Quick Installation Guide System Requirement Networking LAN 10Base T Ethernet or 100Base TX Fast Ethernet W...

Page 3: ...s with a camera stand which uses a swivel ball screw head to lock to the camera s screw hole When the camera stand is attached you can place the camera anywhere by mounting the camera through the thre...

Page 4: ...twork LAN When you connect the AC power adapter the camera is powered on automatically You can verify the power status from the Power LED on the front panel of the camera Once connected the Link LED s...

Page 5: ...attach the included external antenna to the camera When the camera is powered on the camera will automatically search any access point with default SSID NOTE If the camera cannot to your wireless net...

Page 6: ...of the camera launch the Web browser or Ultra View to access your camera TIP The Installation CD ROM provides a setup program that allows you to install IP Finder on your computer To install IP Finde...

Page 7: ...lt IP address 192 168 0 30 or the IP address found by IP Finder in the Address bar and then press Enter 3 When the login window appears enter the default User name admin and password admin and press O...

Page 8: ...7 4 Click Setup and then Smart Wizard to set up your camera quickly The Smart Wizard will guide you through the necessary settings with detailed instructions on each step...

Page 9: ...ced Installation Guide on the provided Installation CD ROM For details of operating Ultra View please refer to the Software User Guide on the provided Installation CD ROM If you have any problem on th...

Reviews: