


29
Click for contents
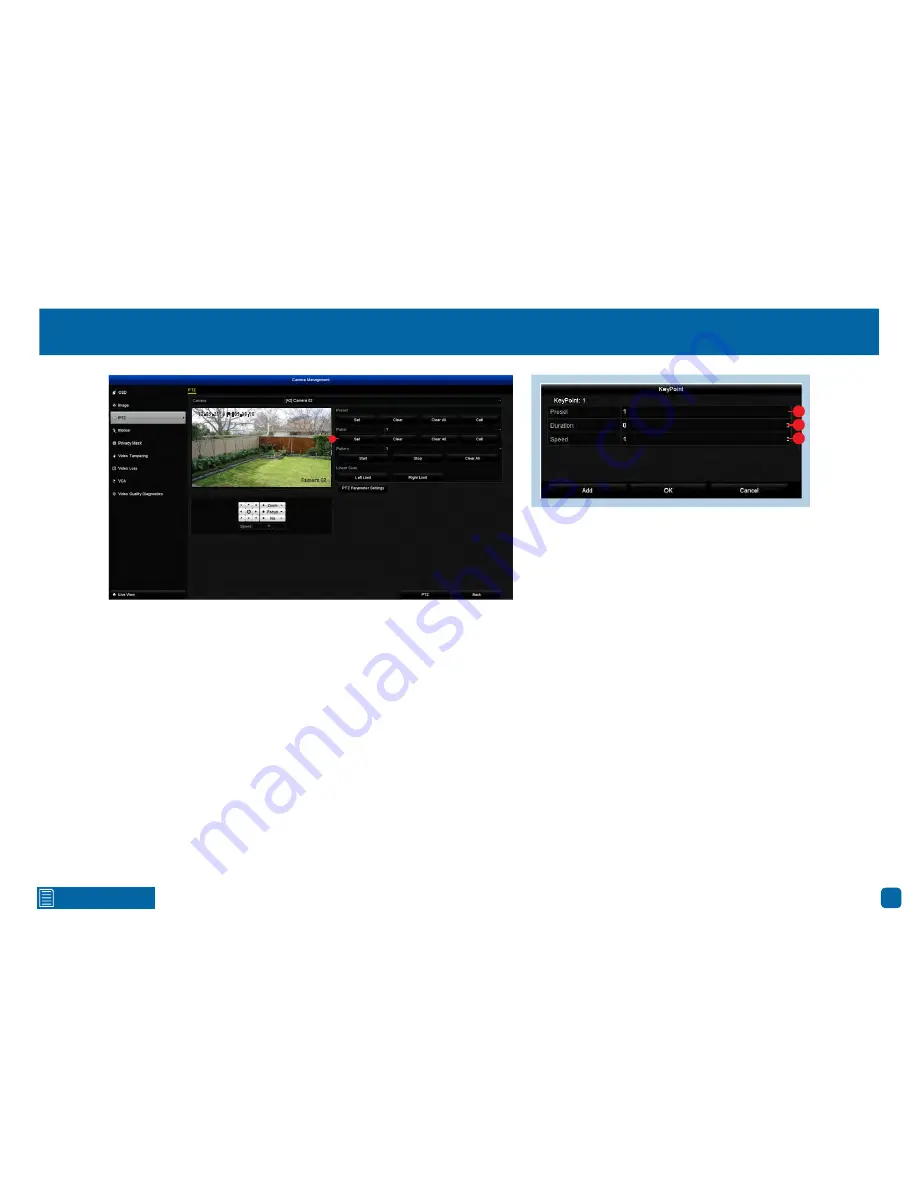
Creating a Patrol
When creating multiple patrol groups (group 1 is the default), click the “Pa-
trol” dialogue box and change accordingly. Up to 4 different patrol groups can
be created.
1.
Click the “Set” button to create a patrol.
2.
Select a preset position that you would like to add to the patrol. The preset
position will determine the order at which the camera will cycle through the
patrol.
3.
The duration refers to the time span (in seconds) the camera will stay at
the corresponding preset position. Change accordingly.
4.
This defines the speed at which the camera will move from one preset
position to the next.
Add:
Click this button to add your preset position to the patrol. The keypoint
will increase each time you add a preset position.
OK:
Click this button to finish.
Cancel:
Click this button to cancel.
Clear:
Click this button to delete the selected patrol group.
Clear All:
Click this button to delete all patrol groups.
PTZ:
Click this button to access the full PTZ controls available. To start a pa-
trol, click the “General” tab. Select a patrol group then click “Call Patrol” to
start. The camera will move to the first preset position and then move to the
subsequent positions repeatedly.
Click “Stop Patrol” to stop.
Click the “X” button to close the PTZ controls when finished.
Camera 02
12-09-2016 Fri 09:30:15
1
2
3
4


