


8
8
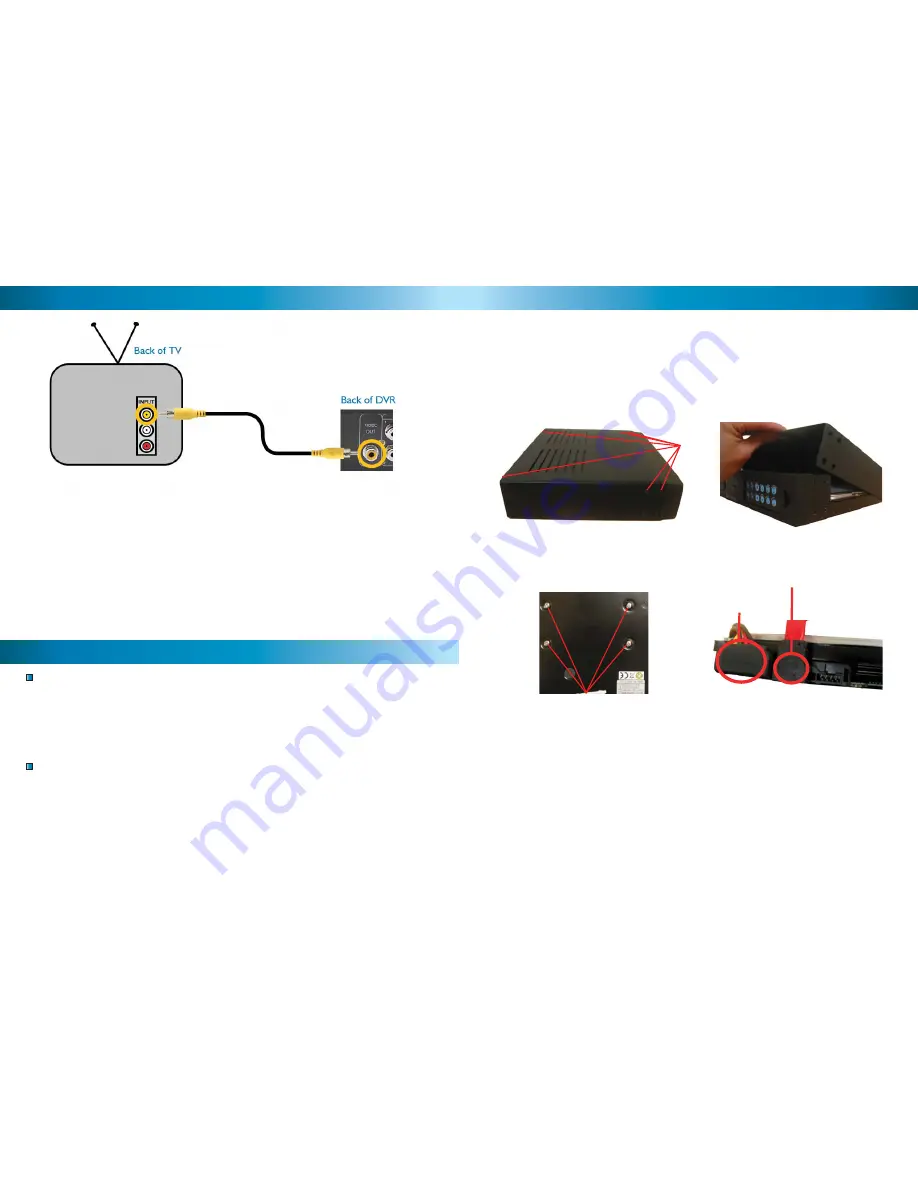
Connecting the DVR to a TV Monitor
1
2
1.
Connect an RCA end of the Video Cable to the Yellow Video
INPUT on the back of the TV Monitor.
2.
Connect the other RCA end of the Video Cable to the Video OUTPUT
connection on the back of the DVR.
3.
Tune your TV to the correct input channel to view the DVR. Using your TV’s
Remote Control press the Input button until the DVR appears on screen. Most
TVs will label this button as Input, Video, Source, A/V, TV/AV, Line, Channel 0,
etc. If you are unable to view your DVR on your TV contact your TV’s manufac-
turer for assistance.
Back of TV
Powering the DVR On/Off
To turn on your DVR connect the Power Adapter to the DC 12V input on the
back of the unit. To turn the DVR off unplug the DVR from the wall outlet or
power point.
If the DVR will not be in use for extended periods of time Swann recommends
unplugging the unit.
Auto-Recovery Feature
The DVR4-950™ is equipped with an Auto-Recovery feature. Should a power
outage occur while you are recording the DVR will automatically resume record-
ing once power is restored.
Turning the DVR On/Off and Auto Recovery
17
17
6. Replace the Hard Drive and plug in the SATA and the power cable as shown in
step 5.
7. Screw in the hard drive to the bottom of the case as in step 4.
8. Replace the top of the case.
9. Screw in the remaining screws to the sides and back of the DVR as in step 2.
4. Locate the screws below the hard
drive. Secure the hard drive before re-
moving the 4 screws to avoid damaging
the hard drive
5. Push the metal clip on the SATA
cable (single RED or ORANGE cable)
to unplug the cable from the hard
drive. Unplug the power cable (2
BLACK 1 YELLOW and 1 RED cable)
from the back of the Hard Drive.
Remove
Power Cable
SATA Cable
IMPORTANT NOTE:
The following instructions are for installing or changing the
hard drive. If your DVR4-950™ already has a hard drive pre-installed disregard
these steps.
Installing / Changing a Hard Drive in the DVR4-950™
1. Ensure the DVR4-950™ is unplugged and removed from mains power.
2. Locate and remove the 6 screws 2 on
each side at the front and 2 at the top
on the back. (The bottom screws on the
front do not need to be removed.
3. Pull up the top case of the DVR.
Remove
Installing or Changing a Hard Drive


