


16
16
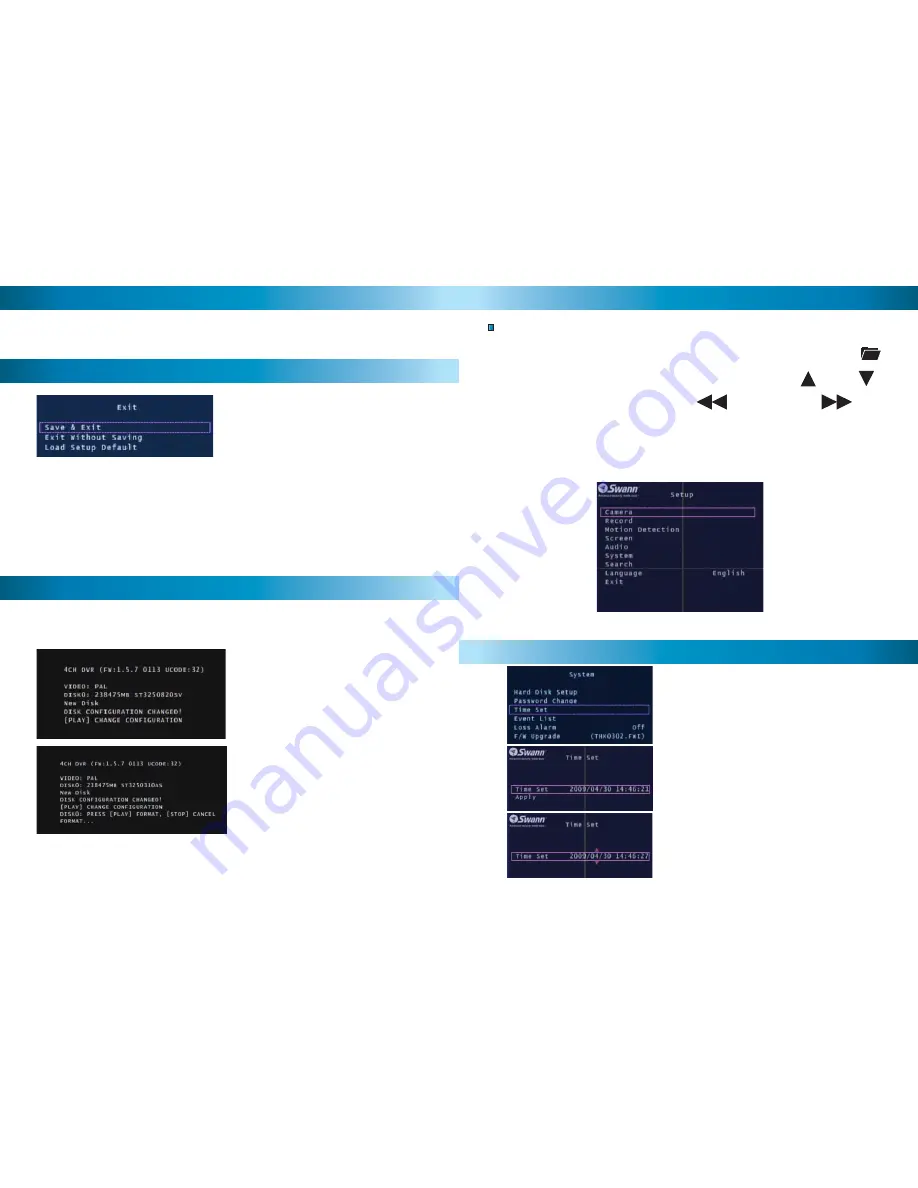
Save, Exit or Load Setup Defaults from the
Exit menu.
Press SET to select the highlighted option.
Save & Exit:
Use this option to save all settings that have been changed in the
DVR menus. All changes made will be lost if you do not choose this option.
Exit Without Saving:
Select to disregard any changes that have been made
and return to camera view.
Load Setup Default:
Reset all settings on the DVR to factory defaults.
Exit Menu
Language
With the Language option selected push the SET button to switch between
English and Chinese.
When starting the DVR4-950™ for the fi rst time or starting the DVR after chang-
ing to a new hard drive, the DVR will confi gure the hard drive for use. Follow the
on screen prompts to confi gure the hard drive.
IMPORTANT NOTE:
If format is chosen all existing data on the hard drive will
be deleted and unrecoverable.
1. After the DVR recognizes the new
hard drive press PLAY to confi gure for
use.
2. When the hard drive is confi gured
you will be asked to format or cancel.
Press PLAY to confi rm the format.
Starting the DVR With a New Hard Drive
9
9
Menu Operation
Accessing and Navigating the Menu System
The main Setup Menu can be accessed by pressing the MENU Button
To navigate the menus press the directional arrow keys UP DOWN
To change selections use the REWIND & FAST FOWARD
buttons
To select the highlighted option press the SET button
To return to the previous menu press the MENU button
Main Setup Menu
Setting DVR Time
To change the DVR time, go into the SYSTEM
menu and select TIME SET.
With TIME SET highlighted press the SET
button to display the selection arrows.
Use the FAST FOWARD & REWIND buttons to
select between the date (year, month, day)
and time (hour, minute, seconds)
Using the UP & DOWN buttons change the
selected option


