Chapter 2: Installation
2-21
2-9
Installing Software Drivers
After all the hardware has been installed, you must first install the operating
system and then the software drivers. The necessary drivers are all included
on the Supermicro CD that came packaged with your motherboard. After
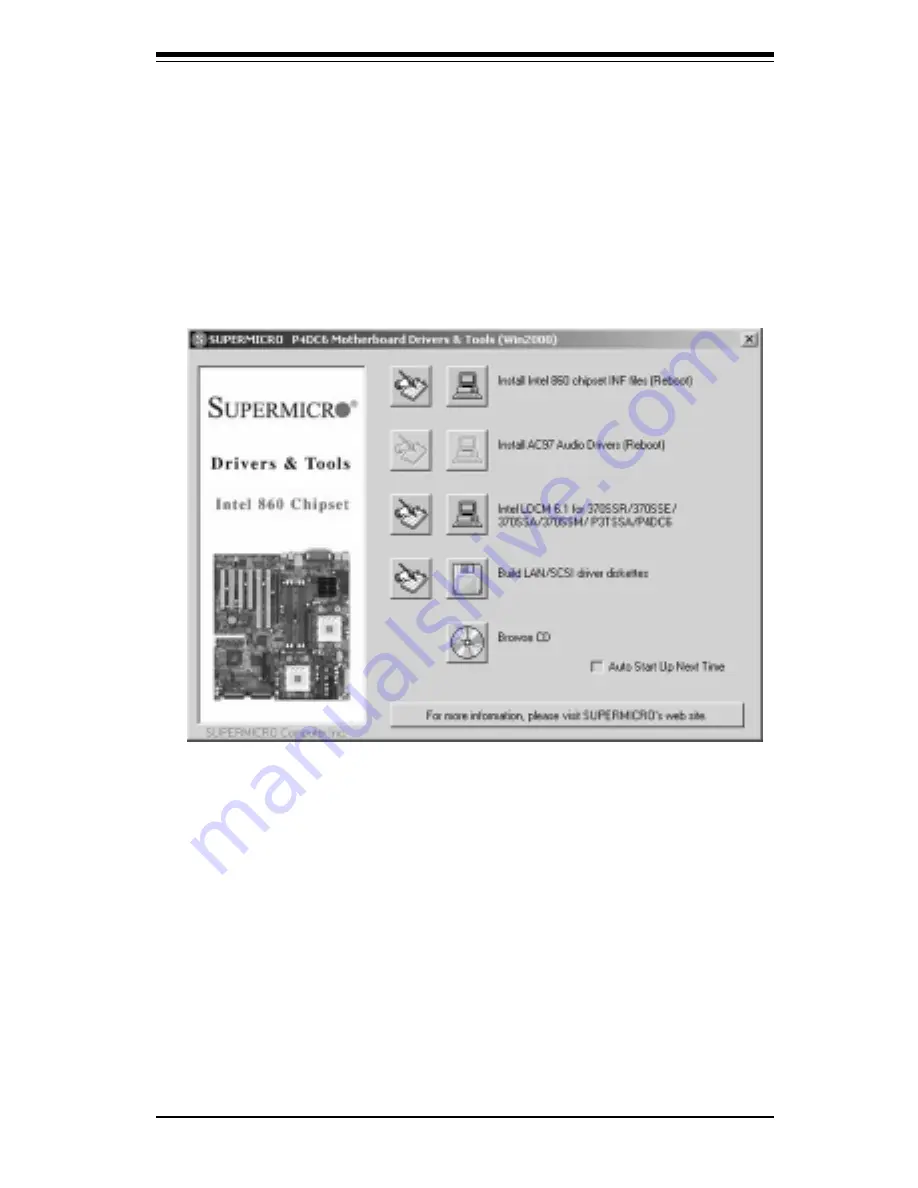
inserting this CD into your CDROM drive, the display shown in Figure 2-6
should appear. (If this display does not appear, click on the My Computer icon
and then on the icon representing your CDROM drive. Finally, double click on
the S "Setup" icon.)
Figure 2-6. Driver/Tool Installation Display Screen
Click the icons showing a hand writing on paper to view the readme files for
each item. Click the tabs to the right of these
in order from top to bottom
to
install each item one at a time. After installing each item, you must reboot
the system before moving on to the next item on the list. You should
install everything here except for the SUPER Doctor utility, which is optional.
The Security and Graphics Drivers support multiple languages. Click the
arrows to pull down a menu of choices. The bottom icon with a CD on it allows
you to view the entire contents of the CD.
Note: The memory size reported in the device manager may be less than
expected because some is used by the onboard graphics. Higher screen
resolutions will take up more of this memory.
Summary of Contents for SUPER P4DC6
Page 1: ...SUPER P4DC6 SUPER P4DC6 USER S MANUAL Revision 1 1 SUPER...
Page 9: ...Chapter 1 Introduction 1 3 Notes...
Page 10: ...SUPER P4DC6 P4DC6 User s Manual 1 4 SUPER P4DC6 Figure 1 1 SUPER P4DC6 Image...
Page 11: ...Chapter 1 Introduction 1 5 SUPER P4DC6 Figure 1 2 SUPER P4DC6 Image...
Page 26: ...SUPER P4DC6 P4DC6 User s Manual 1 20 Notes...
Page 48: ...2 22 SUPER P4DC6 P4DC6 User s Manual Notes...
Page 80: ...SUPER P4DC6 P4DC6 User s Manual 4 26 Notes...


