


4-11
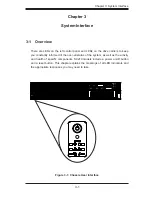
Chapter 4: Chassis Setup and Maintenance
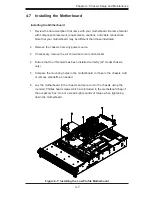
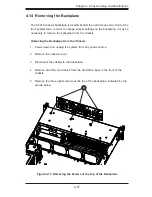
4-9 Installing the Air Shroud
Air shrouds concentrate airflow to maximize fan efficiency. The SC219 chassis air
shroud does not require screws for installation.
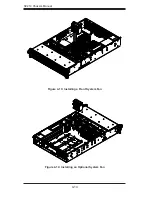
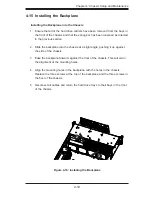
Installing the Air Shroud in the Chassis
Installing the Air Shroud
1.
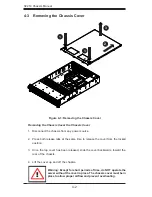
Lay the chassis on a flat, stable surface and remove the chassis cover.
2. Ensure that the motherboard, CPU, heatsink and memory are all properly
installed.
3. If necessary, move any cables that interfere with the air shroud placement.
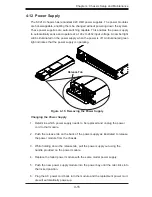
4.
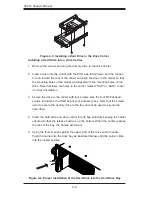
Place the air shroud in the chassis. The air shroud fits just behind the fans in
the fan rack. Slide the air shroud into the grooves just behind the fan rack.
Note that some motherboards may require the air shroud to be modified to
fit over the motherboard. The SC219 chassis air shroud is designed with
break-away pieces that may be removed to accomodate differing styles of
motherboards.
Figure 4-11: Air Shroud Installation
4
Summary of Contents for SC219 Chassis Series
Page 8: ...SC219 Chassis Manual viii Notes ...
Page 12: ...SC219 Chassis Manual 1 4 Notes ...
Page 40: ...SC219 Chassis Manual 4 20 Notes ...
Page 50: ...SC219 Chassis Manual 5 10 Notes ...
Page 54: ...SC219 Chassis Manual A 4 Notes ...
Page 56: ...SC219 Chassis Manual B 2 Notes ...
Page 67: ...C 11 Appendix C SAS 213A Backplane Specifications Notes ...