SuperServer 4029GP-TVRT User's Manual
42
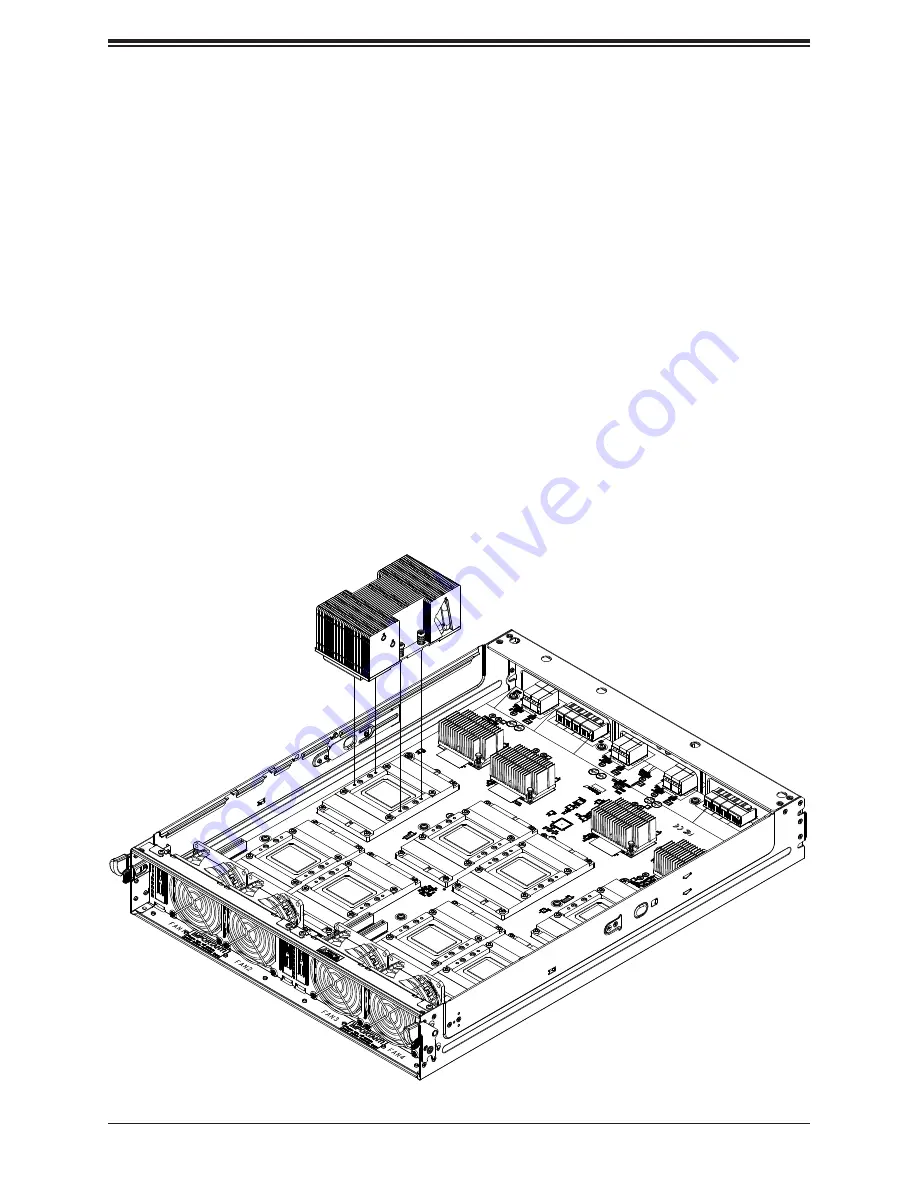
Figure 3-5. Installing a GPU Heatsink
2
GPU Heatsink
Installing a GPU
1. Power down the system, pull the GPU chassis tray from the main chassis and remove
the cover.
2. Remove all the plastic socket covers on both the GPU and the add-on module.
3. Position the GPU on the bracket on the add-on module board. Note that the GPU has
two asymmetrical guide pins that line up with holes in the add-on board. They allow only
the correct orientation of the GPU.
4.
Secure the GPU with eight screws. Screw the four inside screws first in a diagonal
pattern, then the four outside screws in a diagonal pattern. Be careful not to damage the
surrounding elements.
5. From the thermal pads on the heatsink, remove the protective blue paper.
6. Position the heatsink on the GPU so that the heatsink part number faces the right side
of the chassis tray (right side when viewed from the front of the tray).
7. Secure the heatsink with four screws, tightening in a diagonal pattern.


