Chapter 7: BIOS
7-3
7-2
S
UPER
S
ERVER 1018R-WR User's Manual
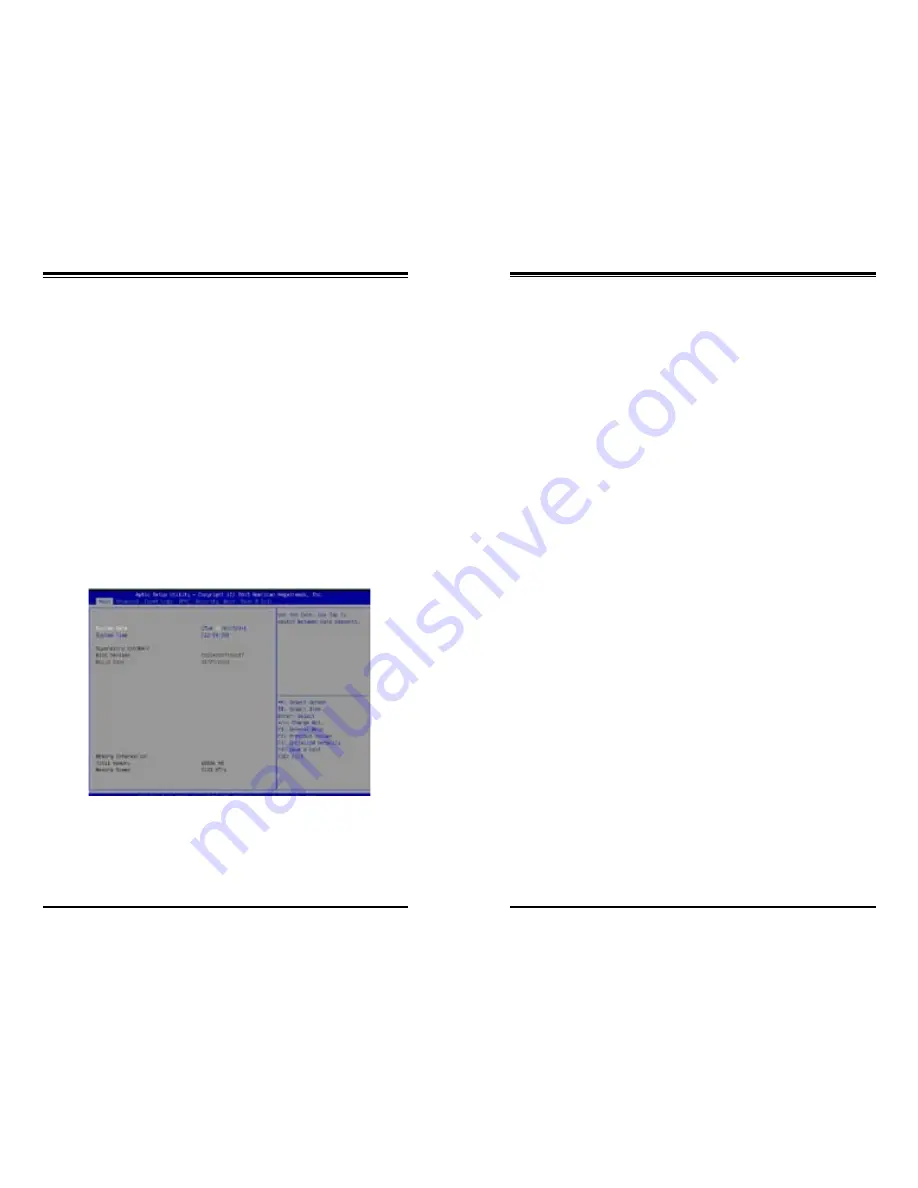
System Date/System Time
Use this option to change the system date and time. Highlight
System Date
or
System Time
using the arrow keys. Enter new values using the keyboard. Press the
<Tab> key or the arrow keys to move between fields. The date must be entered in
Day MM/DD/YYYY format. The time is entered in HH:MM:SS format.
Note:
The time is in the 24-hour format. For example, 5:30 P.M. appears
as 17:30:00.
Supermicro X10SRW-F
BIOS Version:
This item displays the version of the BIOS ROM used in the
system.
Build Date:
This item displays the date when the version of the BIOS ROM
used in the system was built.
Memory Information
Total Memory:
This item displays the total size of memory available in the
system.
Memory Speed:
This item displays the default speed of the memory modules
installed in the system..
How to Start the Setup Utility
Normally, the only visible Power-On Self-Test (POST) routine is the memory test.
As the memory is being tested, press the <Delete> key to enter the main menu of
the AMI BIOS setup utility. From the main menu, you can access the other setup
screens. An AMI BIOS identification string is displayed at the left bottom corner of
the screen, below the copyright message.
Warning:
Do not upgrade the BIOS unless your system has a BIOS-related issue.
Flashing the wrong BIOS can cause irreparable damage to the system. In no event
shall Supermicro be liable for direct, indirect, special, incidental, or consequential dam-
ages arising from a BIOS update. If you have to update the BIOS, do not shut down
or reset the system while the BIOS is updating. This is to avoid possible boot failure.
7-2 Main Setup
When you first enter the AMI BIOS setup utility, you will enter the Main setup screen.
You can always return to the Main setup screen by selecting the Main
tab on the
top of the screen. The Main BIOS setup screen is shown below.
The following Main menu items will be displayed:


