80-0067-00-MO-RevF 2017-10-03 SunTech CT40 User Manual | 1
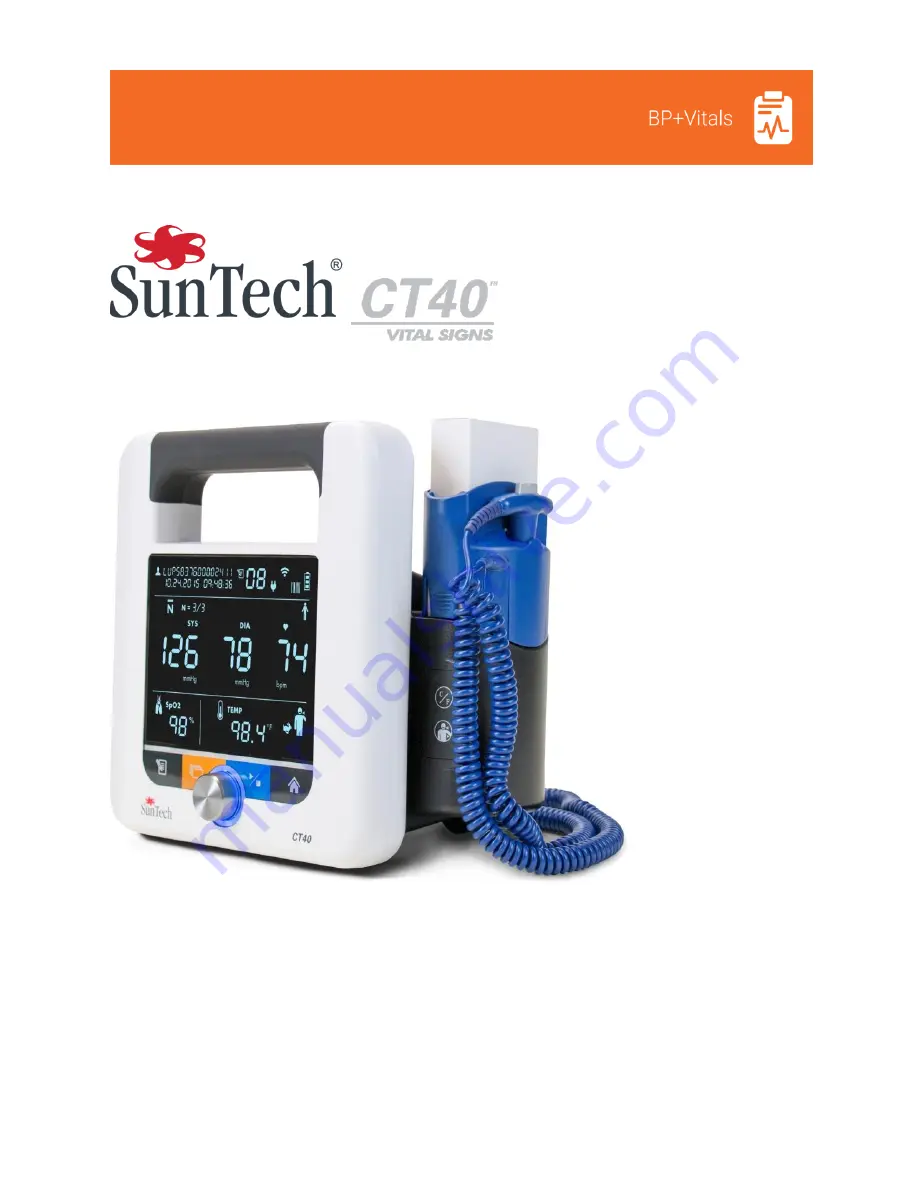
Spot-check Vital Signs Device
User Manual
Page 1: ...80 0067 00 MO RevF 2017 10 03 SunTech CT40 User Manual 1 Spot check Vital Signs Device User Manual ...
Page 2: ...law under which states they may not be copied in whole or in part without written consent of SunTech Medical The information in this manual is furnished for guidance only is subject to change without notice and should not be construed as a commitment by SunTech Medical SunTech Medical assumes no liability for errors or inaccuracies that may appear in this manual 2017 SunTech Medical All rights res...
Page 3: ...les of plethysmography via a SpO2 sensor placed on the patient s finger Temperature can be measured using one of two different kinds of temperature probes The oral axillary rectal temperature probe contains a thermistor that generates a voltage based on changes in temperature and these voltages are recorded by the temperature circuitry The touchless infrared temperature probe detects radiated infr...
Page 4: ...rt Rate Measurement 24 SpO2 Heart Rate Measurement 24 7 Using SunTech CT40 for Pulse Oximetry 24 General Principle of Operation 24 System Description 26 Taking SpO2 Measurements 26 Special Notes for Masimo SET SpO2 module 26 Special Notes for ChipOx SpO2 module 28 8 Using SunTech CT40 for Temperature Measurement 29 Covidien FILAC 3000 Thermometry Module 29 Oral Temperature Taking 30 Axillary Tempe...
Page 5: ...is operation manual and accompanying labels and inserts when assembled operated maintained and repaired in accordance with the instructions provided Further the user of this device bears sole responsibility for any malfunction that results from improper use faulty maintenance improper repair damage or alteration by anyone other than SunTech Medical or authorized service personnel Use of SunTech CT...
Page 6: ...the cuff can temporarily cause loss of functionality of SpO2 if simultaneously using device on the same limb WARNING Not designed for neonates WARNING Do not apply the BP cuff to a limb being used for IV infusions as the cuff inflation can temporarily block the infusion causing harm to the patient WARNING Check frequently by observing the limb that operation of the AUTOMATED SPHYGMOMANOMETER does ...
Page 7: ...diately replace parts that are broken worn missing incomplete damaged or contaminated CAUTION Contact the nearest SunTech approved service center should repair or replacement become necessary A list of approved service centers appears in the guide or on our website at www SunTechMed com CAUTION The reliability of the device depends upon conformance with the operation and service instructions as de...
Page 8: ...orized representative in the European Community Catalog Number Serial Number Batch or Lot Code Fragile handle with care Keep dry Temperature limit Humidity limitation Consult instructions for use Refer to instruction manual booklet Type B Type BF Applied Part Part is isolated from earth ground Indicates that the device contains materials which may be hazardous to human health CE Mark Product meets...
Page 9: ...piration Date Single Use Only Commonly Used Abbreviations BP Blood Pressure BPM Beats Per Minute EMR Electronic Medical Record system K sounds Korotkoff sounds MAP Mean Arterial Pressure Not available in the U S DIA Diastolic BP NIBP Non Invasive Blood Pressure OPD One piece Durable SpO2 Percent Oxygen Saturation of Arterial Blood hemoglobin SYS Systolic BP 2 Setting Up the SunTech CT40 Unpacking ...
Page 10: ...USB dongle optional Printer or barcode scanner USB cable optional Ethernet cable optional Mini USB cable to connect to PC or laptop Side Temperature Panel Configuration If no temperature module will be added then attach the right panel of the CT40 using the included Phillips head screwdriver This panel will be on the right side when the screen is facing the user ...
Page 11: ...ll assembly into the top of the FILAC module For Touchless Plug in the touchless thermometer cable connector into the already inserted module Side SpO2 Panel Configuration Remove the left panel of the CT40 using a Phillips head screw driver This panel will be on the left side when the screen is facing the user To add an SpO2 module attach the module on the left side of the main unit Fasten with th...
Page 12: ...damage as this may cause battery overheating and or a fire risk Do not short across the contacts of the battery or attempt to discharge the battery by shorting as a risk of fire or explosion may result Do not expose or immerse the battery in water or attempt to clean with any cleaning agents Only wipe battery with a damp cloth if necessary Wash the affected area if electrolyte spills on skin or cl...
Page 13: ...ired to the factory settings can be made using the Advanced Configuration Application The Advanced Configuration Application can be accessed when the device is connected to a Windows device Advanced configuration such as connecting to a network or EMR system should be done by a qualified technician See Advanced Configuration Application Guide SunTech document 80 0072 00 MO for details Advanced dev...
Page 14: ...rs illuminated indicate a full charge Blood Pressure Measurement Mode Selection Icons Auscultatory Sphygmomanometer Mode Averaging mode Number of measurements taken in averaging mode Maximum pressure setting for Auscultatory Sphyg Mode Time before first measurement in minutes Illuminates when Averaging Mode is selected Time between measurements in seconds Illuminates when Averaging Mode is selecte...
Page 15: ...selected patient mode until a new mode is selected Heart Rate and MAP Measurements Measured in BPM Beats per minute is illuminated when a heart rate is shown in the heart rate display MAP Measured in mmHg is illuminated when a MAP value is shown only if MAP functionality is enabled NOTE This is a factory setting MAP is not available in the U S Pulse Oximetry Measurement Display Expressed in of art...
Page 16: ...ction Knob This round knob rotates clockwise and counterclockwise and can be pressed in to select different options on the SunTech CT40 This button can be used to change parameters and to set the intended parameter Start Stop Button Press this button to start or stop a BP measurement Home Button Pressing this button returns you to the single measurement mode Monitor Setup Press the power button to...
Page 17: ...ned on after Initial Power up Simply press the power button and the display will illuminate NOTE The blue LED around the Selection Knob will be lit whenever the device is powered on Power down occurs when you press the power button when the device is powered up During power down all LCD segments and icons illuminate for 1 second and then the entire display gradually darkens from normal brightness ...
Page 18: ...s may have already connected the SunTech CT40 to your facility s EMR system If so you can easily send measurements directly to the EMR With the patient s current measurements displayed on the screen press the Memory button The EMR icon and Check Mark icon will begin flashing Press the Selection Knob to send the data to the EMR If the measurements are delivered to the EMR successfully you will see ...
Page 19: ...ldest records 5 Using SunTech CT40 for BP Measurement The SunTech CT40 provides flexibility to allow you to measure BP using several different modes depending on your facility s preferred procedure the patient s condition or other care considerations Step 1 Preparing the Patient Patient Position According to AHA guidelines the patient should be seated for at least five minutes before taking a bloo...
Page 20: ...an take a single automatic measurement Single Measurement Mode Averaged BP Automatically take and average up to 5 multiple BP measurements Averaging Measurement Mode Auscultatory Sphyg mode Allows you to verify an automated oscillometric BP reading with a manual auscultatory measurement Auscultatory SphygMode Note Use of Auscultatory SphygMode may be required to meet certain clinical trial protoco...
Page 21: ...eep defaults press Knob Or turn Knob to choose new values and press Knob to select Example of Averaging Measurement Mode setup screen with default values You can select 2 to 5 measurements to average In this example 4 measurements are set to be averaged On left is Time Before First Reading will start Select 0 5 min Default 0 On right is Time Between Measurements Select 15 120 sec Default 15 sec No...
Page 22: ... cleared from display except for SYS value representing current pressure in cuff Press Start Stop Button Inflate deflate cycle proceeds automatically until results are displayed A long beep will sound to indicate measurement is complete When selecting this mode the will flash to allow the user to decide how many reading they would like averaged Select number of readings by rotating the selection k...
Page 23: ...ll alternate in 3 second intervals NOTE MAP is not available in the U S Step 5 Record Results When the measurement cycle is complete values will be displayed for systolic and diastolic pressure plus heart rate if BP is selected as the pulse rate source Manually record print and or digitally save your measurements according to your healthcare facility s preferred process To send results to an EMR o...
Page 24: ...rve as the light sources and a photodiode serves as the photo detector Traditional pulse oximetry assumes that all pulsations in the light absorbance signal are caused by oscillations in the arterial blood volume The traditional pulse oximeter calculates the ratio of pulsatile absorbance AC to the mean absorbance DC at each of two wavelengths typically one visible the other infrared The oximeter t...
Page 25: ...with normal levels of carboxyhemoglobin COHb and methemoglobin MetHb A pulse oximeter cannot measure elevated levels of COHb or MetHb Increases in either COHb or MetHb will affect the accuracy of the SpO2 measurement CAUTION COHb levels above normal tend to increase the level of SpO2 The level of increase is approximately equal to the amount of COHb that is present CAUTION High levels of COHb may ...
Page 26: ...ger into the SpO2 sensor until the end of the finger reaches the finger stop Do not use the thumb 2 The fingernail should face the side with the red light Make sure that long fingernails do not interfere with proper finger position 3 An SpO2 reading will be displayed after a few seconds Remove the finger from the SpO2 sensor and the last measurement will be displayed and flashed 4 If the sensor is...
Page 27: ... a noise reference N is determined N S 660 S 905 x R If there is no noise N 0 then S 660 S 905 x R which is the same relationship for the traditional pulse oximeter The equation for the noise reference is based on the value of R the value being sought to determine the SpO2 The MS board software sweeps through possible values of R that correspond to SpO2 values between 1 and 100 and generates an N ...
Page 28: ... 54 70 80 0 67 Special Notes for ChipOx SpO2 module NOTE Use only SpO2 sensors from SunTech approved for use on the CT40 ChipOx SpO2 module NOTE A functional tester cannot be used to assess the accuracy of a ChipOx pulse oximeter sensor or pulse oximeter Using FLUKE Biomedical Index 2 SpO2 simulator the device can display the entire range of SpO2 values ChipOx Sensors Before using carefully read t...
Page 29: ...Your device may come equipped with a Covidien FILAC 3000 digital thermometer capable of taking an oral axillary under arm or rectal temperature reading Your thermometer should come with a blue isolation chamber probe unit for taking oral and axillary temperature or with a red isolation chamber probe unit for taking rectal temperature NOTE Always apply a new probe cover before taking temperature Do...
Page 30: ...h between Oral and Axillary mode Oral Temperature Taking Insert the probe tip under the tongue on one side or the other Ask the patient to close his mouth Hold the probe in place until there is a long beep and the temperature reading displays Axillary Temperature Taking With the patient s arm uplifted place the probe tip into the patient s armpit directly on the skin Ask the patient to lower his a...
Page 31: ... lower than normal such as when he is coming out of surgery Cold Mode is activated by pressing the Site Selection button and C F button simultaneously on the temp module When selected the Cold Mode snowflake icon is displayed and the probe will preheat to 33 C 91 F The accuracy and measurement time of Cold Mode measurements are equivalent to standard prediction measurements at the respective body ...
Page 32: ... screen NOTE Remember that surface temperature and inner temperature of an object can vary greatly Touchless Thermometry module is not available in all countries Contact SunTech to find out if this feature is available in your area 9 Using SunTech CT40 EMR and Memory Functions Section 4 Good to Know Before You Begin provides some basic information about the SunTech CT40 s EMR and memory functions ...
Page 33: ...u wish to delete Press the Selection Knob to delete that measurement Or rotate the knob clockwise until the X icon flashes and press the Selection Knob to cancel the deletion To clear all measurement values from memory While in Memory Mode press and hold the Memory Button for less than three seconds and while holding then press the Selection Knob The Memory Delete icon and Check icon will flash in...
Page 34: ...here is a network connection the SunTech CT40 will continue to try to transmit the message every 10 seconds A message in the Patient ID field will alert you that another attempt to send the message will be made in 10 seconds If network connectivity is lost you will see a corresponding message in the Patient ID field and the device will continue trying to reestablish a connection and send the measu...
Page 35: ...ructions below Battery Disposal The SunTech CT40 device contains a lithium ion battery that contains materials which may be hazardous to human health Do NOT dispose of battery in domestic waste Instead please dispose of in an environmentally responsible way or return the battery to SunTech Medical A prepaid return label can be obtained Please see our website for more information about our environm...
Page 36: ...d Industrial Estate Eynsham Oxfordshire OX29 4TS UK Tel 44 0 1865 884 234 Fax 44 0 1865 884 235 11 Accessories Replacement Parts Contact your SunTech Medical sales representative to purchase the following items Main Unit Part Number Description Details 91 0028 16 10 3 0m Patient BP Hose Bayonet to Bayonet Each 98 0600 41 OPD Child 12 19cm BP Cuff Bayonet Box 5 98 0600 43 OPD Small Adult 17 25cm BP...
Page 37: ... Finger Sensor ChipOx Each Covidien FILAC 3000 Temperature Module Part Number Description Details 52 0009 00 F3000 Oral Axillary Temp Probe 9 Each 45 0006 00 F3000 Oral Axillary Isolation Chamber Blue Each 52 0009 01 F3000 Rectal Temp Probe 9 Each 45 0006 01 F3000 Rectal Isolation Chamber Red Each 98 0131 01 F3000 Disposable Temp Probe Covers 25 boxes tray 20 covers box 1 tray 98 0130 01 F3000 Dis...
Page 38: ...Code Displayed Action User Should Take Blood Pressure 1 2 4 87 88 Check the cuff is in the correct position Check that the cuff is properly tightened and tubing properly connected Check that there is no excessive clothing between the arm and cuff Check that the cuff applied is the correct size The patient may have been moving too much Take another BP reading 3 No action possible Values are outside...
Page 39: ...Retry reading If issue persists replace module or call Customer Service 530 Use in normal room temperature environment suitable to the device SpO2 121 124 133 136 150 156 Remove sensor from the patient and ensure proper positioning Attempt new measurement ensuring proper protocol as in section 7 of the User Manual Unplug sensor and reconnect If issue persists power off and repower on the CT40 Retr...
Page 40: ...ervice 215 Charge Battery Barcode Scanner 701 706 Check and insure proper barcode and Patient ID was scanned Rescan Patient ID Disconnect Reconnect cable from USB port on CT40 Replace Barcode Scanner Printing 381 Close Printer Door 382 Replace Paper 383 387 388 390 Check cables Reset Printer Replace Printer Out of Range Measurements The SunTech CT40 can measure BP that falls within the following r...
Page 41: ...654 2301 For customers in Europe the Middle East and Africa SunTech Medical Ltd Service Department Oakfield Industrial Estate Eynsham Oxfordshire OX29 4TS UK Tel 44 0 1865 884 234 Fax 44 0 1865 884 235 13 Frequently Asked Questions What is the expected battery life for the SunTech CT40 When batteries are fully charged the SunTech CT40 is designed to run on internal battery power for 120 measuremen...
Page 42: ...measurement measurement 99 After all results are cleared from the memory the Memory Location Identifier also will return to 01 14 Technical Information EMC Statement This equipment needs special precautions regarding EMC and needs to be installed and put into service according to the EMC information provided in this document This equipment has been tested and found to comply with the limits for me...
Page 43: ...s flicker emissions IEC 61000 3 3 Complies Guidance and manufacturer s declaration electromagnetic immunity The CT40 is intended for use in the electromagnetic environment specified below The customer or the user of the CT40 should assure that it is used in such an environment When the product is in an environment with static the product may show error SpO2 reading it will recover automatically wh...
Page 44: ... 3A m Power frequency magnetic fields should be at levels characteristic of a typical location in a typical commercial or hospital environment NOTE UT is the a c mains voltage prior to application of the test level In the event of an error the device will auto recover within 5 seconds Immunity test IEC 60601 test level Compliance level Electromagnetic environment guidance Conducted RF IEC 61000 4 ...
Page 45: ...trength in the location in which the CT40 is used exceeds the applicable RF compliance level above the CT40 should be observed to verify normal operation If abnormal performance is observed additional measures may be necessary such as re orienting or relocating the CT40 b Over the frequency range 150 kHz to 80 MHz field strengths should be less than 3 V m Recommended separation distances between p...
Page 46: ...ted in the ranges above Power Internal power supply Input 100 240 VAC 1 5A max 50 60 Hz Output 9VDC 5A IEC 320 type input connector Calibration The accuracy of cuff pressure transducers indicators should be verified bi annually Safety Systems Independent hardware over pressure circuit and redundant software overpressure algorithm to limit cuff pressure to less than 300 mmHg 20 10mmHg Independent h...
Page 47: ...pecifications Function ChipOx Masimo M LNCS DCI Saturation Normal no motion 2 70 100 Arms 2 70 100 Arms Saturation Motion N A 3 70 100 Arms Low Perfusion N A SpO2 2 Pulse Heart rate 20 300 BPM 3 BPM 3 BPM Pulse Heart rate w motion 20 300 BPM 3 BPM 5 BPM Wavelength Output Power RED 660nm 3 5 4 5mW IR 905nm 3 5 4 5mW RED 660nm 15mW IR 905nm 15mW For more detailed information see the instructions for...
Page 48: ...lly packaged and shipped prepaid to SunTech Medical Inc Service Department 507 Airport Boulevard Suite 117 Morrisville NC 27560 USA Tel 800 421 8626 919 654 2300 Fax 919 654 2301 SunTech Medical Ltd Service Department Oakfield Industrial Estate Eynsham Oxfordshire OX29 4TS UK Tel 44 0 1865 884 234 Fax 44 0 1865 884 235 The device will be repaired in the shortest possible time and returned prepaid ...