35
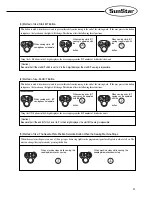
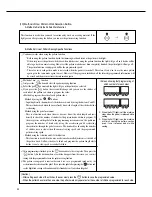
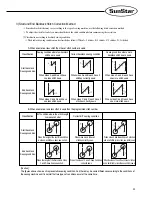
B. When the machine sews less than a stitch more or less than the one programmed.
ⓐ
If there are still problems with the B/T sewing condition even after correcting the stitch
numbers for more than one stitch difference based on item "A," refer to figure
①
-B and
check the sewing condition again.
<Initial screen>
<When the stitch length comes out short>
<When the stitch length is less than one stitch>
ⓑ
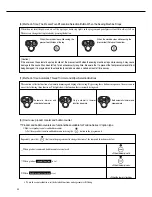
Look at the sewing condition and make the correction as follows:
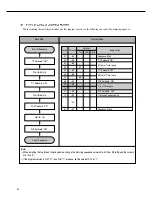
Program range for making stitch corrections for less than one stitch:(Prog+Auto)
-6 stitches ~ 6 stitches
Program unit: 0.05 stitches (Corrections are done by dividing one stitch into 20 parts).
Initial program: A(00.30), B(00.30), C(00.40), D(00.40)
Correct stitch number application method (use C and D buttons for programming).
When the stitch length comes out short(the third stitch of sides A and B/ the 1st stitch of sides C and D)
<When the stitch comes out less than one stitch longer> (the last stitch of sides A and
B/ and the first stitch of sides C and D)
[Caution] • The shadowed part is the currently saved correct value.
• After programming, press the
button and save the programmed value.
Ex) When the Start/End B/T stitch length is shorter than the programmed stitch length (by around half a stitch).
Side A program value
(Currently programmed corrected value)
+ (01.00-the length of the 3rd stitch sewn in side A)
Side B program value
(Currently programmed corrected value)
+ (01.00-the length of the 3rd stitch sewn in side B)
Side C program value
(Currently programmed corrected value)
+ (01.00-the length of the 1st stitch sewn in side C)
Side D program value
(Currently programmed corrected value)
+ (01.00-the length of the 1st stitch sewn in side D)
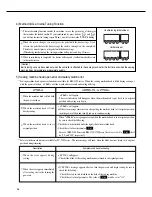
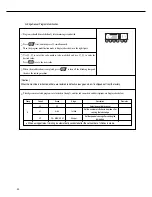
a. In the initial screen, press the
button and then also press the
button.
b. The screen will then go to the stitch number correction screen. Using the
,
buttons
you can change the length of each side (A,B,C and D) in this screen.
c. If you have finished programming the new correction values to sidesA, B, C and D, press the
button and save the corrected value. If you press the
button, you will return to the
initial screen. (A:00.30, B:00.30, C:00.40, D:00.40)
→
(A:00.50, B:00.50, C:00.75, D:00.75)
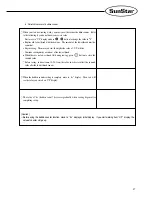
d. Commence sewing and check the B/T sewing condition.
e. If the corrected sewing condition still shows differences between the programmed value, the
repeat steps (a~d) and continue correction.
Side A program value
(currently programmed correction value)
- the length of the extra part of the stitch sewn on side A
Side B program value
(currently programmed correction value)
- the length of the extra part of the stitch sewn on side B
Side C program value
(currently programmed correction value)
- the length of the extra part of the stitch sewn on side C
Side D program value
(currently programmed correction value)
- the length of the extra part of the stitch sewn on side D
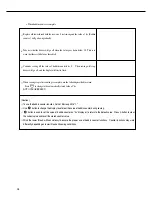
[Caution]
If each side's corrected value has been corrected to the minimum or maximum value limit (between -6 stitches to 6 stitches)
and the sewing condition is still not correct, reduce the B/T sewing speed.
Generally, you can correct for when there is more than one stitch difference with item A. However, with item B, you can correct
when there is either more or less than one stitch difference.
Make sure to press the
button and save the programmed value when you finish programming sides A, B, C and D's new
correction value.
Summary of Contents for Fortuna series
Page 3: ...USER S MANUAL ...
Page 69: ...70 Category 3rd 2nd 1st Data Field Cmd Field Explanation ...
Page 72: ...73 for tinsel trimming ...
Page 75: ...76 ...
Page 76: ...77 PARTS BOOK ...


