SunFounder PiCar-S
Note:
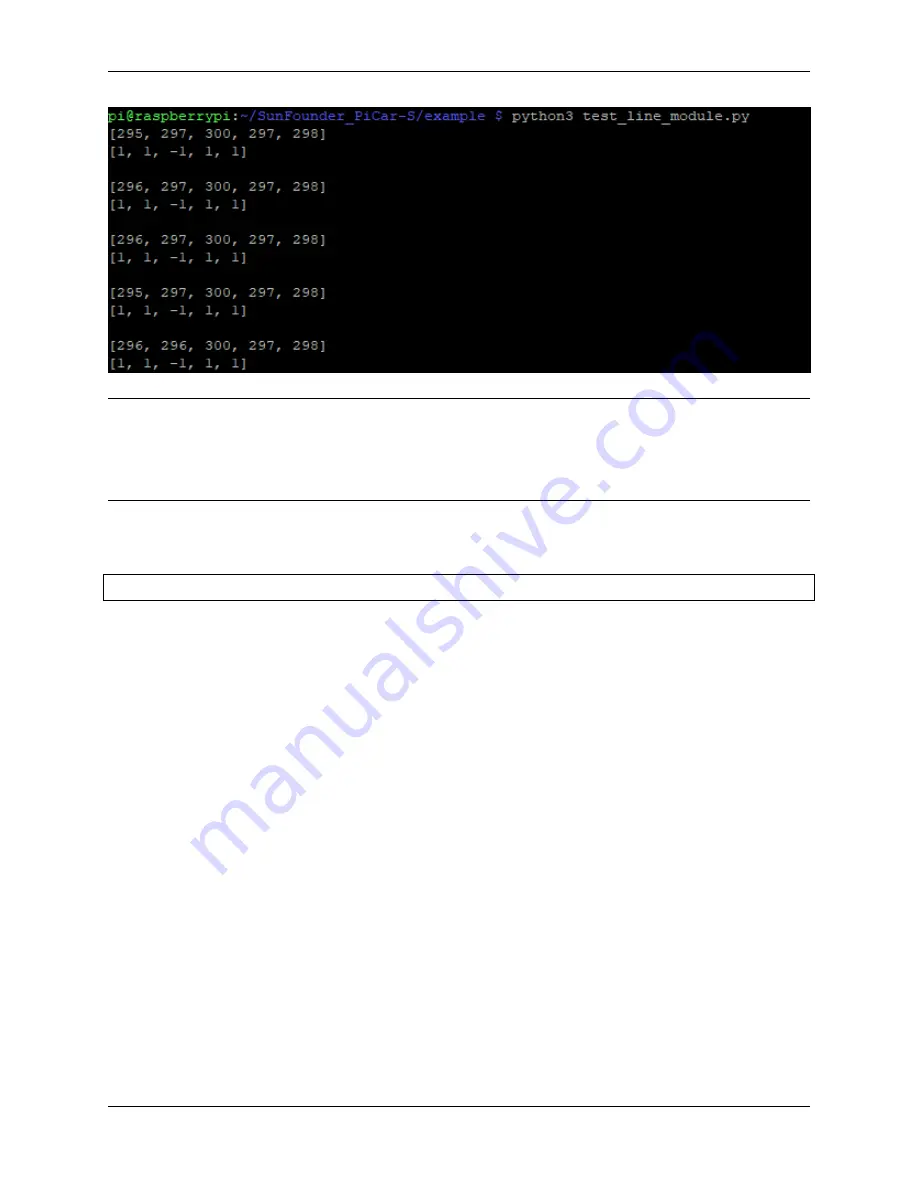
For the better working of line following module, we should adjust its sensitivity. The steps are as follows:
Place the module on the white surface, read the value ; place it on balck surface, and read value.
Calculate the difference, rotate potentiometer on the line following module toward the clockwise and anticlockwise
till the diffence reaches up to the maximum. Now the debugging is finished.
Step 4 Starts Running!
Run the line follower code
python3 line_follower
.
py
A prompt of calibration will be printed on the screen when the program starts to run. We will calibrate the module
on a white surface first: place all the five probes of the line follower above a white board. The prompt of completed
calibration will be printed on the screen a few seconds later. Then let’s move on to calibration on black line. Also
the prompt of starting is printed on the screen, and then place all the probes above the black lines. And the prompt of
calibration completed will be printed on the screen a few seconds later.
When the module calibration is all completed, we can run the car then. Place the PiCar-S with probes above the black
line on the white board, and then it will go forward following the line itself.
How to make a track for line following
To make a track for the car to follow a black line, you need to prepare the following materials:
A large sheet of paper, a roll of black tape (as black lines), a hard card board (the size depending on the size of the
track) or a flat surface like the floor or desk.
1. Spread the paper out smoothly on the hard board, and paste on the board or flat surface.
2. Paste the tape on the paper.
Rules for making:
1.
Width of the black line: about 18-30mm, nearly the distance between
two probes, no more than the mini-
mum distance of two nonadjacent probes
2.
The gap between two lines: more than 125mm, which is the width of the
whole module, to prevent the car
from getting confused when detecting two lines at the same time.
62
Chapter 1. About the PiCar-S
Summary of Contents for PiCar-S
Page 1: ...SunFounder PiCar S www sunfounder com Nov 10 2021 ...
Page 2: ......
Page 4: ...ii ...
Page 8: ...SunFounder PiCar S 4 Chapter 1 About the PiCar S ...
Page 9: ...SunFounder PiCar S 1 1 3 Mechanical Fasteners 1 1 Components List 5 ...
Page 10: ...SunFounder PiCar S 1 1 4 Wires 6 Chapter 1 About the PiCar S ...
Page 11: ...SunFounder PiCar S 1 1 5 PCB 1 1 Components List 7 ...
Page 12: ...SunFounder PiCar S 1 1 6 Other Components 8 Chapter 1 About the PiCar S ...
Page 22: ...SunFounder PiCar S 18 Chapter 1 About the PiCar S ...
Page 26: ...SunFounder PiCar S 22 Chapter 1 About the PiCar S ...
Page 27: ...SunFounder PiCar S 1 4 Circuits Building 1 4 1 Connect the Power 1 4 Circuits Building 23 ...
Page 28: ...SunFounder PiCar S 1 4 2 Connect the Modules 24 Chapter 1 About the PiCar S ...
Page 29: ...SunFounder PiCar S 1 4 3 Connect the Servo 1 4 Circuits Building 25 ...
Page 69: ...SunFounder PiCar S Subflow of Line Following Function 1 8 Arming the Car 65 ...
Page 74: ...SunFounder PiCar S 70 Chapter 1 About the PiCar S ...


