SunFounder PiCar-S
Note:
1) You will need to be connected to the internet the first time.
2) That
OS
will
then
be
stored
for
future
offline
use(lastdownload.cache,
C:/Users/yourname/AppData/Local/Raspberry Pi/Imager/cache, ). So the next time you open the software, it
will have the display “Released: date, cached on your computer”.
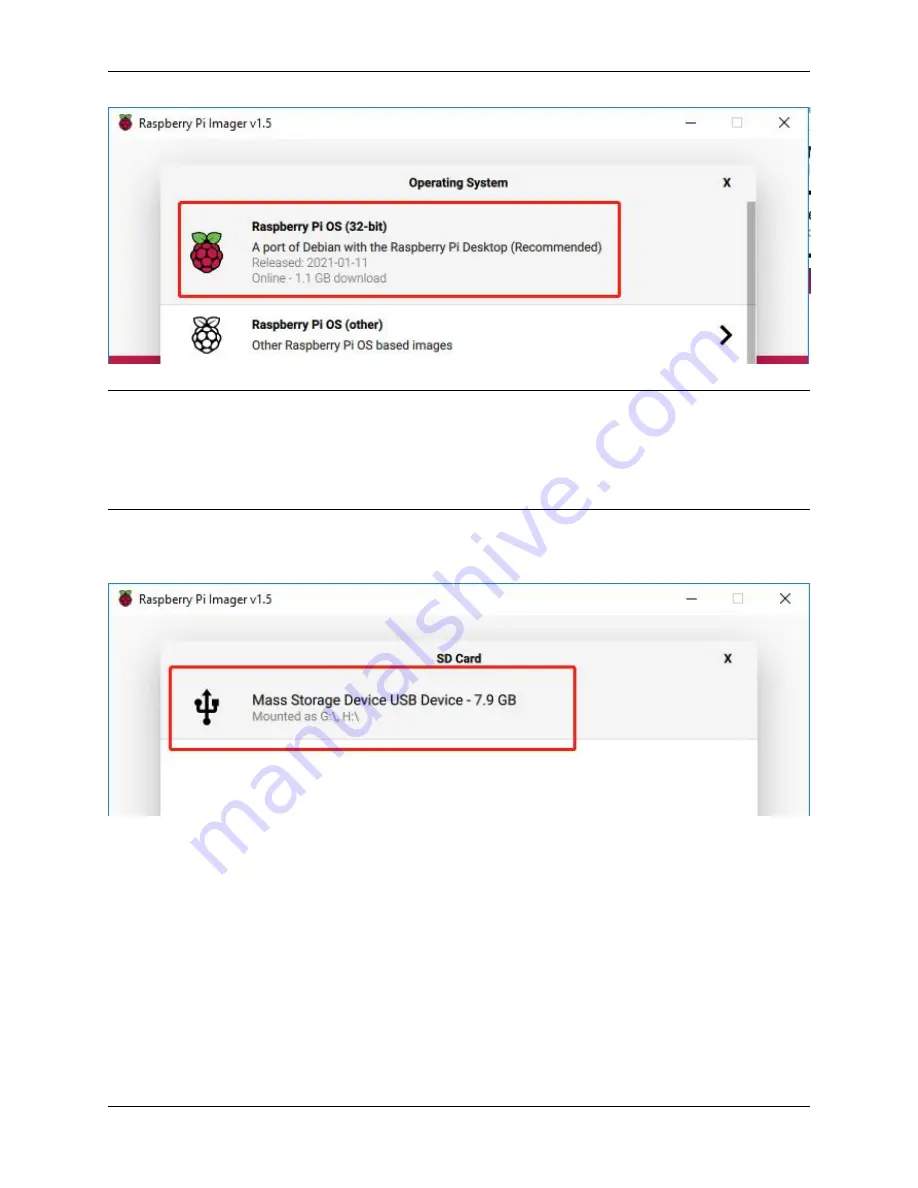
Step 5
Select the SD card you are using.
Step 6
Press
Ctrl+Shift+X
to open the
Advanced options
page to enable SSH and configure wifi, these 2 items must be set,
the others depend on your choice . You can choose to always use this image customization options.
1.5. Get Started with Raspberry Pi
29
Summary of Contents for PiCar-S
Page 1: ...SunFounder PiCar S www sunfounder com Nov 10 2021 ...
Page 2: ......
Page 4: ...ii ...
Page 8: ...SunFounder PiCar S 4 Chapter 1 About the PiCar S ...
Page 9: ...SunFounder PiCar S 1 1 3 Mechanical Fasteners 1 1 Components List 5 ...
Page 10: ...SunFounder PiCar S 1 1 4 Wires 6 Chapter 1 About the PiCar S ...
Page 11: ...SunFounder PiCar S 1 1 5 PCB 1 1 Components List 7 ...
Page 12: ...SunFounder PiCar S 1 1 6 Other Components 8 Chapter 1 About the PiCar S ...
Page 22: ...SunFounder PiCar S 18 Chapter 1 About the PiCar S ...
Page 26: ...SunFounder PiCar S 22 Chapter 1 About the PiCar S ...
Page 27: ...SunFounder PiCar S 1 4 Circuits Building 1 4 1 Connect the Power 1 4 Circuits Building 23 ...
Page 28: ...SunFounder PiCar S 1 4 2 Connect the Modules 24 Chapter 1 About the PiCar S ...
Page 29: ...SunFounder PiCar S 1 4 3 Connect the Servo 1 4 Circuits Building 25 ...
Page 69: ...SunFounder PiCar S Subflow of Line Following Function 1 8 Arming the Car 65 ...
Page 74: ...SunFounder PiCar S 70 Chapter 1 About the PiCar S ...


