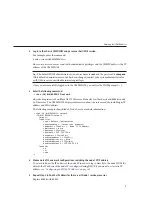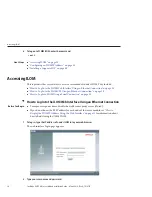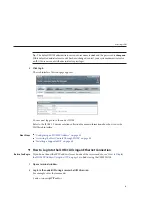
Verify that the Sun Blade 6000 modular system chassis is powered-on and operating normally
(without faults).
When the chassis is powered-on, the fans are operating and the chassis OK/Power LED
illuminates a steady-on green light. The OK/Power LEDs are located on both the front and back
of the chassis. If the chassis is not powered on, or in a fault state, refer to your chassis
documentation for information on how to remedy the issue.
Locate a free blade slot in the chassis and remove slot filler panel.
Pinch together the ends of the ejector arm handle to unlock it, rotate the lever out to the open
position, and eject the filler panel.
Keep the filler panel for later use.
Caution –
If you are not installing a server module into a slot, do not remove the slot filler panel.
The slot filler panel is required to meet FCC standards for electromagnetic interference (EMI).
Do not operate the chassis with empty slots for more than 60 seconds. Always insert a filler
panel into an empty slot to reduce the possibility of chassis shutdown.
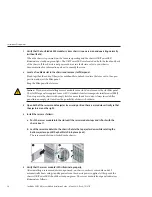
Open both of the server module ejector levers and position the server module vertically so that
the ejectors are on the right.
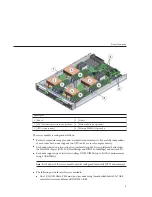
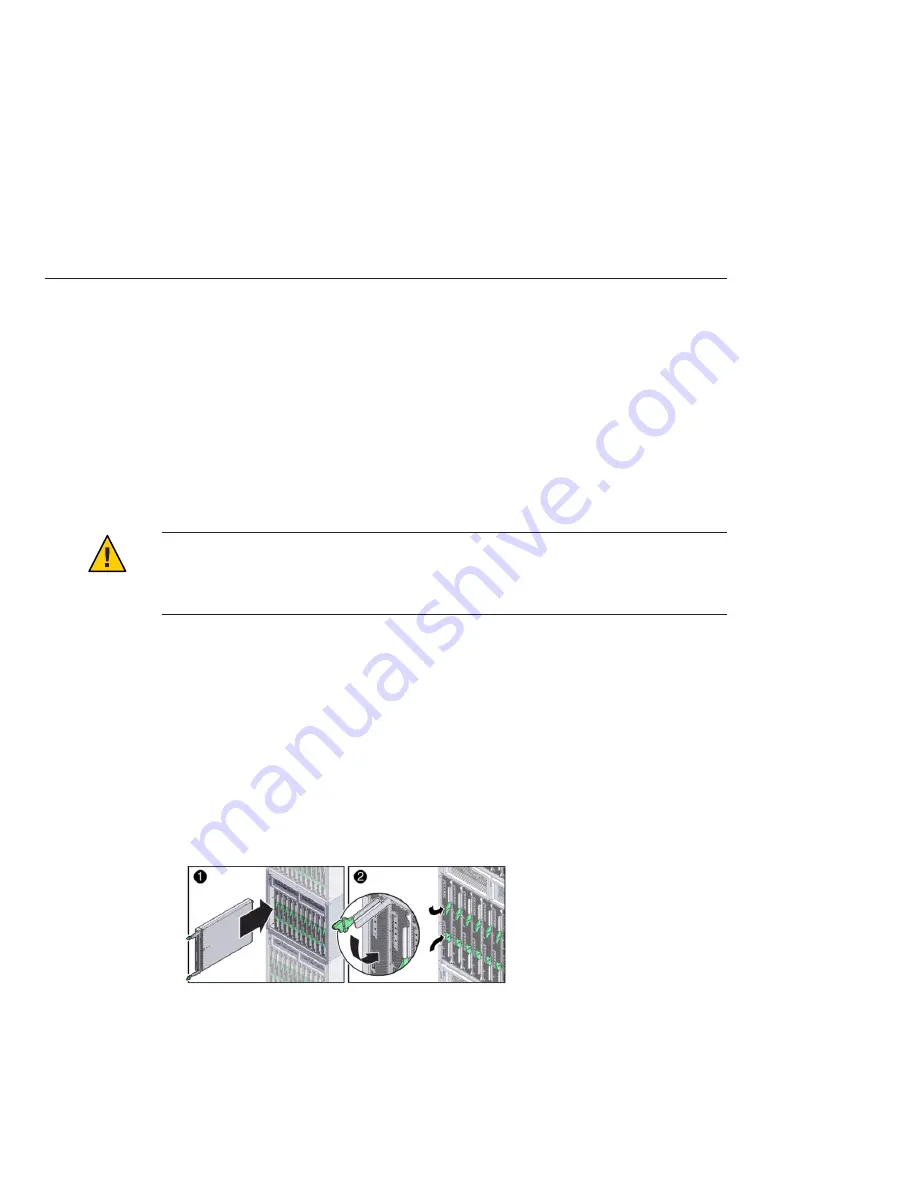
Install the server as follows:
a. Push the server module into the slot until the server module stops and is flush with the
chassis [see 1].
b. Lock the server module into the chassis. Rotate the top ejector down while rotating the
bottom ejector up until they both latch into place [see 2].
The server module is now locked in the chassis.
Verify that the server module's LEDs illuminate properly.
After installing a server module into a powered-on chassis, each server module node SP
automatically boots using standby power from the chassis power supplies. At this point, the
chassis OK/Power LED should be steady-on green. The server module front panel indicators
illuminate as follows:
1
2
3
4
5
Installation Prerequisites
Sun Blade X6275 M2 Server Module Installation Guide • March 2012, Rev A, 7010774
24

